In an effort to expand their repertoire of services, some pool-service companies offer vinyl-liner replacement.
With manufacturers making the task easier than ever, the move makes good business sense. Nowadays, manufacturers put arrows on the liner demarking the break line of the pool. That gives you a starting point to put into the track, says a veteran tech.
Although replacement has become easier, techs still must take detailed measurements and carefully follow instructions, as specified on most vinyl-liner manufacturers’ order forms. Following are some installation tips from a veteran installer.
1. The first step is to select two convenient locations from the edge (about 3 feet) of the same side of the pool. These will be called points X and Y. If possible, they should be about 12 feet from each other. Be sure to indicate the actual distance between X and Y on the order form that you’ll be sending to the vinyl-liner manufacturer.
Next, measure the distance between both X and Y to various points along the edge of the pool. Depending on the size of the pool and the curvatures, select points about 1 or 2 feet apart all the way around the perimeter. Each of these points should be numbered.
In the end, you’ll have a series of measurements: the distance between point X and point 1, point Y and point 1, point X and point 2, point Y and point 2, and so on — until you’ve gone completely around the pool.
Also, take depth measurements in both the shallow end and at various points in the deep end. This is so the manufacturer has an out and down configuration to add to the exterior measurements that the point-to-point, or X and Y measuring system (triangulation), will provide. Without the additional depth measurements, the liner manufacturer will not be able to produce a liner that fits accurately.
From all these measurements, the manufacturer can get an accurate picture of the pool’s shape and produce a liner that will fit.
Once you’ve taken the pool’s measurements, the next step is to order its liner replacement. After the new liner has arrived, follow these basic steps to put it on properly.
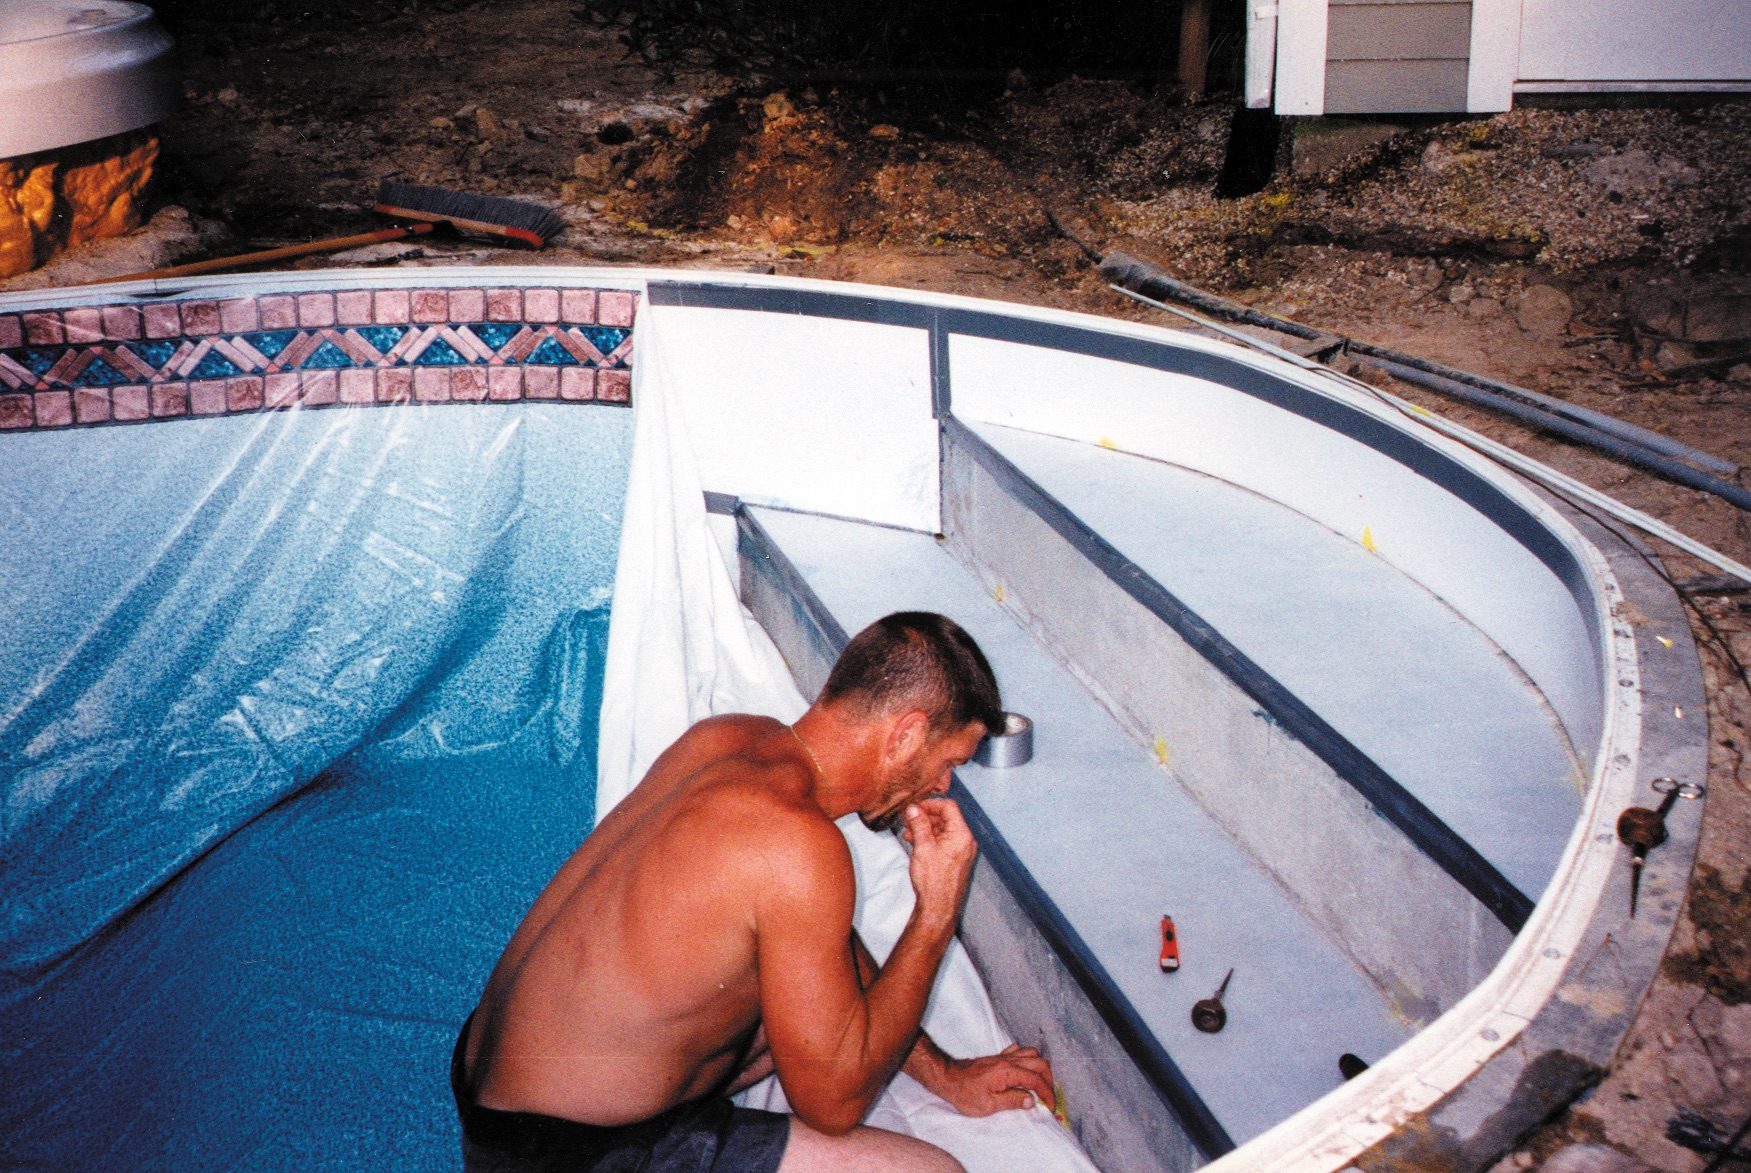
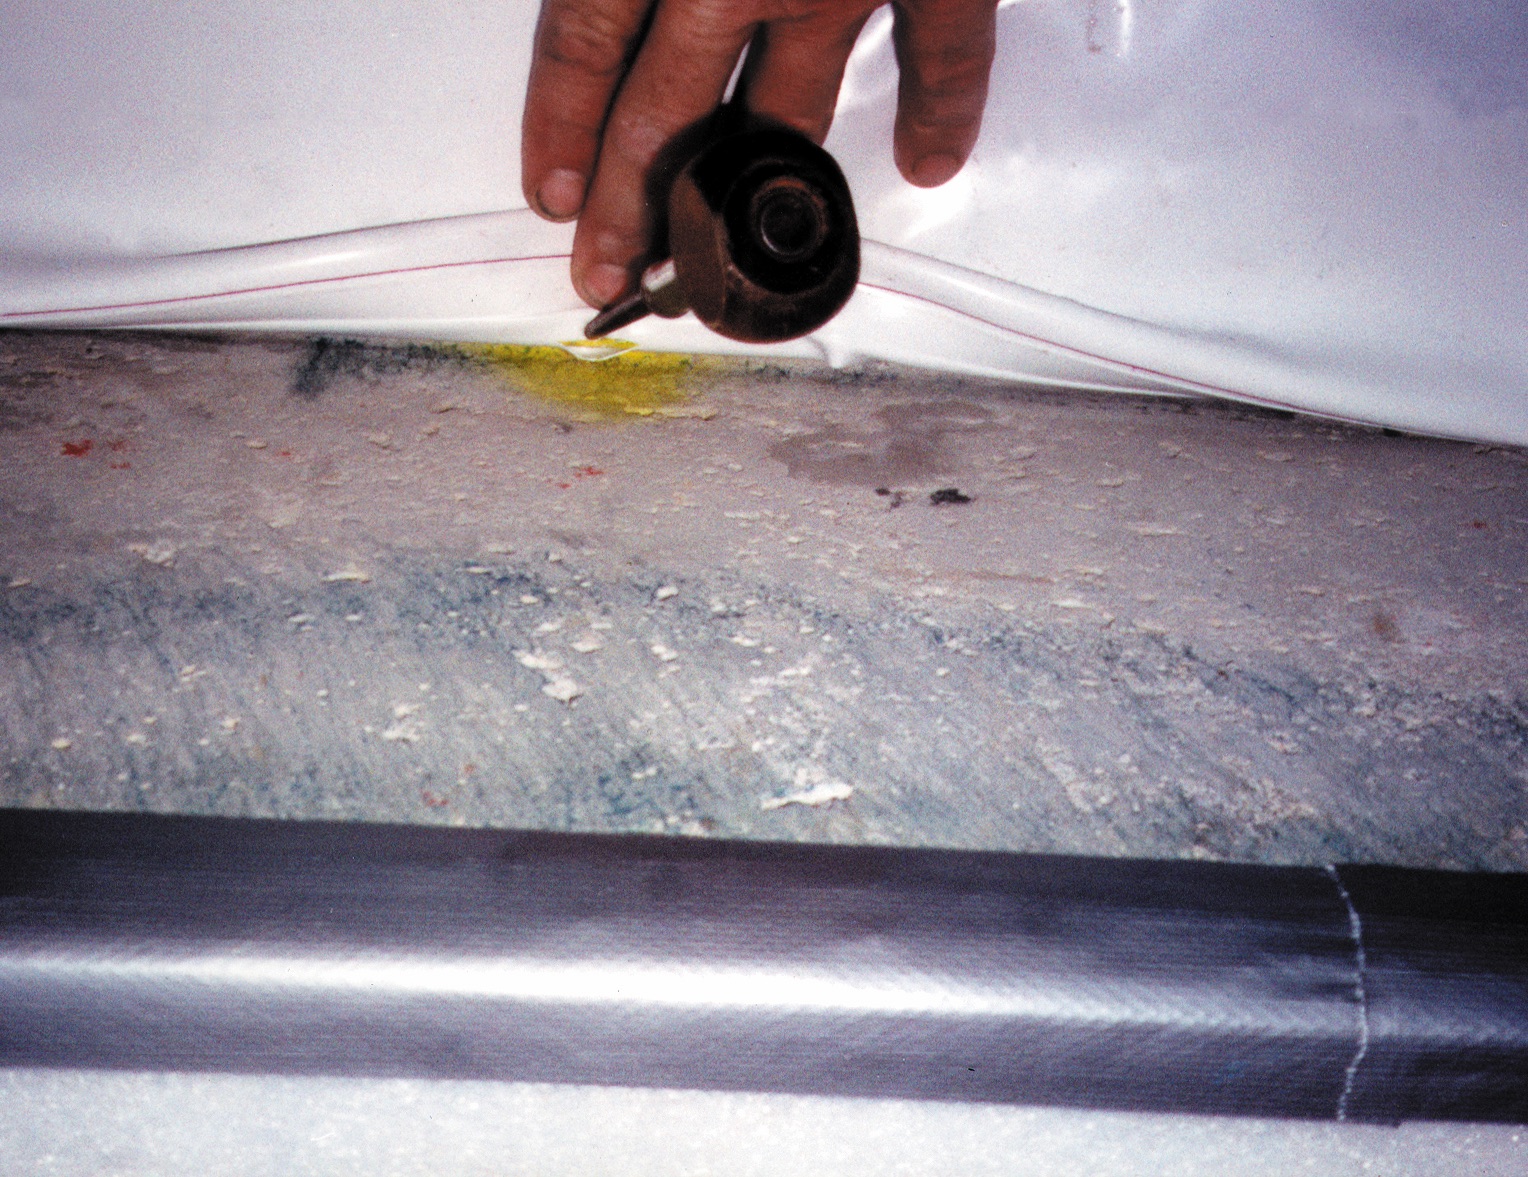
2. First attach the vinyl liner to the pool’s poured concrete steps. A fiberglass step rod is slid through a sleeve that has been electronically welded to the back of the liner. Concrete anchors have been installed where the risers meet the back of the tread of the step. A stainless steel screw is then put through the rod and into the anchor.
3. Align the hole in the step rod with the anchor in the step.
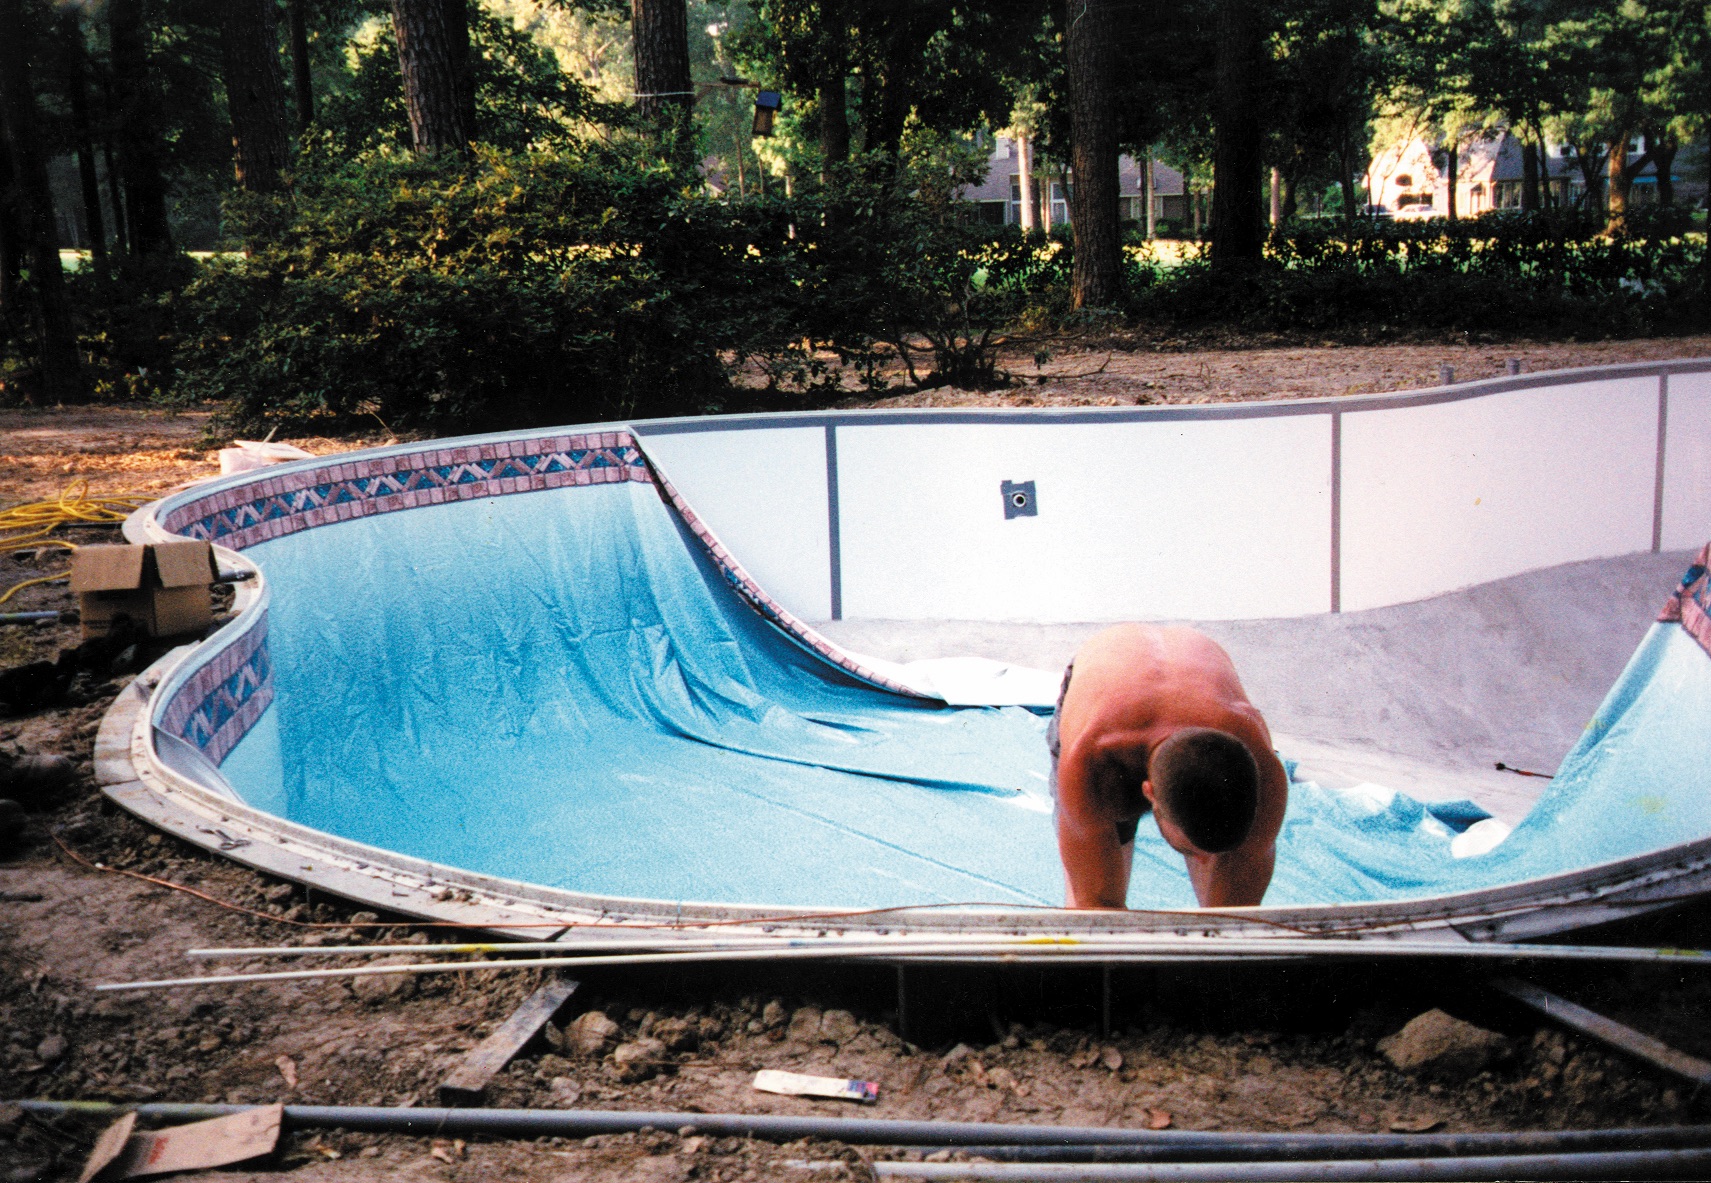
4. The liner has a bead that is slipped into a track — actually, a “top-mount extrusion” — which has been screwed into the tops of the walls. (Traditionally, rim-lock coping is used. It contains a track to hold the liner bead. In this installation, there is brick coping, so the top-mount extrusion was more apropos.) The top-mount extrusion is an aluminum track with no raised profile.
5. Prior to vacuuming (removing the air from behind the liner), be sure the tile border is straight up and down, and is not being pulled in different directions.
After the liner is in place, there may be small wrinkles as a result of packing or the vacuum not having sufficient suction to pull the liner completely into place. These wrinkles should be moved toward the pool walls. Before the pool is filled, installers should remove their shoes and enter in either bare feet or stocking feet to avoid any scuffing or print distortion. Also, with a small amount of water in the shallow end, the liner can be moved by using a plunger to suck and position the liner gently into place.
6. The pool begins to fill as a vacuum is used to remove air from behind the liner for a tight fit.
7. As the pool fills and the shallow end is covered with water, the vacuum is removed and the fittings (light faceplates, skimmer faceplates and the like) can be cut in. The faceplates are locked in now, and you can trim out the vinyl inside the fittings with a sharp knife.
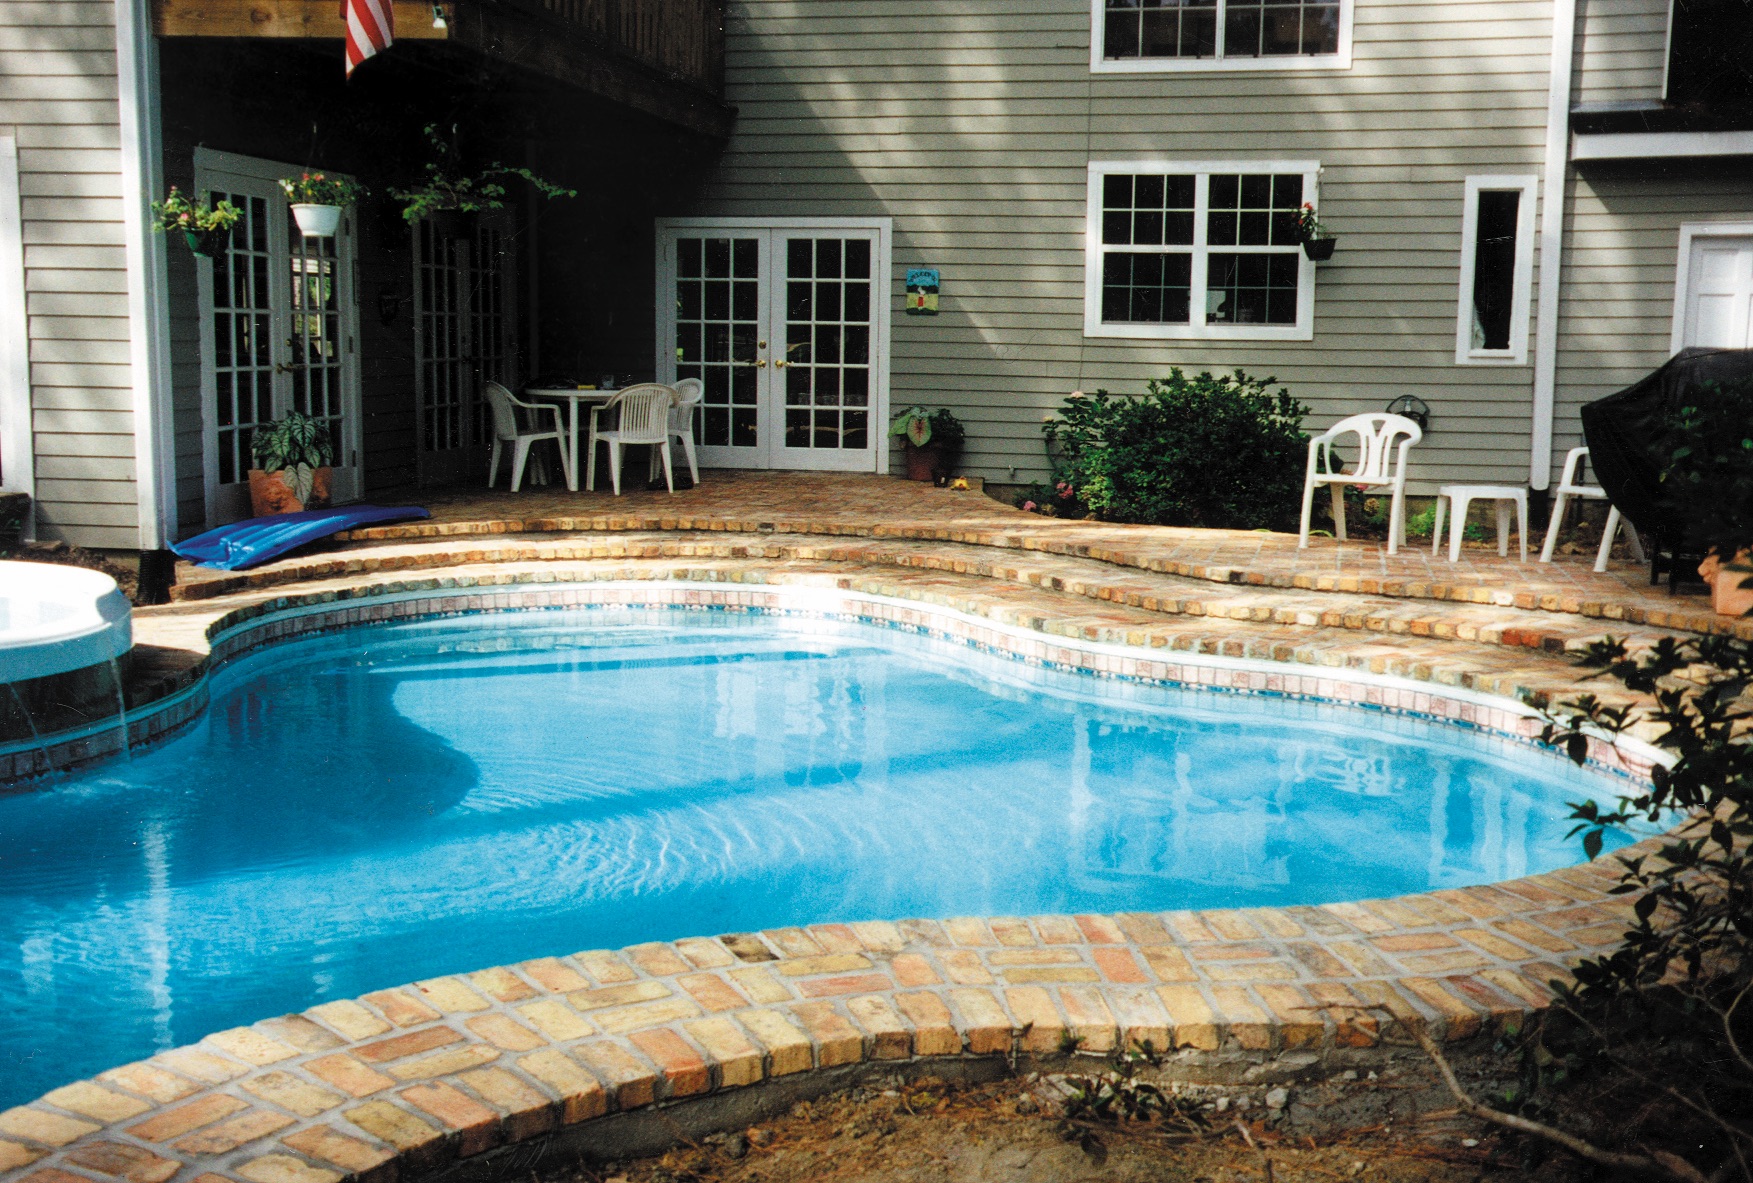
8. The liner’s in place, the pool filled with water, and the brick deck has been installed. The project is complete.
PSN thanks Michael Ramee, president of Mad River Pool Construction in Orlando, Fla., for his assistance with this article.


