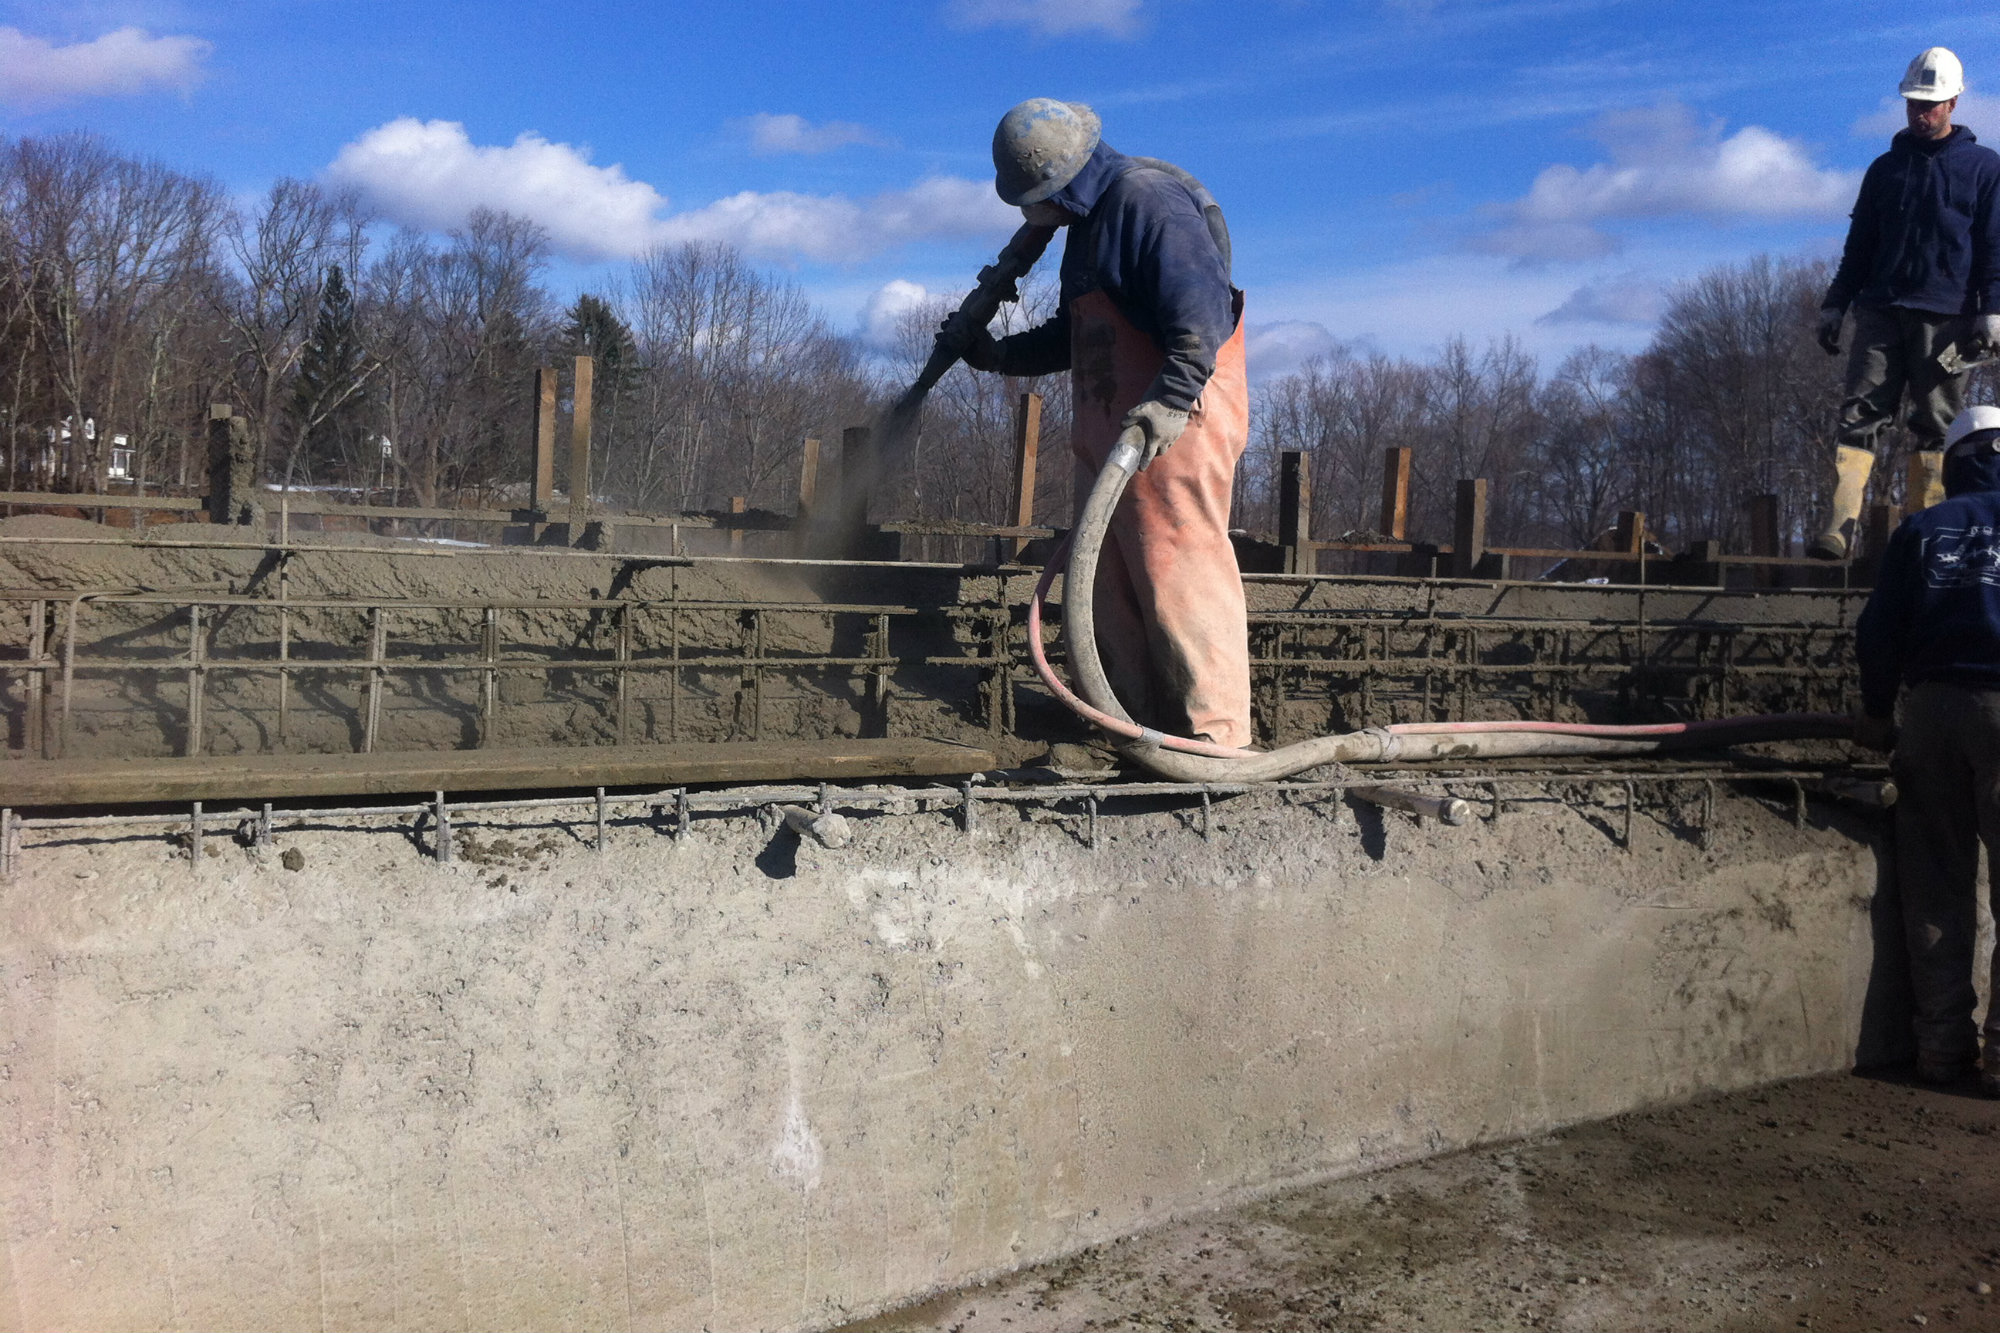
Many factors contribute to the success of a plaster surface. However, we believe one component doesn’t receive enough attention — the shotcrete substrate.
Whether shotcrete is applied wet or dry (with the latter often referred to as gunite), several things determine whether the material will perform correctly. Like plasterers, shotcrete applicators must use the right mix design, with correct ratios of binder-to-aggregate and water-to-cementitious-materials. If not, the concrete will not achieve the desired strength, durability or bondability.
When shotcrete has issues, they often reflect into the plaster and affect the final look, texture or bondability of the surface.
It doesn’t seem like the industry realizes how much damage a concrete shell can do to the plaster — how much it can compromise the bondability or moisture content, or contribute to mottling and other problems.
To minimize repercussions of poor shotcrete application, builders and plasterers should evaluate shells for signs of problems. If the substrate is not intact, plasterers should be prepared to discuss these issues with the contractor.
STEP BY STEP
When examining the shell, look for these issues:
1. Look at the surface texture. Is it dry or not uniform?
See if the surface appears sandy, inconsistent or loose. Can you rub off some of the material? These signs can indicate an incorrect water-to-cementitious materials ratio or that the concrete wasn’t properly cured. This may also mean the crews used rebound somewhere in the shell, usually in the steps. This overspray material is supposed removed altogether.
When this appears on the shotcrete surface, it can cause uneven curing and setting of the plaster or other finish material. It also can result in uneven bonding of the material to the substrate.
2. When wetting the shell, how does the moisture react?
Water should absorb or evaporate at about the same rate throughout the shell. If some areas pull in water like a sponge, this can indicate that the shell does not have consistent permeability or porosity. Some areas will allow water to pass through, and some will not.
The concrete may be too porous where the shotcrete applicator hand packed rather than hydraulically placing the material. Crews sometimes stop shooting and shovel concrete onto the wall or in steps. It will not have the same compaction as concrete applied through the nozzle.
Excess porosity also will cause the concrete shell to absorb too much water from wet plaster after it’s applied, which may affect strength and consistency.
3. Check for cracking.
Concrete will always crack, caused by volumetric changes as the material strengthens during the hydration process.
However, not all cracks are alike. Some indicate a problem, while others don’t.
For instance, plastic shrinkage cracking is to be expected. It is non-uniform — it looks like an eggshell that’s been smashed on the counter. This occurs from the surface drying of the concrete in its plastic state. It is not structural and doesn’t penetrate past the surface.
The plasterer or pool builder should consider: What type of cracking is it, and is it excessive? Usually, one or two little cracks here or there are no big deal.
Most pools also have chemical shrinkage cracking or autogenous cracking. This happens as the concrete begins to set, harden and undergo volume changes. These cracks may go through the wall. They serve as a relief point: The two sides separate as the concrete shrinks. They aren’t structural and don’t leak. The voids are usually too narrow for even water to penetrate, so they generally are water-tight.
Structural cracks can cause problems for the finish material. These change the structural intent or durability intent of the vessel. It may go right into the rebar and exposes it to moisture, which can lead to corrosion and staining — not to mention degradation of the surrounding concrete. These cracks often have rust coming through and are usually a leak point that will not show water-tightness.
In addition to harming the structure, they can reflect through the finish coat.
4. Check for leaching, effervescence and other signs of permeability.
Look for spots and calcium leaching. Is it in one little spot or all over the pool? If it’s all over, the plasterer should investigate a little to learn why. It could result from cracks or the textural inconsistencies mentioned above.
Calcium deposits or weepers can prevent the plaster or other finish material from adhering properly to the shell.
5. Examine around penetrations.
It is a challenge to shoot concrete around penetrations — especially if builders have placed several in a small area. It takes careful maneuvering to position the nozzle to achieve proper encapsulation and consolidation and avoid problems with permeability or porosity.
Pay special attention to these areas, checking for consistent texture and proper absorption of water.
6. Examine areas where flash was applied.
If the shell isn’t shot at the proper elevations or is not level, crews may add a thin flash coat to hit their marks. Look at this to make sure it sticks properly to the gunite shell. Knock on it: If it’s hollow, there’s a problem. While the plaster may bond to the flash, that flash also needs to bond to the shell.
Also make sure the floor was shot evenly. Plasterers make the floors level by changing the thickness of the finish coat, since that would change the hydration rate. At ½ inch thick, plaster will hydrate out 80% in the first year. At 1 inch, it will take 7 years.


