Several factors have come into play to boost the popularity of large-format tiles.
First comes their availability and improvements. More large tiles are suitable for immersed applications. In addition, porcelain products meant to imitate stone or wood have vastly improved in authenticity, with more realistic details and patterns that don’t repeat. This coincides with the ever-increasing popularity of contemporary and modern styles, which benefit from a cleaner material that has fewer grout joints.
Design and installation with these materials does require some attention to assure their optimal beauty and long-term performance. Consider these tips from industry professionals.
Design and preparation
When it comes to including large-format tile in a pool installation, it’s best to know well in advance that you want to move forward with this material so you can undertake proper planning.
° Choose a through-body tile.
Porcelain tile has come a long way over the decades, with one of the biggest advancements being the availability of through-body pieces, which are colored all the way through the tile. This contrasts with glazed tiles, which often are white, gray or tan underneath the glazed surface.
The consistent color makes it easier to surface a pool or spa with this material, says builder/designer Rick Chafey, co-owner of Phoenix-area firm Red Rock Pools & Spas.
“We have the ability to machine, to bullnose, to ease edges — all those things,” he says. “And if you chip or damage it somehow, which is hard to do because the material is so hard, you don’t have this white chipped-out piece of tile.”
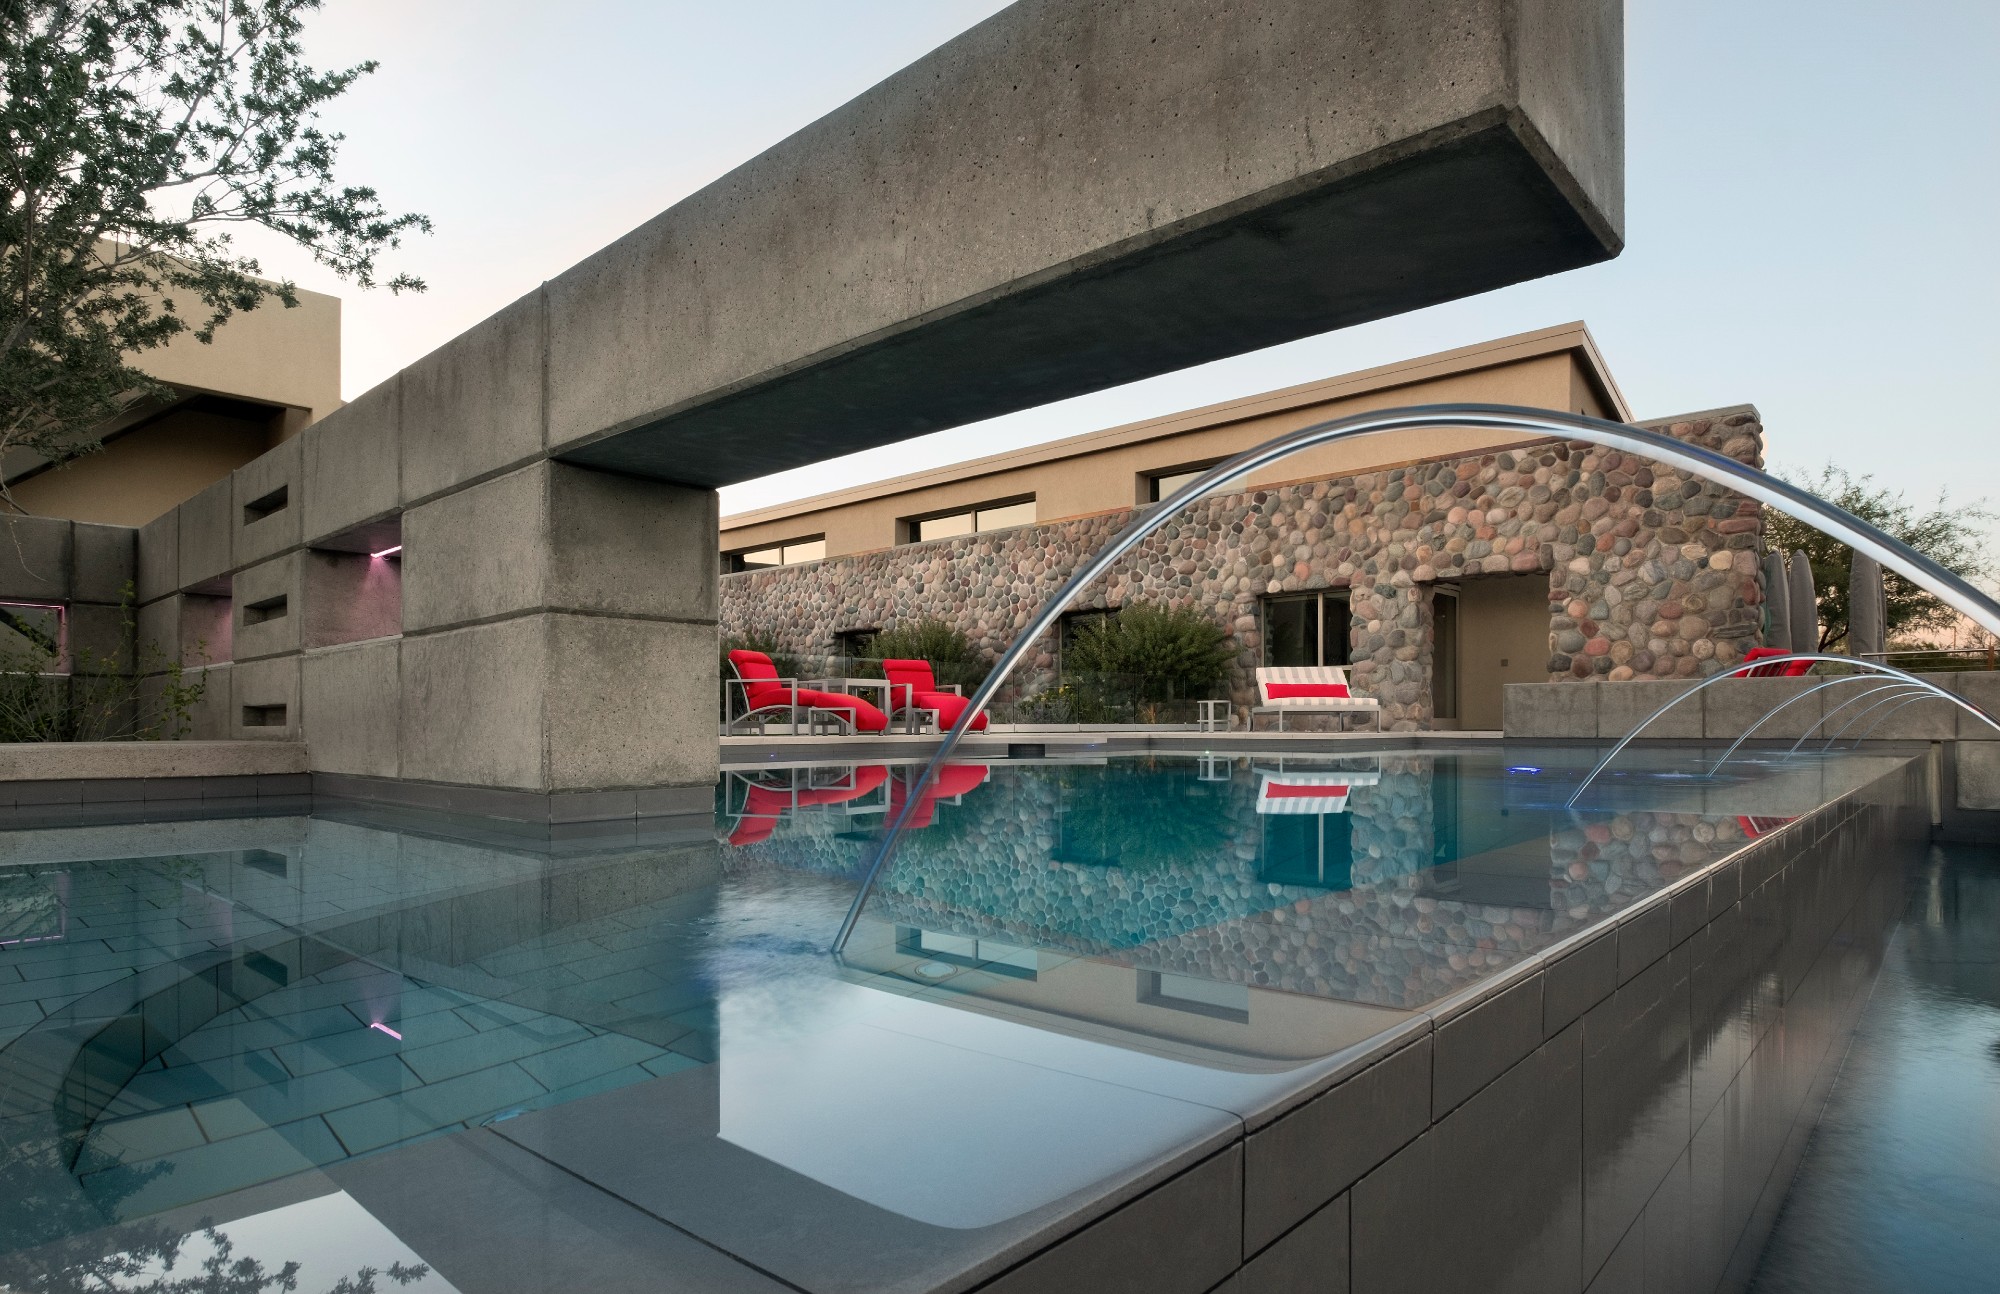
That can significantly ease the process of installing this material on vanishing-edge weir walls. If the edge isn’t exactly level, it can be ground to the right elevation without losing the color.
° Think about slip resistance.
Some designers like to work with more expansive tiles for a cleaner look, free of that tighter grid formed by more frequent grout joints.
However, this can pose a safety hazard if not considered. Those grout joints help provide slip resistance on horizontal surfaces that see foot traffic. When laying larger-format tiles on floors, steps or other areas where people will walk or climb, choose a material that has slip-resistance built in.
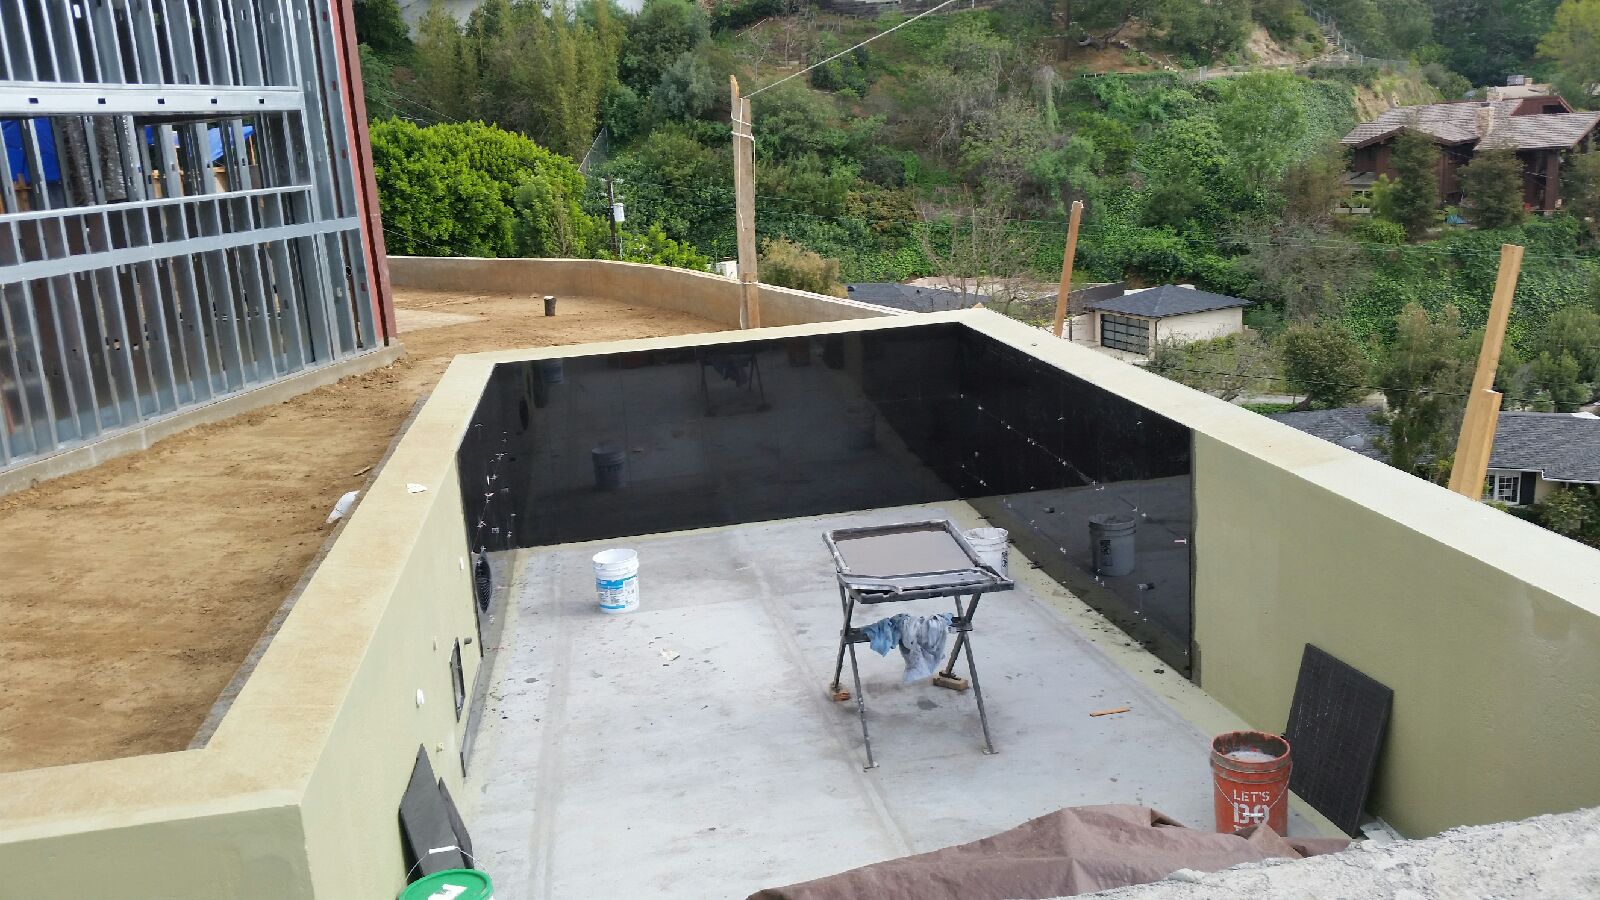
For his most recent PSN Masters of Design Award-winning poolscape, Chafey worked with a large black tile that comes in a variety of surfaces — glossy, matte or textured. For the vertical surfaces, Chafey went with the glossy finish. But he chose matte for the horizontal pieces.
Some porcelain manufacturers may offer smaller tiles in the same family as your large-format material. If so, you could consider using these in areas where you’d want slip resistance, for the traction provided by the extra grout joints, suggests Luke Denny, co-owner of tile installation firm Alpentile in Coeur d’Alene, Idaho.
° Plan well in advance.
Because you’ll have to fit larger rectangles or squares onto your surface, it helps to plan the dimensions of the pool or feature to accommodate the material, particularly if you plan to use it on the whole interior.

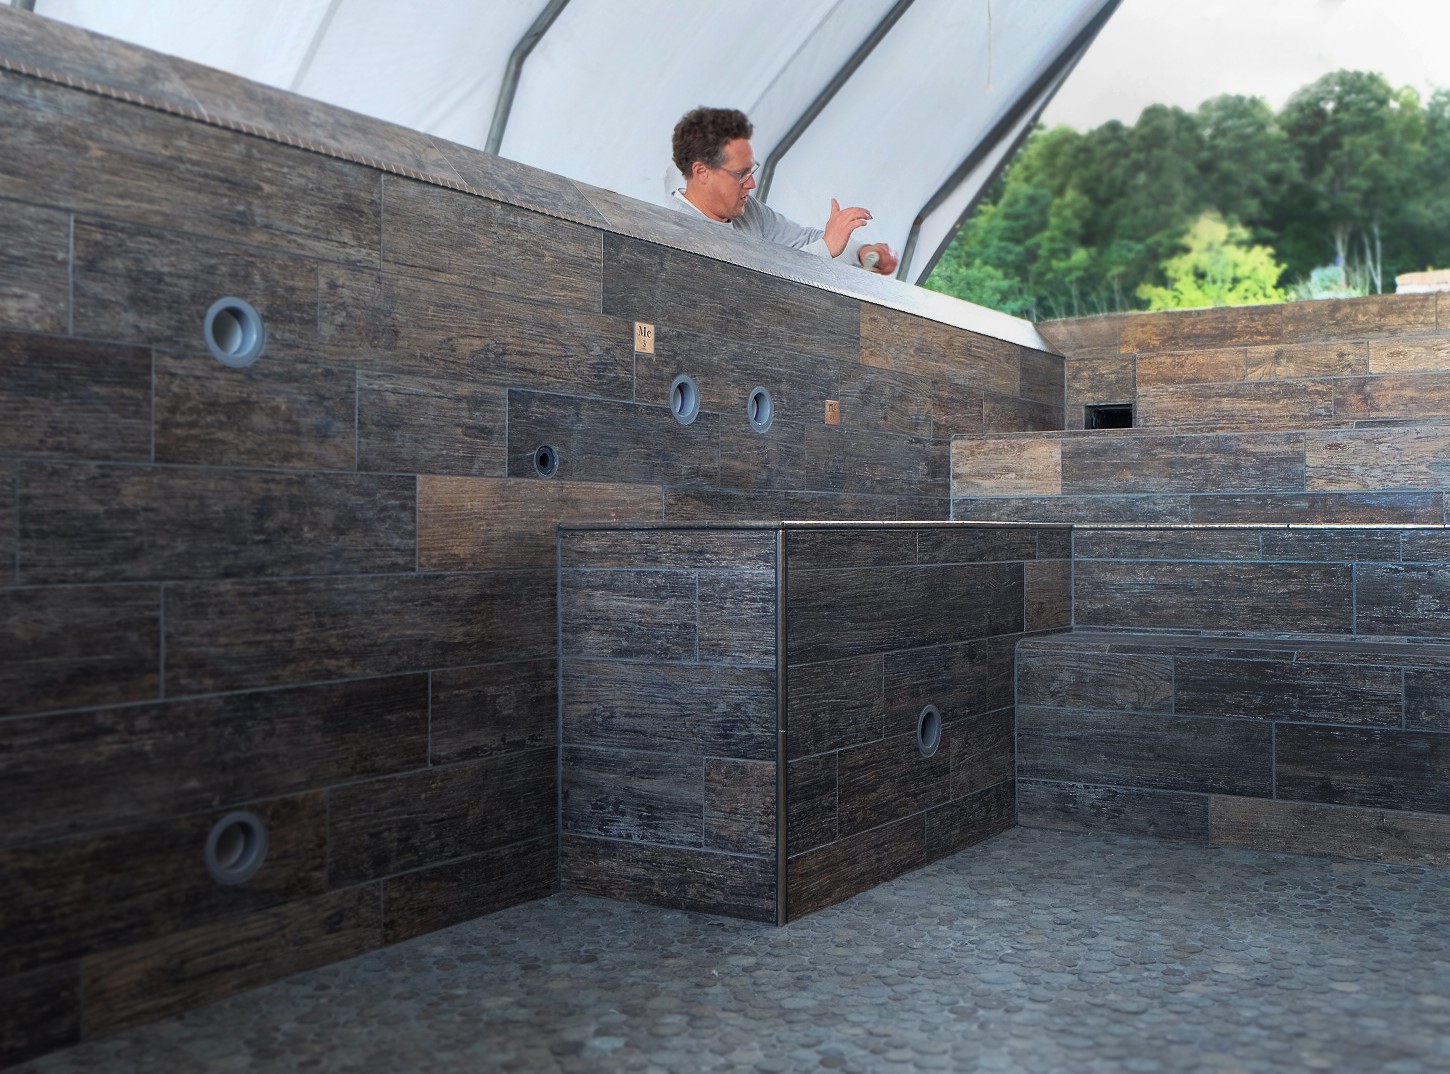
Photo courtesy Alpentile and Groupworks
When finishing a whole pool or spa in larger tiles, installers should prepare a thorough layout plan before beginning to set the tile. Consider how you want to address corners and transitions.
“If you’re dealing with a 2-foot piece of tile, you want to start designing on 2-foot modules instead of having a 1-foot module, so you’re not cutting slivers and slices,” Chafey says. “So layout becomes a little more critical.”
Think about such things as how the larger tile will transition to other materials, abut other plans, and how you want to handle corners and edges, Luke Denny says. If children will be playing in the area, you may not want sharp corners. In those cases, Denny may chamfer or miter the corners.
° Consider the material’s convertibility.
Some designers and builders will choose a larger tile and set it full-sized in certain spots, but cut it to fit various other applications.
Chafey, for instance, often uses 12-by-24-inch material. He and his team will snap it into 6-by-24-inch pieces for the waterline. In larger expanses, such as the back of a raised vanishing-edge wall, the material can be used in full.
° Combine large-format with mosaic for visual impact.
For years, Luke Denny and Amy Denny, also co-owner of Alpentile, have combined iridescent glass mosaic tiles with large-format porcelain on the same project. The mosaic is used to showcase more visible or attractive areas.
“It’s also a way to balance the budget out,” Amy Denny says. “If you have 100 linear feet of waterline and you’re choosing 6-by-24-inch, that may only costs $5 per square foot. So you get some economy in your tile selection that can be balanced out with the more expensive product that might go on those more high-impact areas like a baja shelf.”
INSTALLATION
While much of installing large-format tile remains the same as more traditional sizes, tilesetters should take certain precautions.
And whether a designer, project manager or setter, professionals should get past one particular (and understandable) assumption about the process with the larger pieces. “I would caution installers and end users or specifiers that just because it’s a larger tile doesn’t mean it’s going to take less time to install,” says Greg Andrews, co-founder of National Tile and Stone Authority in Winnetka, Calif.
° Allow for proper curing.
The very size that makes large-format tiles appealing to some projects can also cause complications. When it comes to installation, the first and foremost challenge comes from the need to properly cure the thinset.

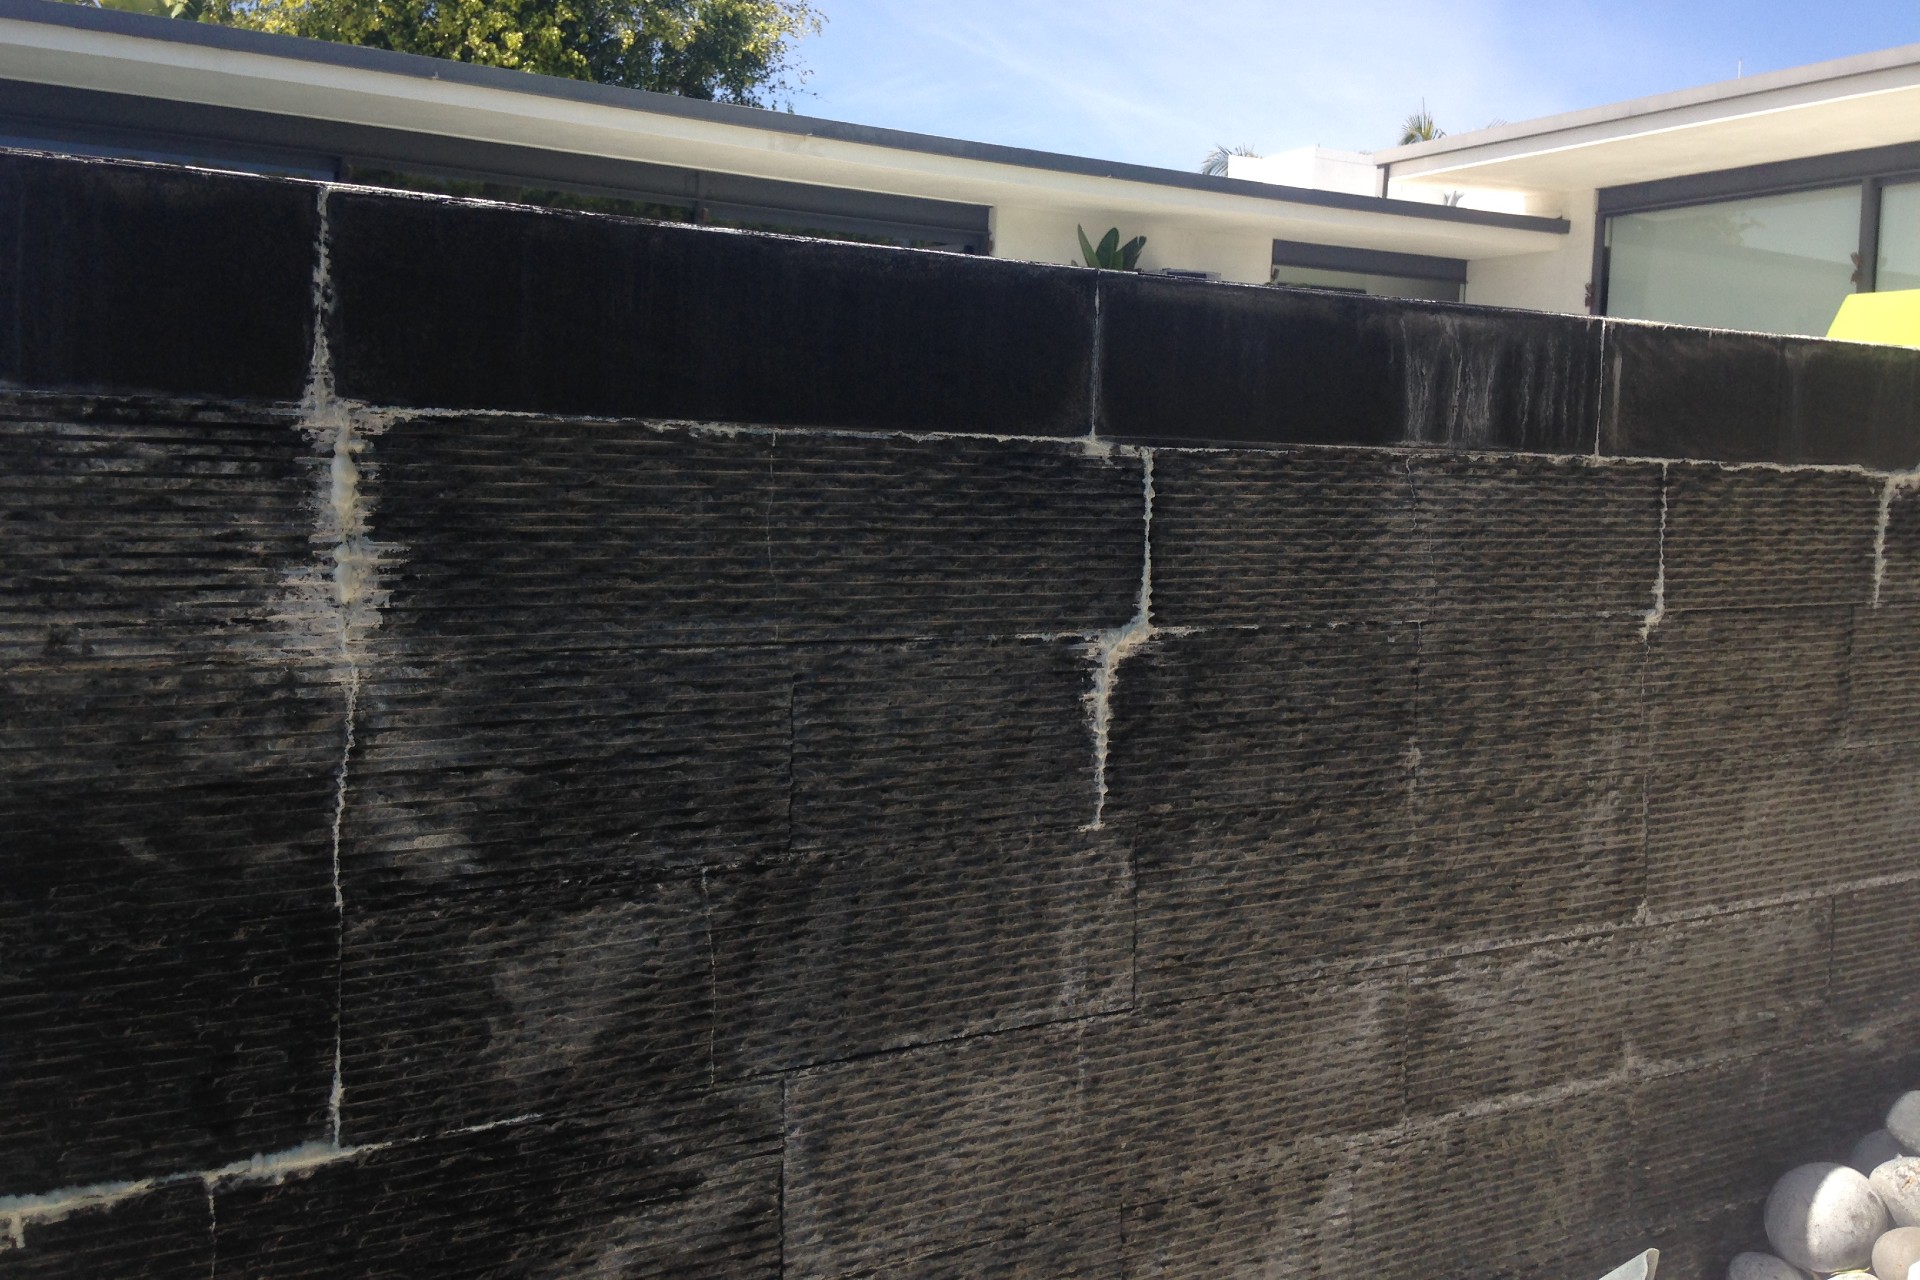
On these stone-tile installations that National Tile and Stone Authority inspected, latex has re-emulsified through the grout, likely due to inadequate curing times for the thinset.
While cementitious thinset materials have evolved such that they provide about 10 times the bond strength that they did when Andrews first started, these products still require air to set. No matter the tile size, the thinset nearest the grout lines will harden first, as they interface with the air. It takes longer for the material behind the tile’s center to cure out. This becomes especially problematic with larger pieces.
“The material left along the back of the tile, especially toward the center, doesn’t have a chance to cure,” Andrews says. “Probably if it’s given enough time — and I’m talking about months — then ultimately it may cure out. But it’s rarely given that much time.”
After water is reintroduced to the thinset, it will re-emulsify and either compromise the bond and/or leach out. The latter is especially likely on vanishing-edge spillways and other surfaces that undergo wet/dry and hot/cold cycles. The warmth will draw latexes or acrylics out of the thinset, through the grout joint and deposit them on the tile surface. “It looks like calcium, but it’s usually not,” Andrews says.
For him, the solution comes in a relatively simple, but pricey, switch of materials. Here, he relies on synthetic thinsets that contain their own catalyst, such as epoxy-based products. These systems are generally applied in two parts, which react to each other and initiate the set.
“They will set up because they have a catalyst — part A is mixed with a part B,” Andrews says. “So you can sandwich it between two impervious materials — the backside of a porcelain tile and the front side of a waterproof membrane — and it will set up just fine without air.”
The downside: Synthetic thinsets cost more, which doesn’t square well with some clients.
When using an epoxy, be sure to avoid getting resin marks or fingerprints on the material, Andrews advises. This especially applies to stones or porcelain tiles with a honed or matte look.
If you decide a cementitious thinset is best for the situation, it is imperative to follow manufacturer directions and industry standards. This could mean allowing a few more weeks for proper curing to take place.
“Communicate with the pool owner so they understand they might have to wait another 21 to 28 days for the thinset to cure,” Amy Denny says. “It’s critical, that cure time.”
To avoid lengthening the cure time even further, do not place a thick coat of thinset. Apply a mortar bed to make sure everything is level and plumb, flat and true. Don’t rely on the thinset to make up for variations in the elevation.
And, above all, follow the directions for all materials used in the installation.
° Avoid the voids.
It can be easier to form voids behind larger tiles when applying the thinset.

The original installers tried spot bonding these large-format tiles, placing dollops of extra thinset on the back in the hopes of promoting better adhesion. The high points on the thinset layer indicate where they placed the dollops. The spots with missing material show where the tiles came loose from the dollops.
In general, pay closer attention to troweling techniques, especially if there is any warpage in the tile. You can also make use of a longstanding technique of installing, then pulling back every few tiles to make sure there’s adequate coverage of the material.
Tilesetters should avoid a method called spot bonding. Here, they comb out the thinset with a trowel, then apply the occasional dollop of material on top of the layer, say on the corners of the tile and in a couple spots toward the center. Unsure how the standard layer will hold with the larger pieces, some less experienced tilesetters try this as a back-up to ensure good adhesion. But it actually has the opposite effect.
“What it does is create a lot of voids behind the material,” Andrews explains. “And those voids are a perfect area for water to travel through and start to wreak havoc. So especially in submerged conditions, it’s a big no-no.”
° Work with the warpage.
Larger tiles generally will be somewhat warped, with the perimeter laying slightly lower than the middle.

Photo courtesy Rock Solid Tile
Large-format tiles especially enhance the clean, contemporary designs that continue to increase in popularity. They also can be subject to slight warping. Here, spacers placed between the tiles help control lippage where slightly warped or bowed pieces abut.
The larger the piece, the more potential for warpage. This is more predominant in porcelains but can occasionally be found in stone material, too.
To help with this, use spacers or other type of system to control lippage — where one piece is higher than the other and may curve up where they meet, suggests Jimmy Reed, president of Rock Solid Tile, in Calabasas, Calif. These spacers serve something like small clamps between the tiles to help control their elevation.
If installing the pieces in an offset pattern, such as the bond pattern commonly used for bricks, you should make a slight change to the technique. Rather than offsetting them by half a tile, as is traditionally done, Andrews says, offset them by no more than one-third.
“You don’t want the lowest point of the tile, which is the end of it, to interface with the highest point of the crown, which would be halfway across the tile,” he explains.


