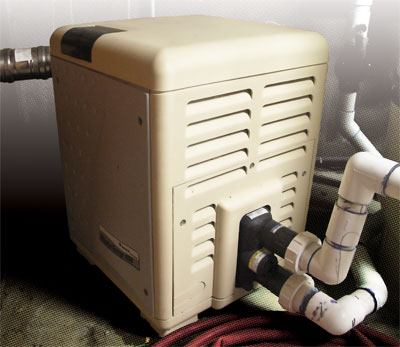
When a customer’s pool or spa won’t heat, the problem may lie with the breaker box or the electrical wiring, or within the gas heater itself.
If the heater is receiving power, but won’t turn on or provide heat, the problem could be a faulty integrated control board (ICB).
Though no two gas heaters are identical in design, most manufacturers have made replacing the ICB a straightforward process — all it takes is a new board, basic tools and attention to detail.
Here, we analyze the procedure one step at a time.
1. First, be sure to acquire the exact part needed for replacement — don’t assume all boards from a particular manufacturer will fit all models and years of heaters. It’s best to double-check with the manufacturer and/or distributor before actually placing an order for the new ICB. |
||
2. With the correct replacement board handy, start by turning off the power to the heater at the breaker panel, and shutting off the gas supply for safety. Using a volt meter, double check to make sure no power is being supplied to the unit. (It’s not necessary to shut off any water valves, though.) |
||
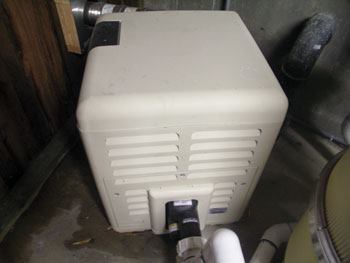
3. Next, refer to the manufacturer’s instructions regarding the exact location of the door(s) and/or access panels for that particular heater. Remove the screws and bolts that hold the panels and/or door(s) in place. If the top of the heater must also be removed to provide access to the ICB, lift it off gently, taking care not to dislodge any wiring connections. |
||
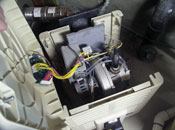
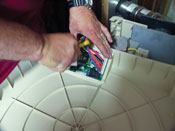
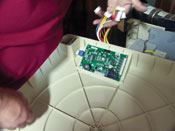
4. Gently remove the wiring harness connections to the board, making sure not to bend the metal pins connecting them to the heater. Use needle-nose pliers to disconnect wiring connections, as pulling on the wires themselves may damage them. Many manufacturers use unique wiring colors and/or connectors to assist in proper installation of the new ICB. For example, each wire’s plug type is different and will only fit the correct location on the board. If this isn’t the case, it’s still smart to label each wire to ensure correct wiring, or jot down notes on where each one connects. |
||
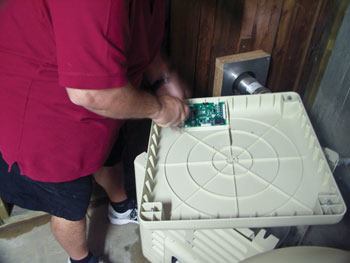
5. After all wires have been disconnected, remove any screws holding the ICB in place, and gently lift it out. |
||
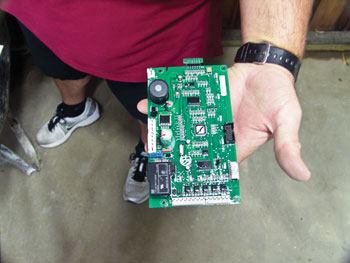
6. Inspect the board visually for signs of physical damage, such as corrosion or shorted-out circuits. Though it’s generally not possible to perform repairs on a board in the field, signs like these can provide information about why the board stopped working in the first place. |
||
7. Remove the new ICB from its packaging and attach it, taking care to follow the manufacturer’s instructions that came packaged with the new board, as the installation procedure, wiring and/or components may have been updated since the heater was first manufactured. |
||
8. Once all of the wiring connections are secured and the new ICB is attached firmly in place, close and/or reattach all doors and/or panels that were removed. Some techs advise leaving at least one access panel open while turning the power to the heater back on, and checking the topside display to make sure the board is connected correctly — however, be aware that this can present a risk of electrocution or burning. |
||
9. Return power and gas supply to the heater, then raise the required temperature temporarily to generate a call for heat. This verifies that the replacement ICB and heater are working. |
||
10. Return the thermostat to the desired temperature. |
Following these steps whenever a heater’s ICB requires replacement can help avoid unpleasant surprises. It’s less a matter of electronics expertise than one of patience and care.
Pool & Spa News would like to thank Rich Gallo, owner of Pure Swim Inc. in Los Angeles; Scott Weigman, eastern regional training manager for Hayward Industries in Clemmons, N.C.; and Mike Lucas, national training manager for Zodiac Pool Systems in Vista, Calif., for their assistance with this story.
