Technology is removing any excuses for sloppy photography.
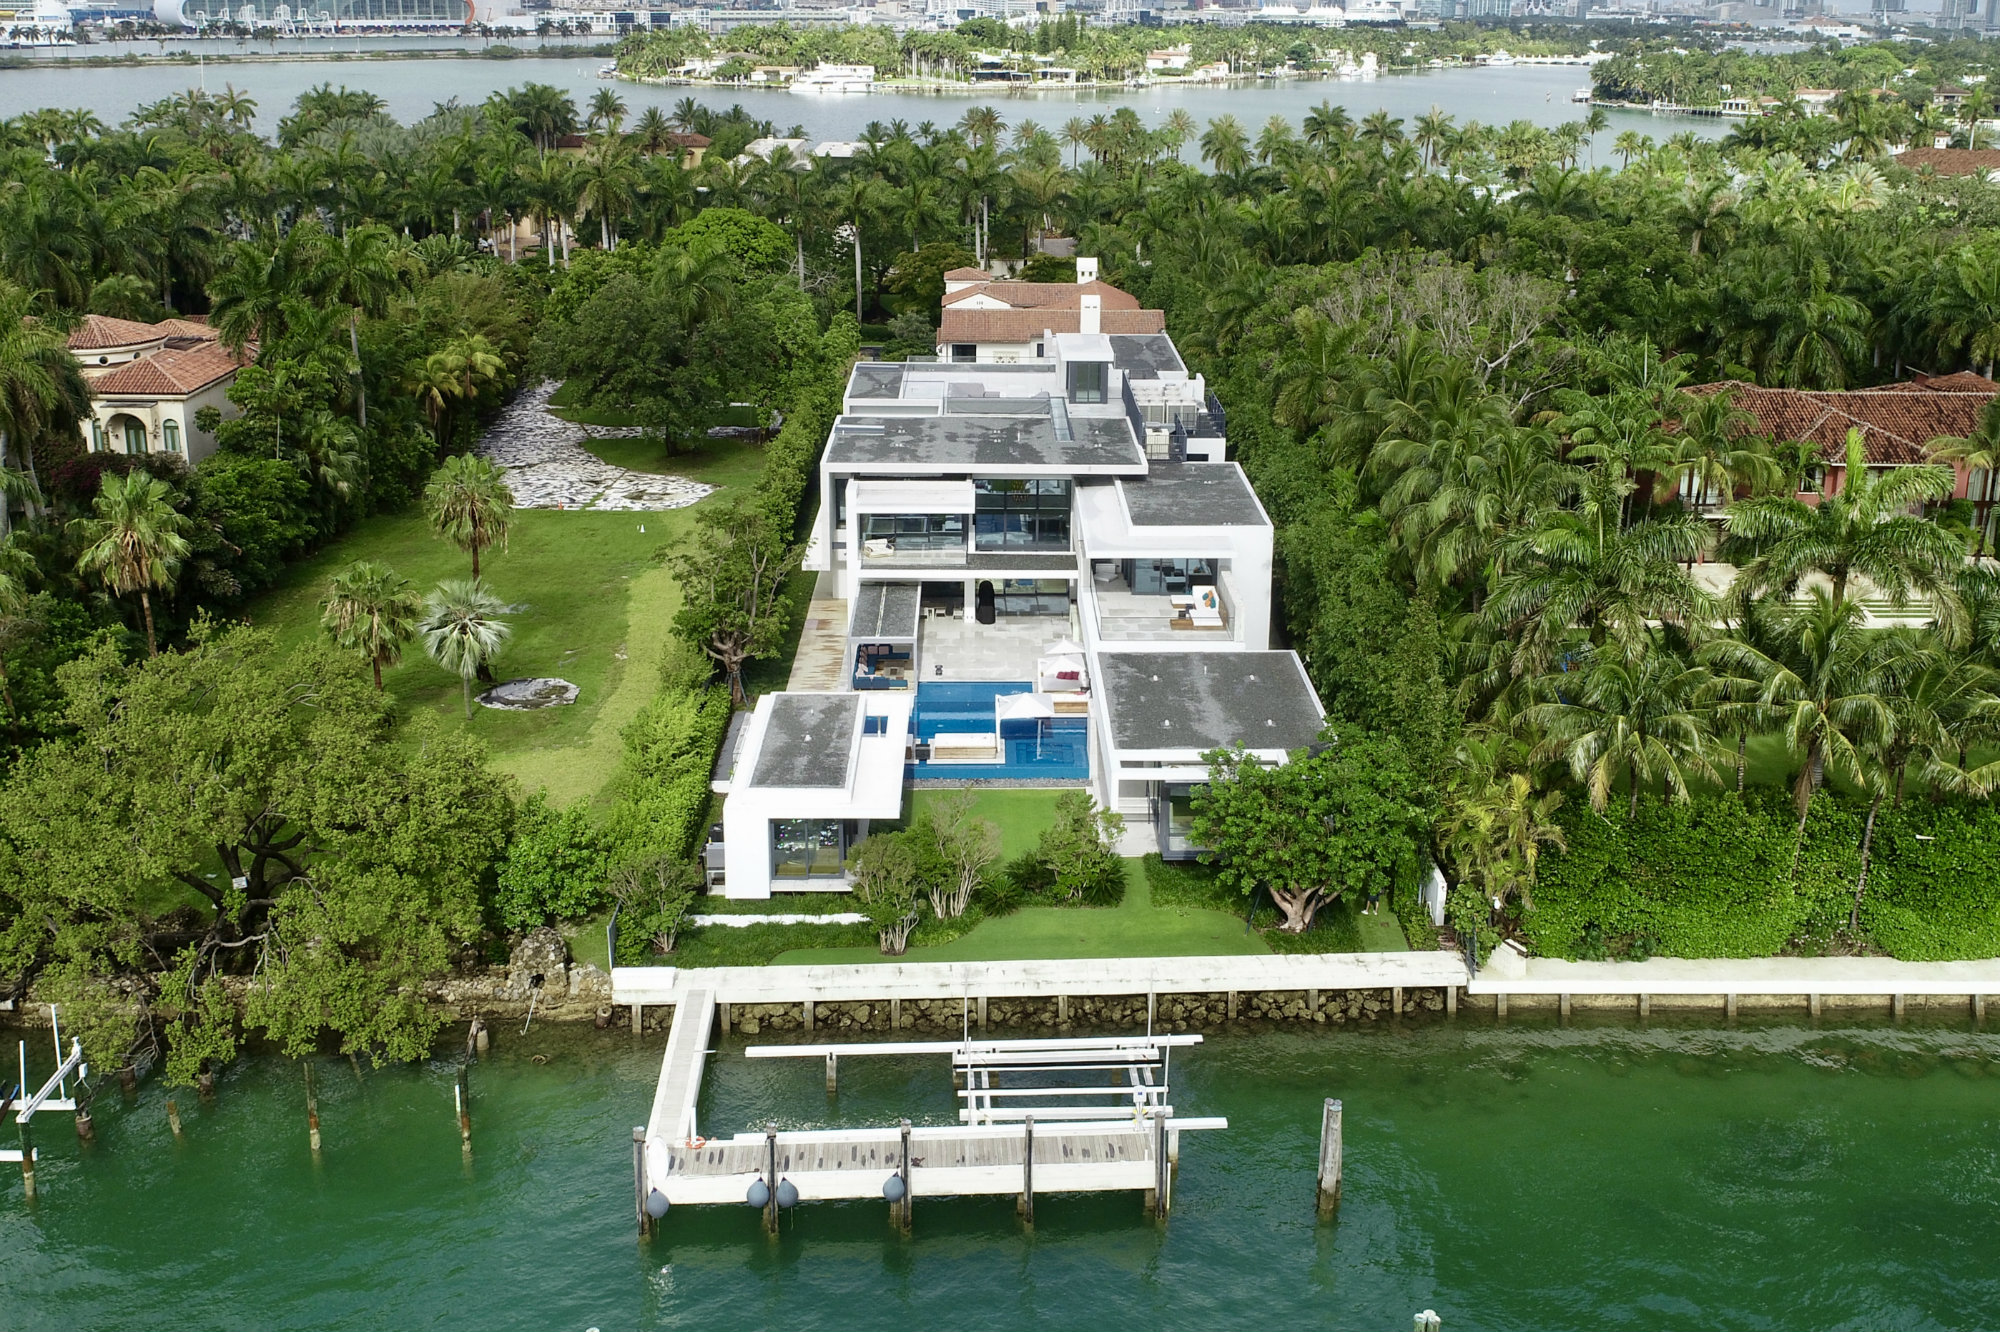
First, cameras have become more accessible, affordable and easy-to-use than ever. And with drone technology now affordable to many, increasingly interesting vantage points have become achievable.
Second, the use of social media and websites have made photography more important than ever. If you build dozens or even hundreds of pools each year, you may not want every one professionally photographed, but it’s nice to snap a shot and post it to the platform of your choice.
Here, professional photographers offer their advice to garner images that represent your work the way you want. While there’s no substitute for the years of practice and study that a pro can offer, these tips will help you boost your game.
Laying the groundwork
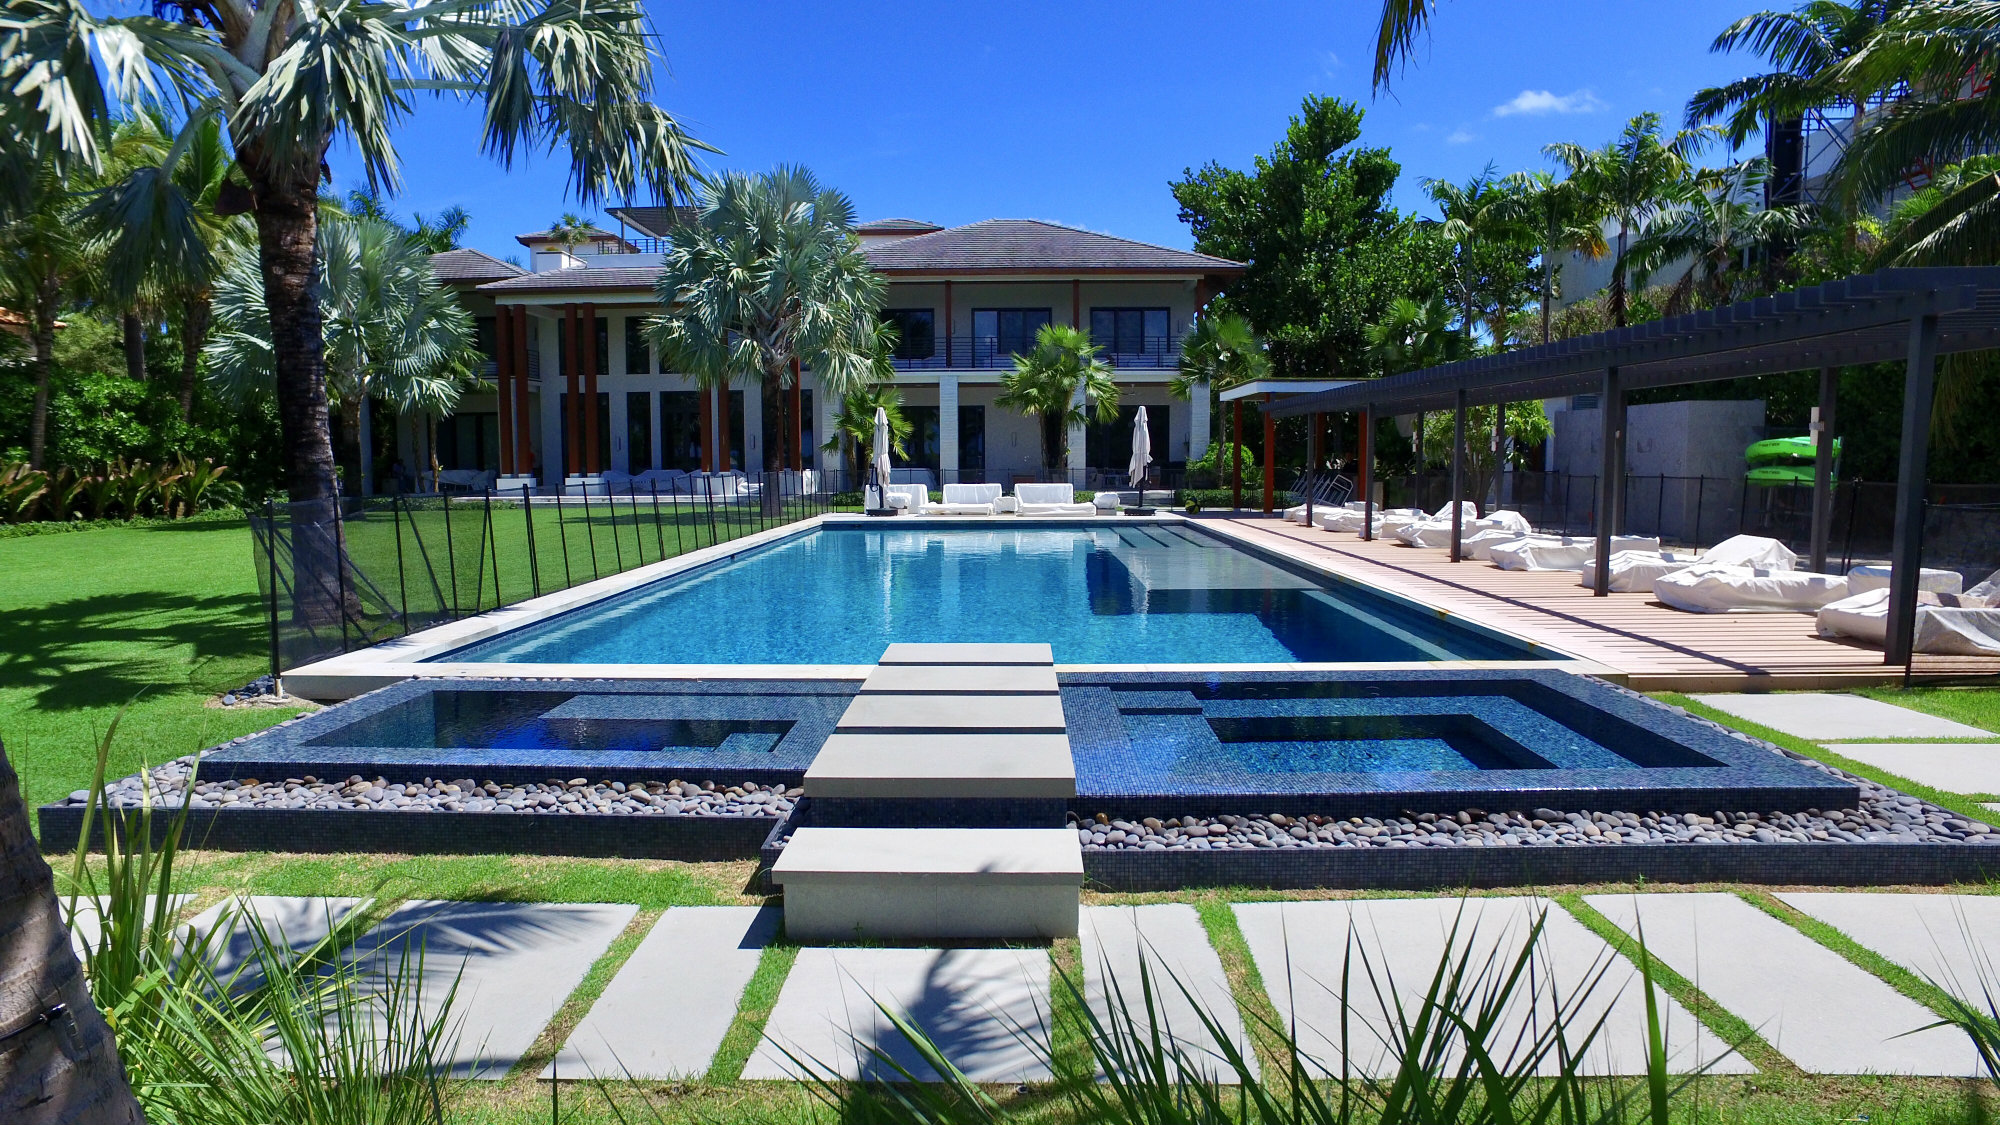
It may not seem necessary, but it always helps to take at least a few minutes planning the shoot. Decide what you’re trying to capture. Do you want the whole pool in the context of the home? Consider what background you want to show, and look for plants or other elements that could provide nice framing in the foreground.
Look around to get a sense of how and when the house and other large structures throw shadows across the pool. Will the shadows work, or should the pool be photographed without them? Do the same for reflections and glare off the water. When is it pleasant and when is it too intense?
Scout out different angles for waterfeatures and other details you’d like to highlight. Don’t shoot these straight-on. If you do, the foreground and background flatten into each other.
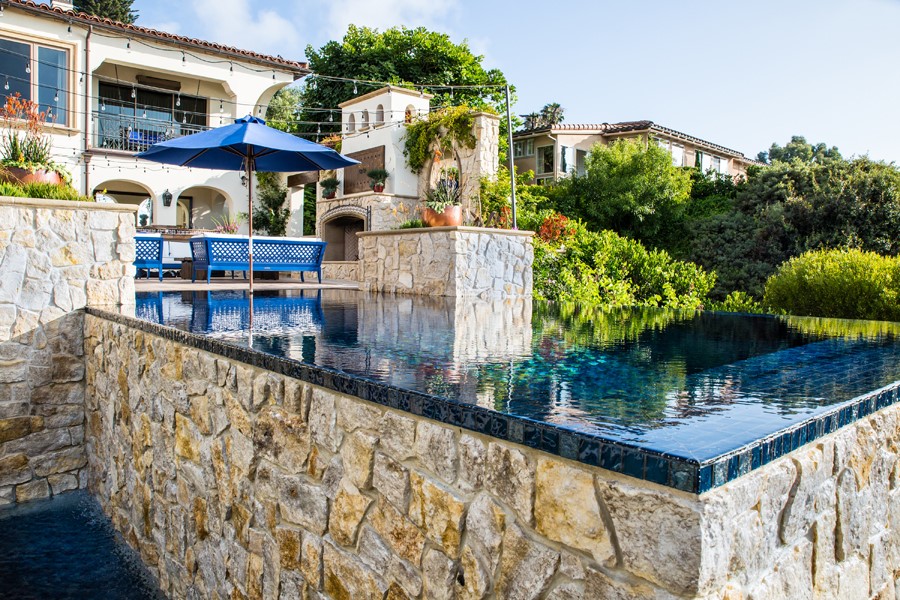
Working from an angle can give you more of a three-dimensional effect. “You can see things in the foreground and also behind the subject,” says Shannon Henry, of San Diego-based Studio Carre Photographie. “Say the waterfall is the subject. If you shoot at an angle, it will tell more of a story, because you have that added depth of field. ”
Don’t just think in terms of highlighting the more obvious elements such as waterfalls and vanishing edges. Look at the pool’s lines. If it has a strong S-curve, for instance, walk around to see which angle will make that pop. Don’t plan on shooting the curve straight-on, says Mark Boisclair, a Phoenix-based architectural photographer. “If you position the camera so you’re looking down the S-curve, you can see it doing its thing,” he says. “But if you back out and look from a distance, it’ll just look flat.”
Find angles that will allow stronger lines to lead the eye where you want. Henry likes to use pool edges this way. “There’s a thing in photography where you want … an edge that draws an eye to a certain point in the photograph,” Henry says. “Rather than just flat-on, at an angle it presents differently.”
If you plan to enter the images in a contest, check the rules regarding photos. Some limit the number of images you can submit, so figure out how to show everything you want in that number of shots.
Light and shadow
Since light makes photography possible, this factor may be the most important.
Look for consistent light, says Juan Diego Ucros, president of Miami-based Hawk Vision Studios. But it shouldn’t be too bright or gray. Do not shoot at high noon, when the contrast between light and shadow is highest.
Hawk Vision Studios
Also avoid photographing in overcast conditions, Boisclair adds. The gray sky will reflect on the pool, making the water look cold and the photo look drab.
He also avoids shooting with the sun at his back, because it flattens out textures. “Say you look at a mountain, and you have the sun at your back,” he explains. “It will have no texture at all. You want a time of day when the sun is hitting the mountain and [creating] highlights and shadows.”
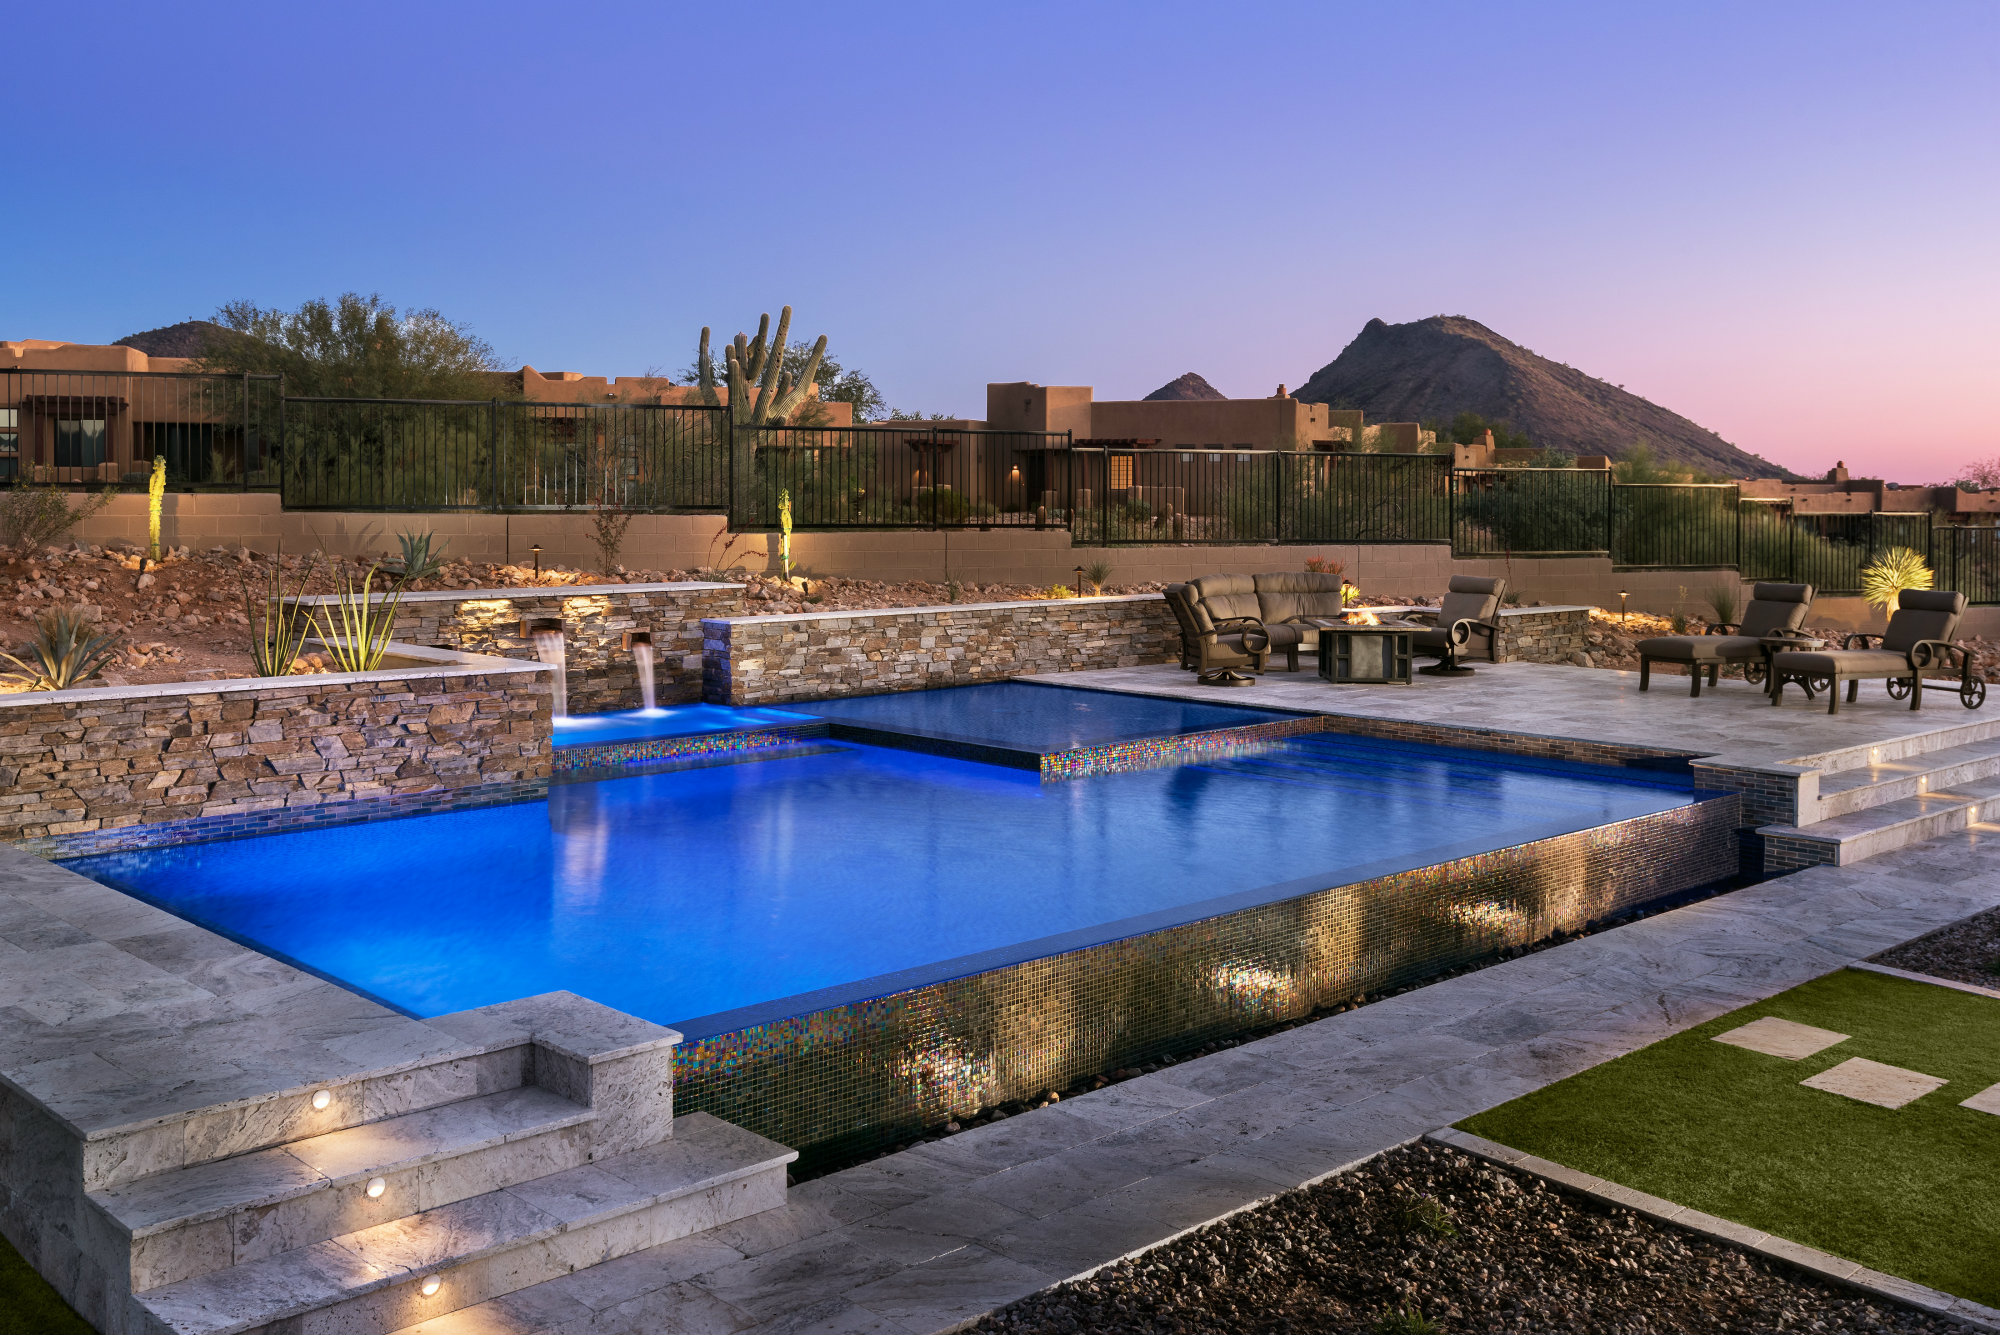
To mitigate many of the issues with shadow and glare, and to introduce some drama, you can shoot the pools during dusk. That’s a favorite for clients of Boisclair’s. “There’s something very magical,” Boisclair says. “Everything is very optimized.”
You can get a similar quality by shooting around sunrise, but with warmer light.
But they call this time the Magic Hour for a reason — it moves quickly. So be sure to map out your shoot ahead of time.
Professional touch
For next level images, take time to stage the shot. Assess the patio furniture to see what looks good and what doesn’t. Create vignettes with the attractive pieces and remove the others. This becomes especially important to visually break up larger expanses of deck.
See if any color is needed. You can quickly add it with cushions, pillows and towels. Sometimes Boisclair will bring flats of plants from the nursery and strategically place them. He may prop them in front of the camera and shoot over them to add color in the foreground.
-
Drone Photography for Swimming Pools
Check Out This Photographer's Top Three Tips for Photographing with Drones.
Also consider what kind of water surface will look best. Are there waterfeatures you’d like to see flowing? This will create turbulence in the pool as well as the waterfeature itself.
Boisclair often likes turbulence for added texture and sparkle, or to obscure drains. If there isn’t a waterfeature to provide that movement, he’ll create it himself. At an apartment pool recently, his assistant moved the water with a shepherd’s hook that was on site. “[He] would walk around the pool, agitate the water, and by the time he’s done with one end, the other end looked good,” Boisclair says. “I let it calm down a bit before I took the picture.”
This technique isn’t always best. When photographing more modern, sleek designs, Henry prefers the water to be still, to give it that reflective quality. This also helps showcase tiles and other details. If there’s a waterfeature to showcase, she’ll first shoot with the water still, then with it running.
Steadying influence
Even if you’re taking the images with a phone, consider investing in a tripod, Boisclair advises. By holding the camera in place, you can avoid blurriness that occurs when the photographer mistakenly moves. It also allows for longer exposure times in lower light.
Beyond helping control light issues, tripods also make it easier to compose the perfect shot: You can take an image, review it on the camera or phone, then easily refine the composition with minor adjustments such as moving the camera slightly to one side or the other.
“You can make your mistakes ahead of time,” Boisclair says.