


By Steve Straehley
…
Solar collectors are an increasingly popular way to extend the swimming season for some pool owners. They don’t provide the ability to keep water warm enough to swim year-round in most climates, but they can add a couple months on either end of the season.
In addition, a solar system can’t generally get a spa warm enough. However, it can be used to bring the temperature of a spa up to the point that it takes very little energy for a gas heater to get it the rest of the way.
Installing a system is fairly straightforward, especially if you’ve got experience. Solar Heating Specialists of Riverside, Calif., has plenty of that, having been in operation since 1977. This installation took two men less than a day to complete.
A solar system installed in an area such as Southern California where the temperature is 80 degrees or above for six months out of the year will recoup its cost in energy savings in two to three years, according to Emery Osgood, president of Solar Heating Specialists.
The pool was built in 1996 and the equipment dated from that time. That meant that the old single-speed pump was replaced by a variable-speed model. Also, there was no gas heater in place. The homeowner, Leanna Barnes, said that when she and her husband had the pool built, she swam all year in the unheated water, but lately started feeling the cold.
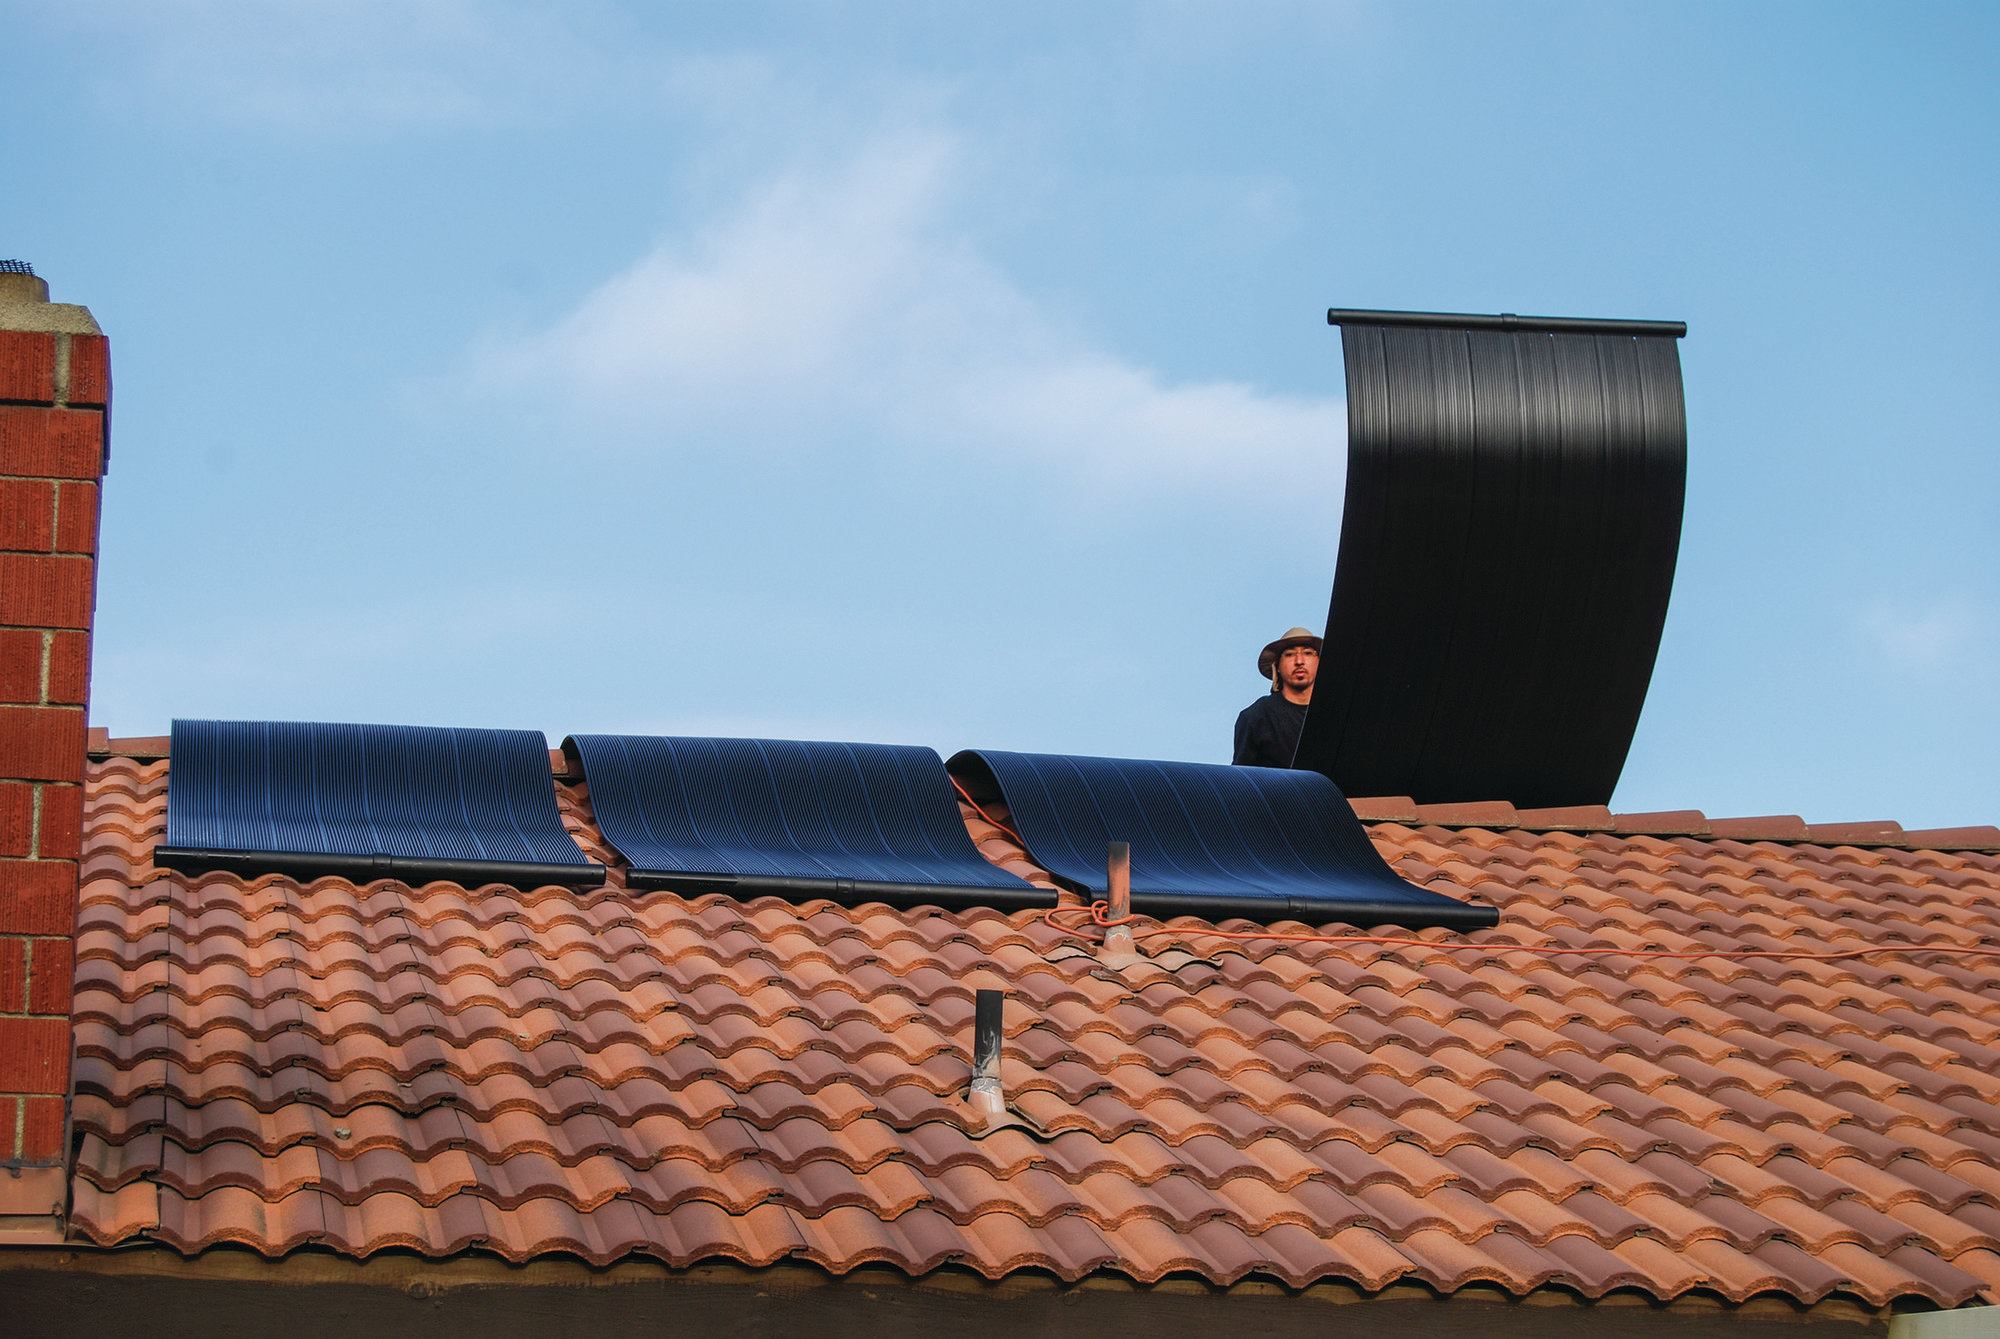
Collectors, in this case Hi-Tec, manufactured by Solar Hydronics of Odessa, Fla., are generally placed on the roof of the house, but are sometimes put separately on a platform.
This installation was in a single-story house, so there was much less ladder climbing involved than there could’ve been. The equipment pad was in good shape, with plenty of room to work and without extraneous piping.
1) Place the solar collectors on a south-facing roof. There won’t always be a way to make the collectors face directly south, but ensure they get as much sun exposure as possible. The collectors are flexible and the number used depends on the size of the pool to be heated. This installation had six collectors, while those with bigger pools might require nine or 10.
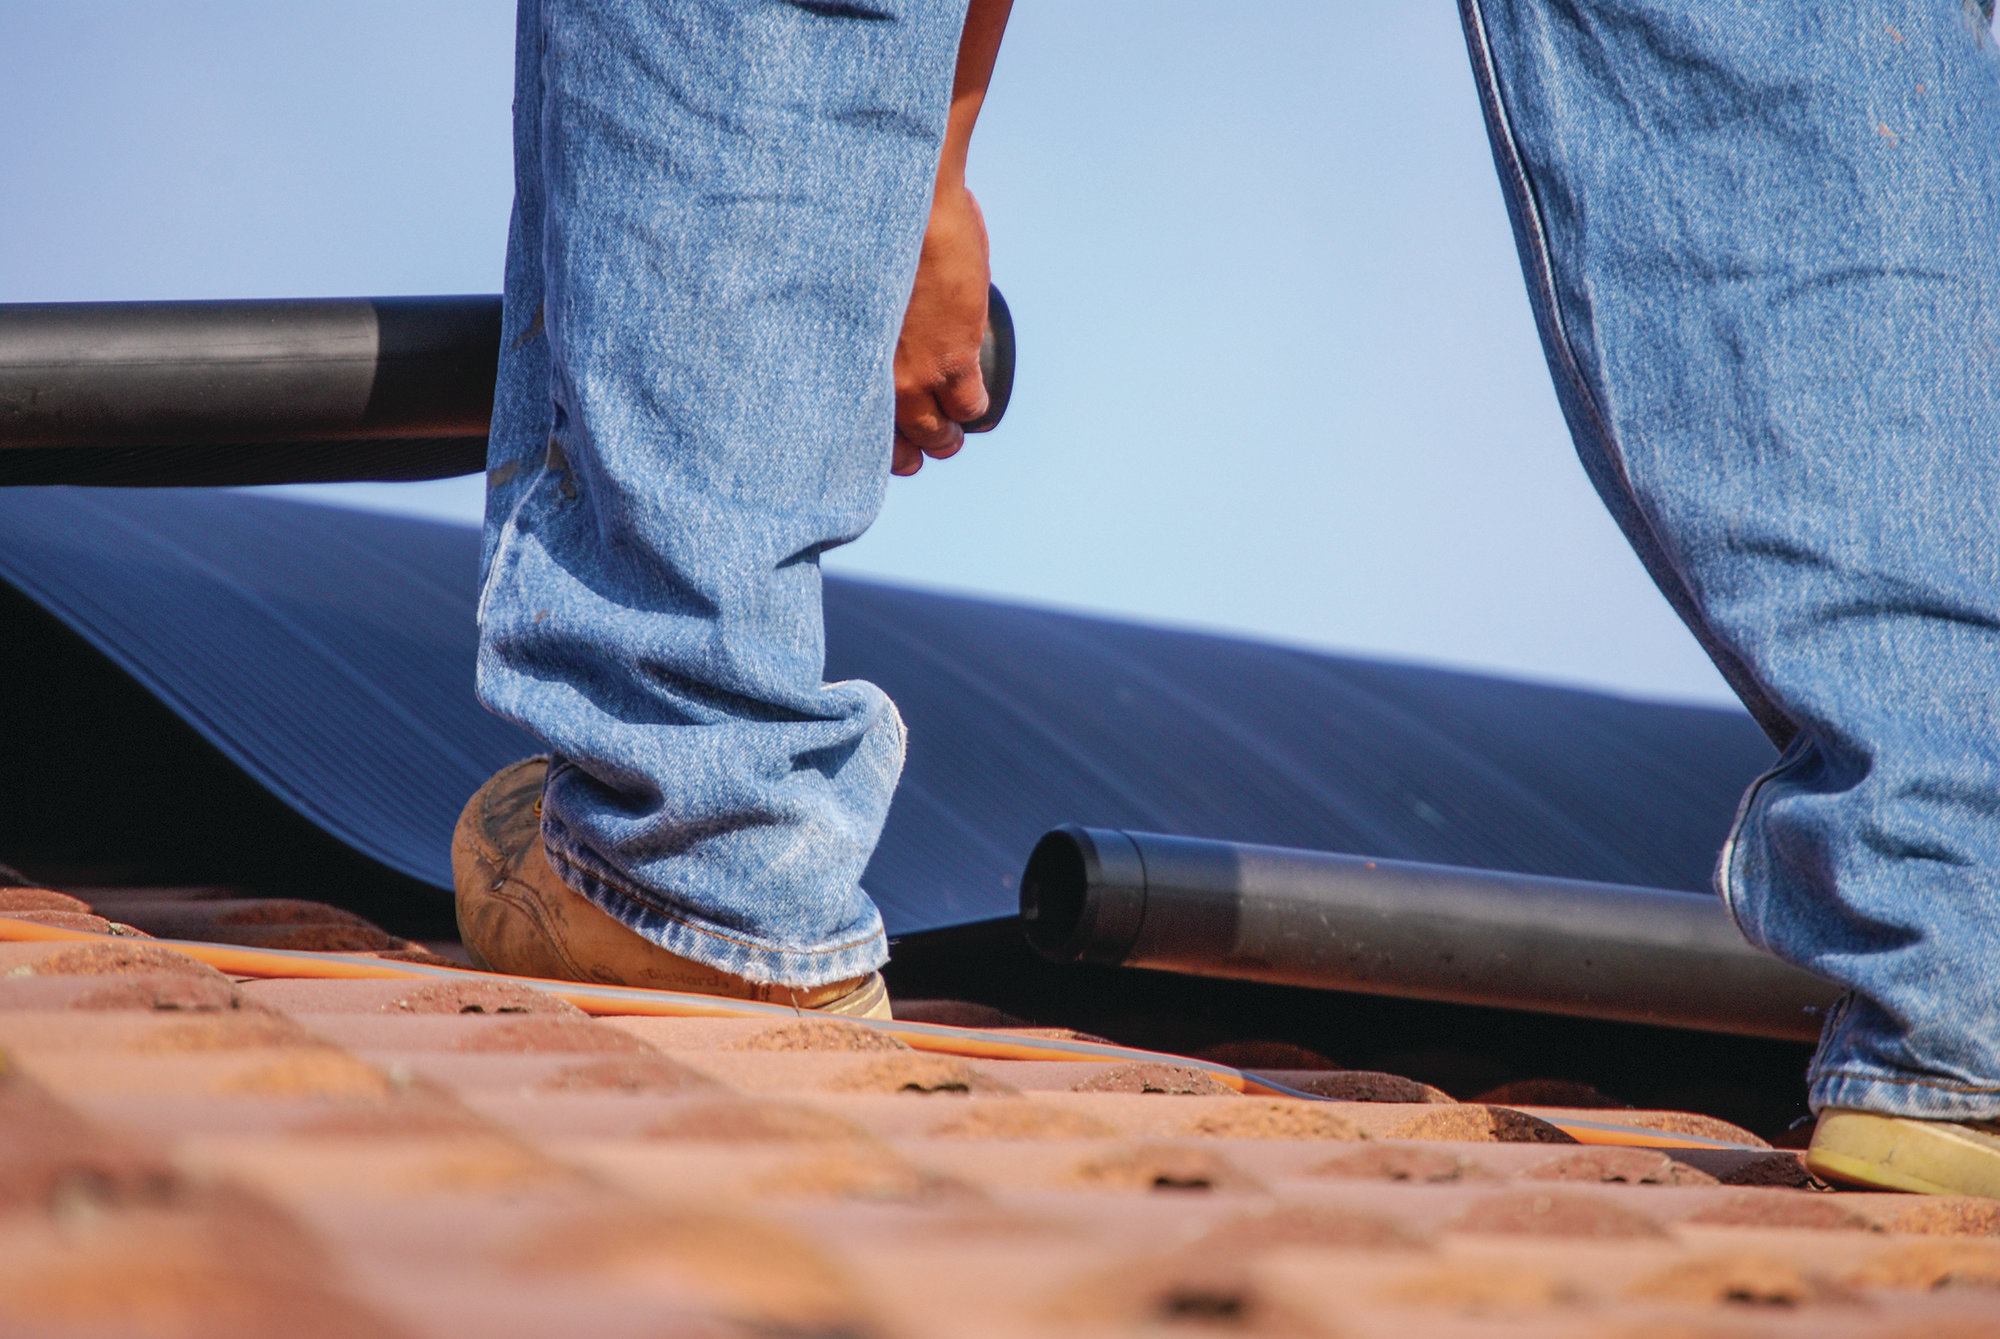
2) A rubber coupling is used to join the individual collectors.
3) The pipes at the bottom of each collector should be fitted together.
4) Brackets are used to hold the collectors to the roof at the top and bottom. In this case, lag bolts were placed through the brackets and into roof tiles. Other types of roofs may dictate a different approach.
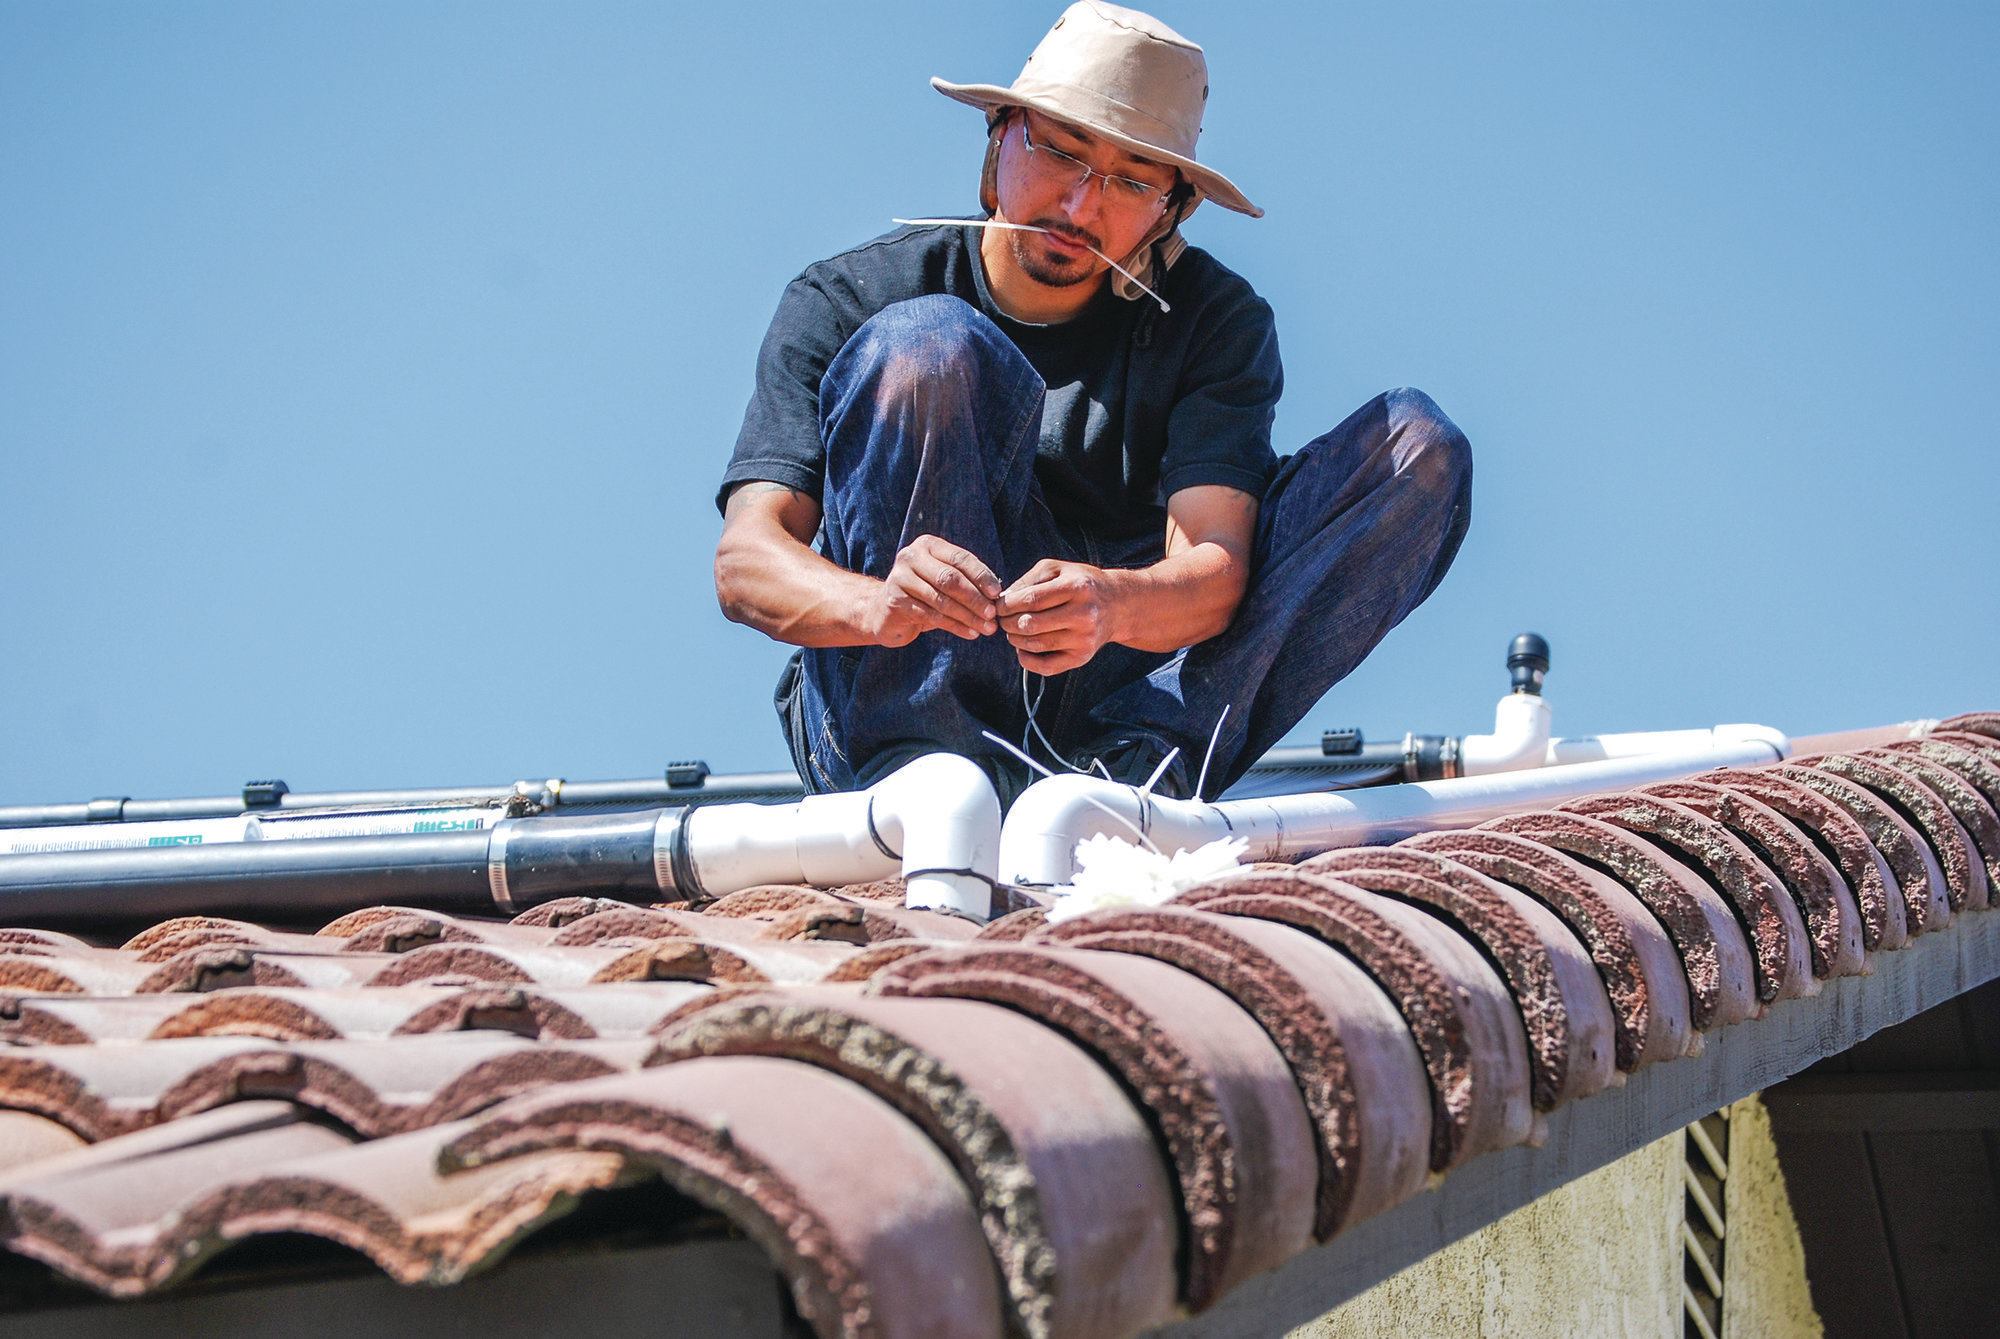
5) Poly-coated stainless steel straps are used to keep the collectors from billowing up in a high wind.
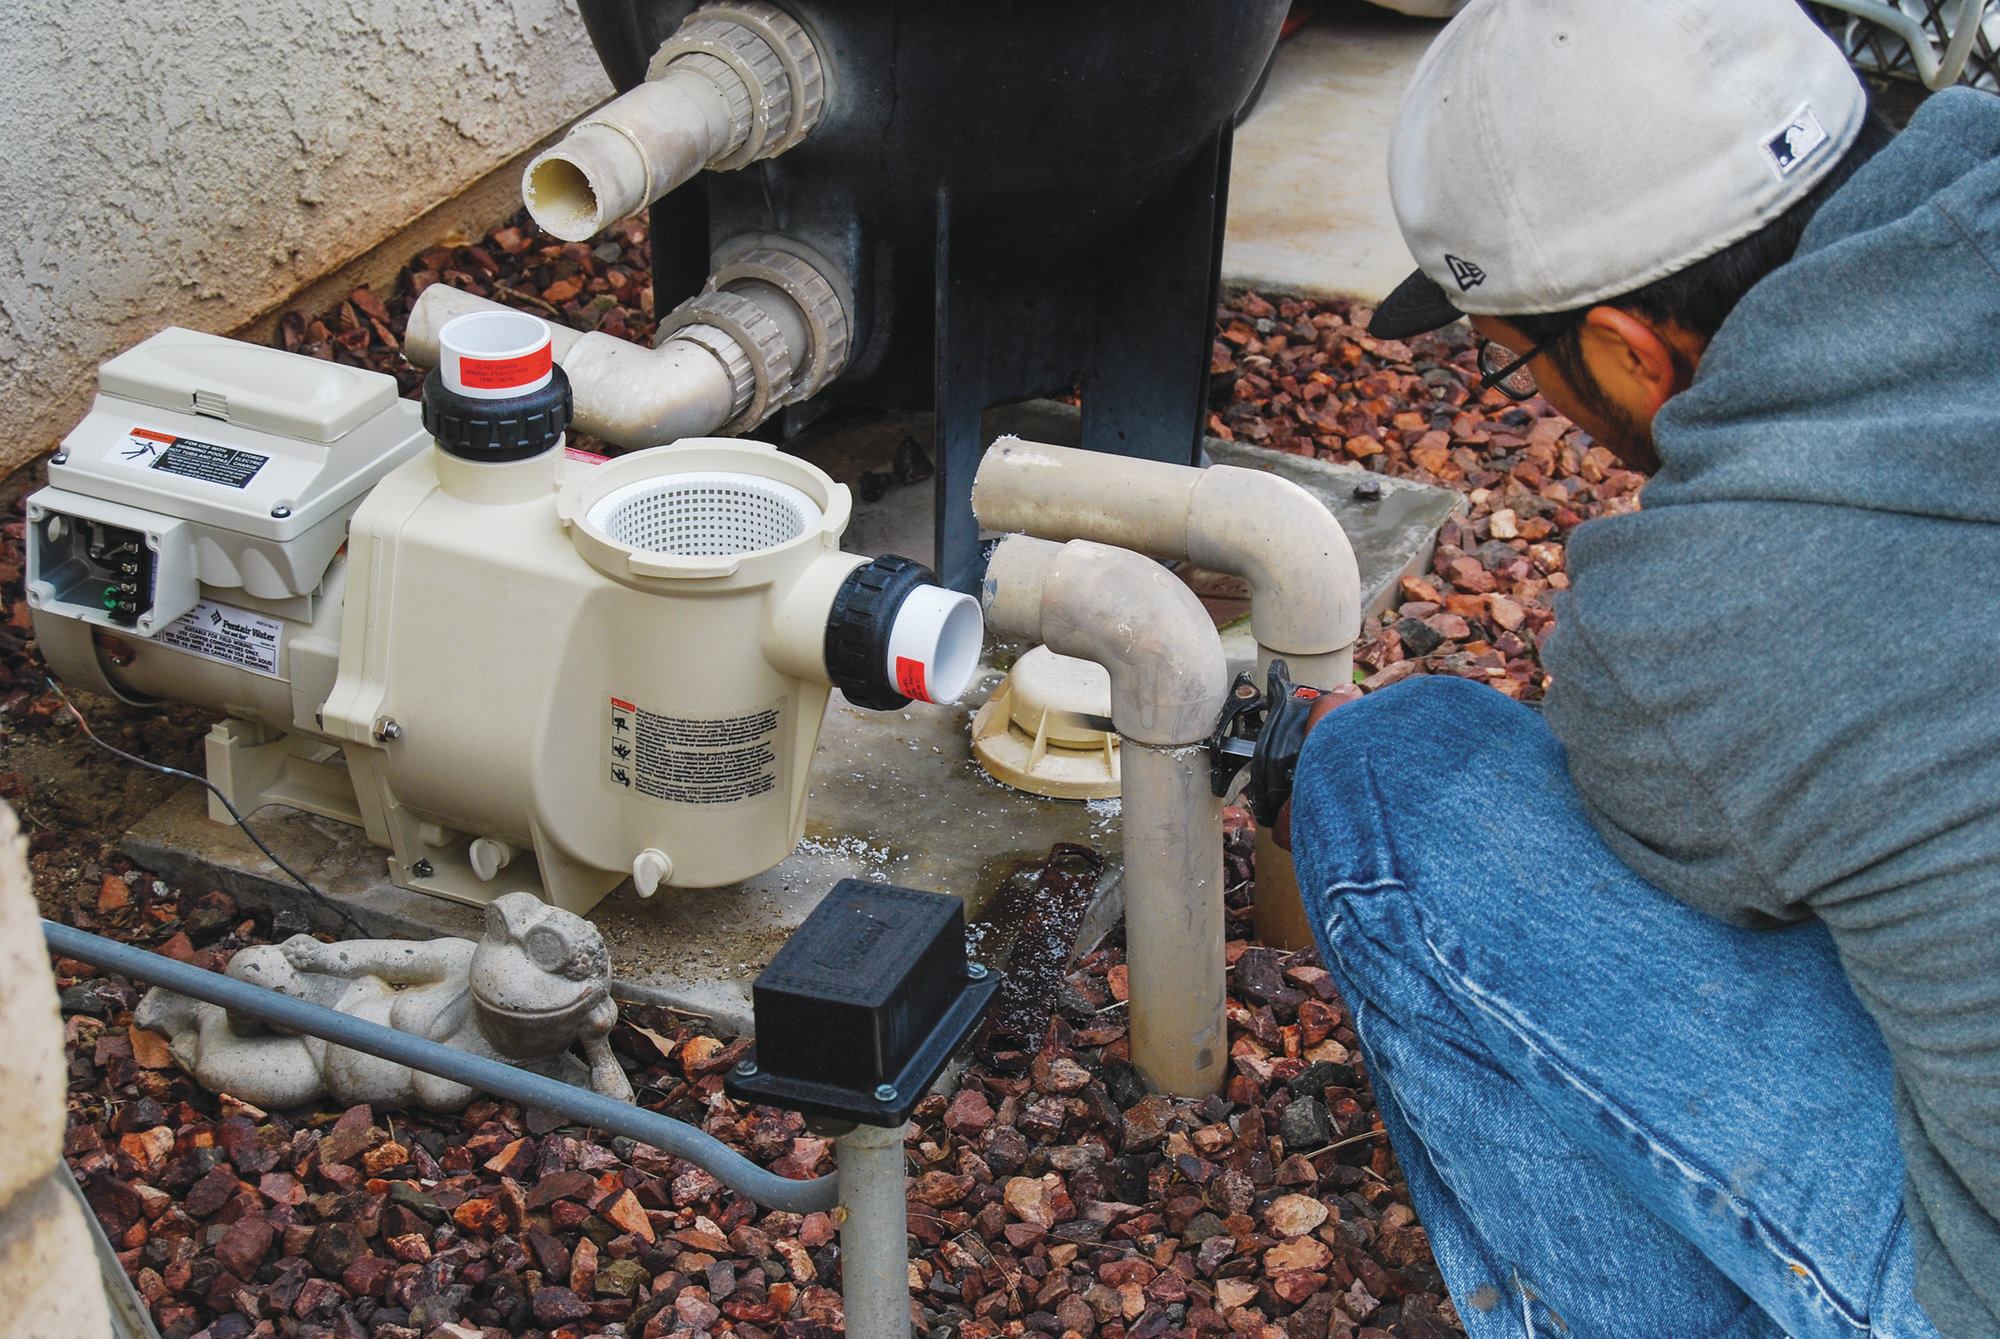
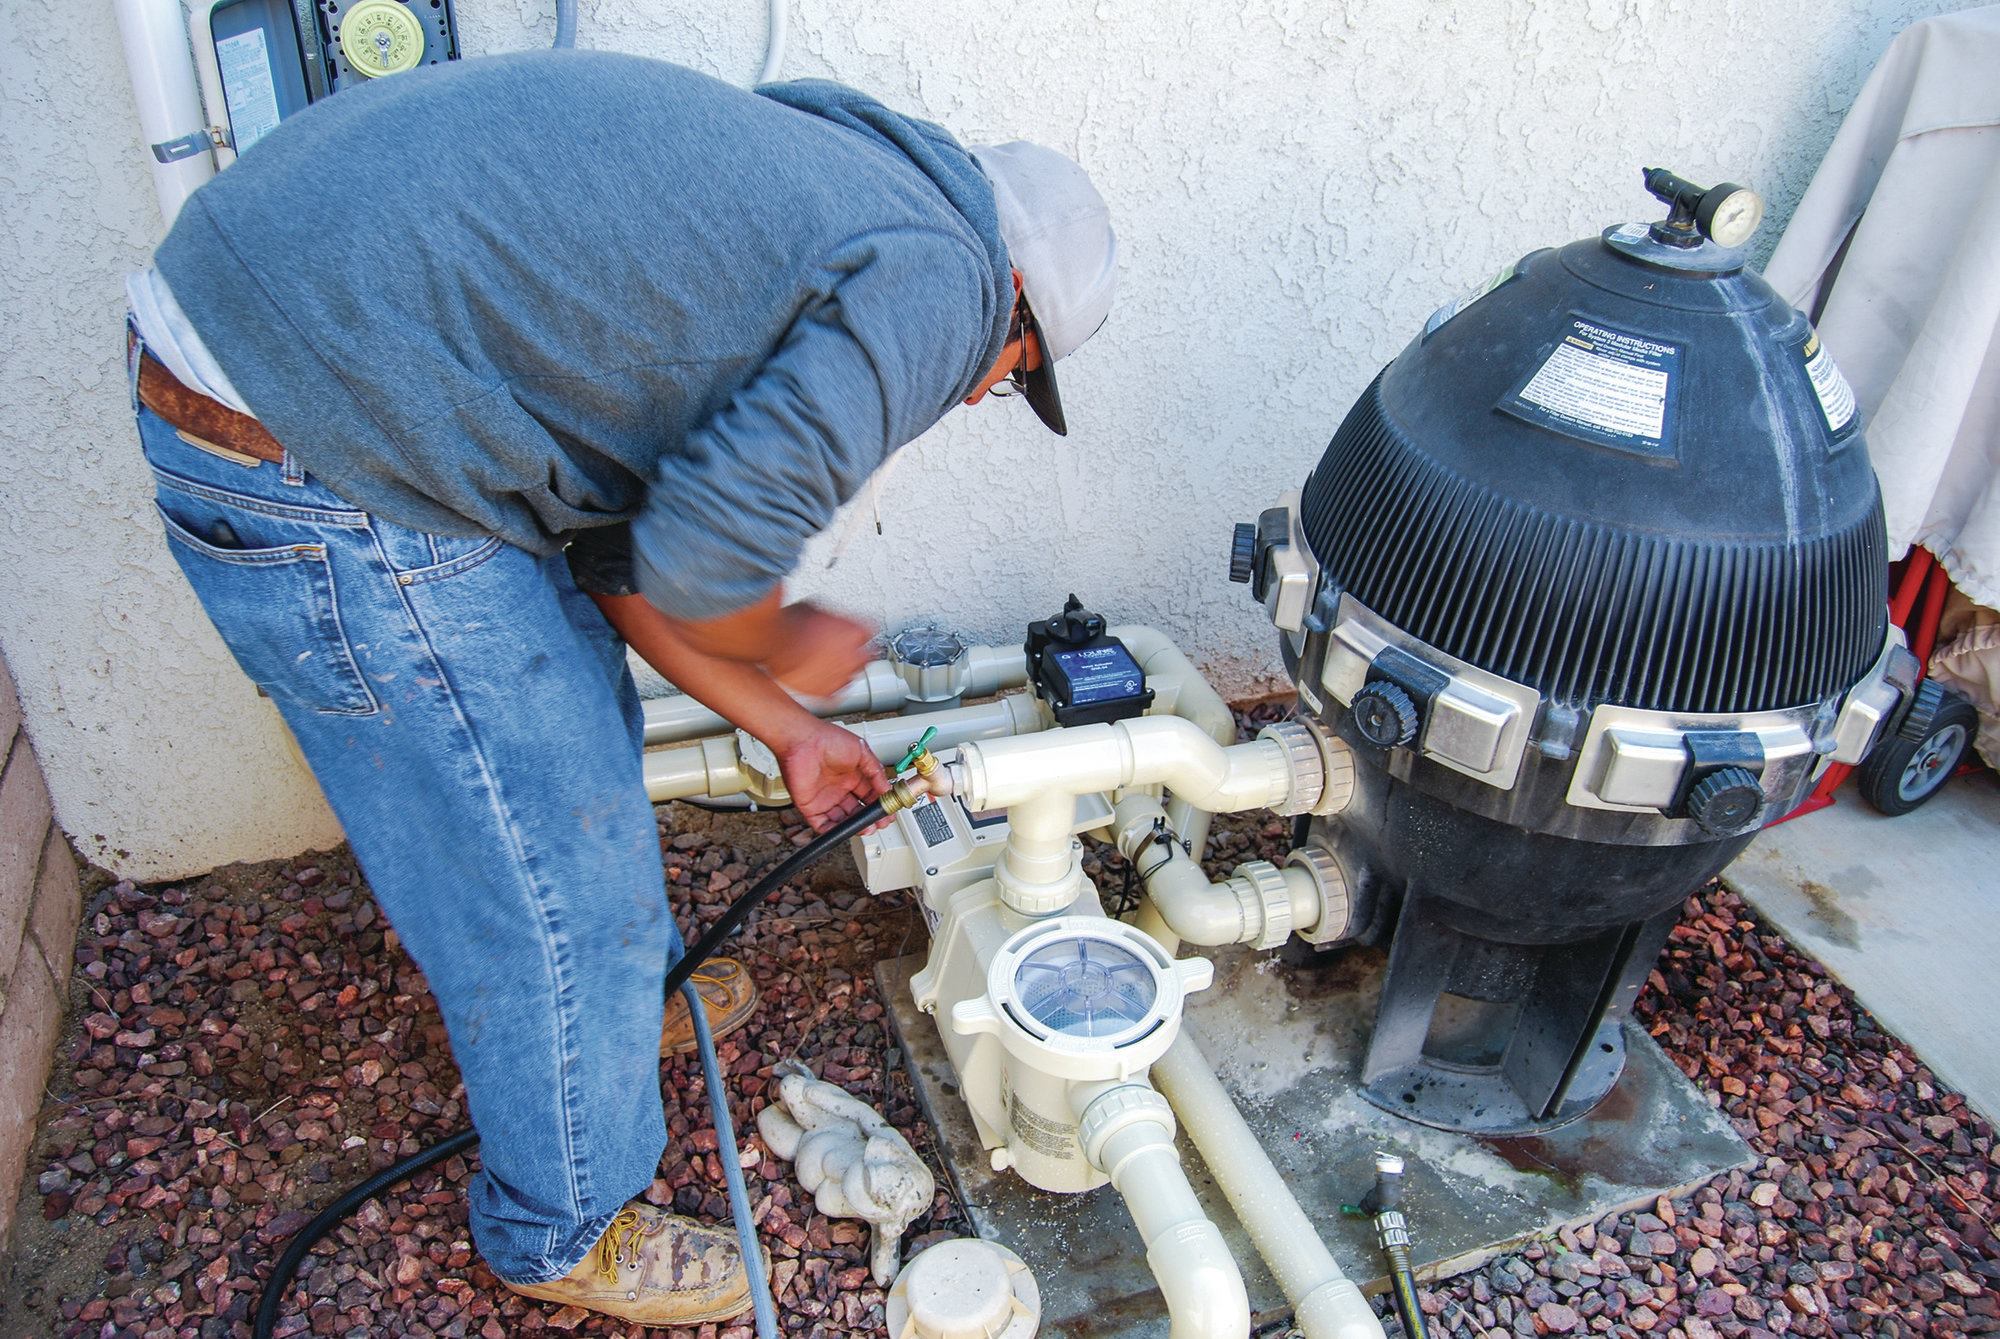
6) The old single-speed pump is removed and a new variable-speed model is prepared for installation. Afterwards, a sensor will go into the line to test the water temperature from the pool. Another sensor checks the roof temperature. A four- to seven-degree differential activates the system.
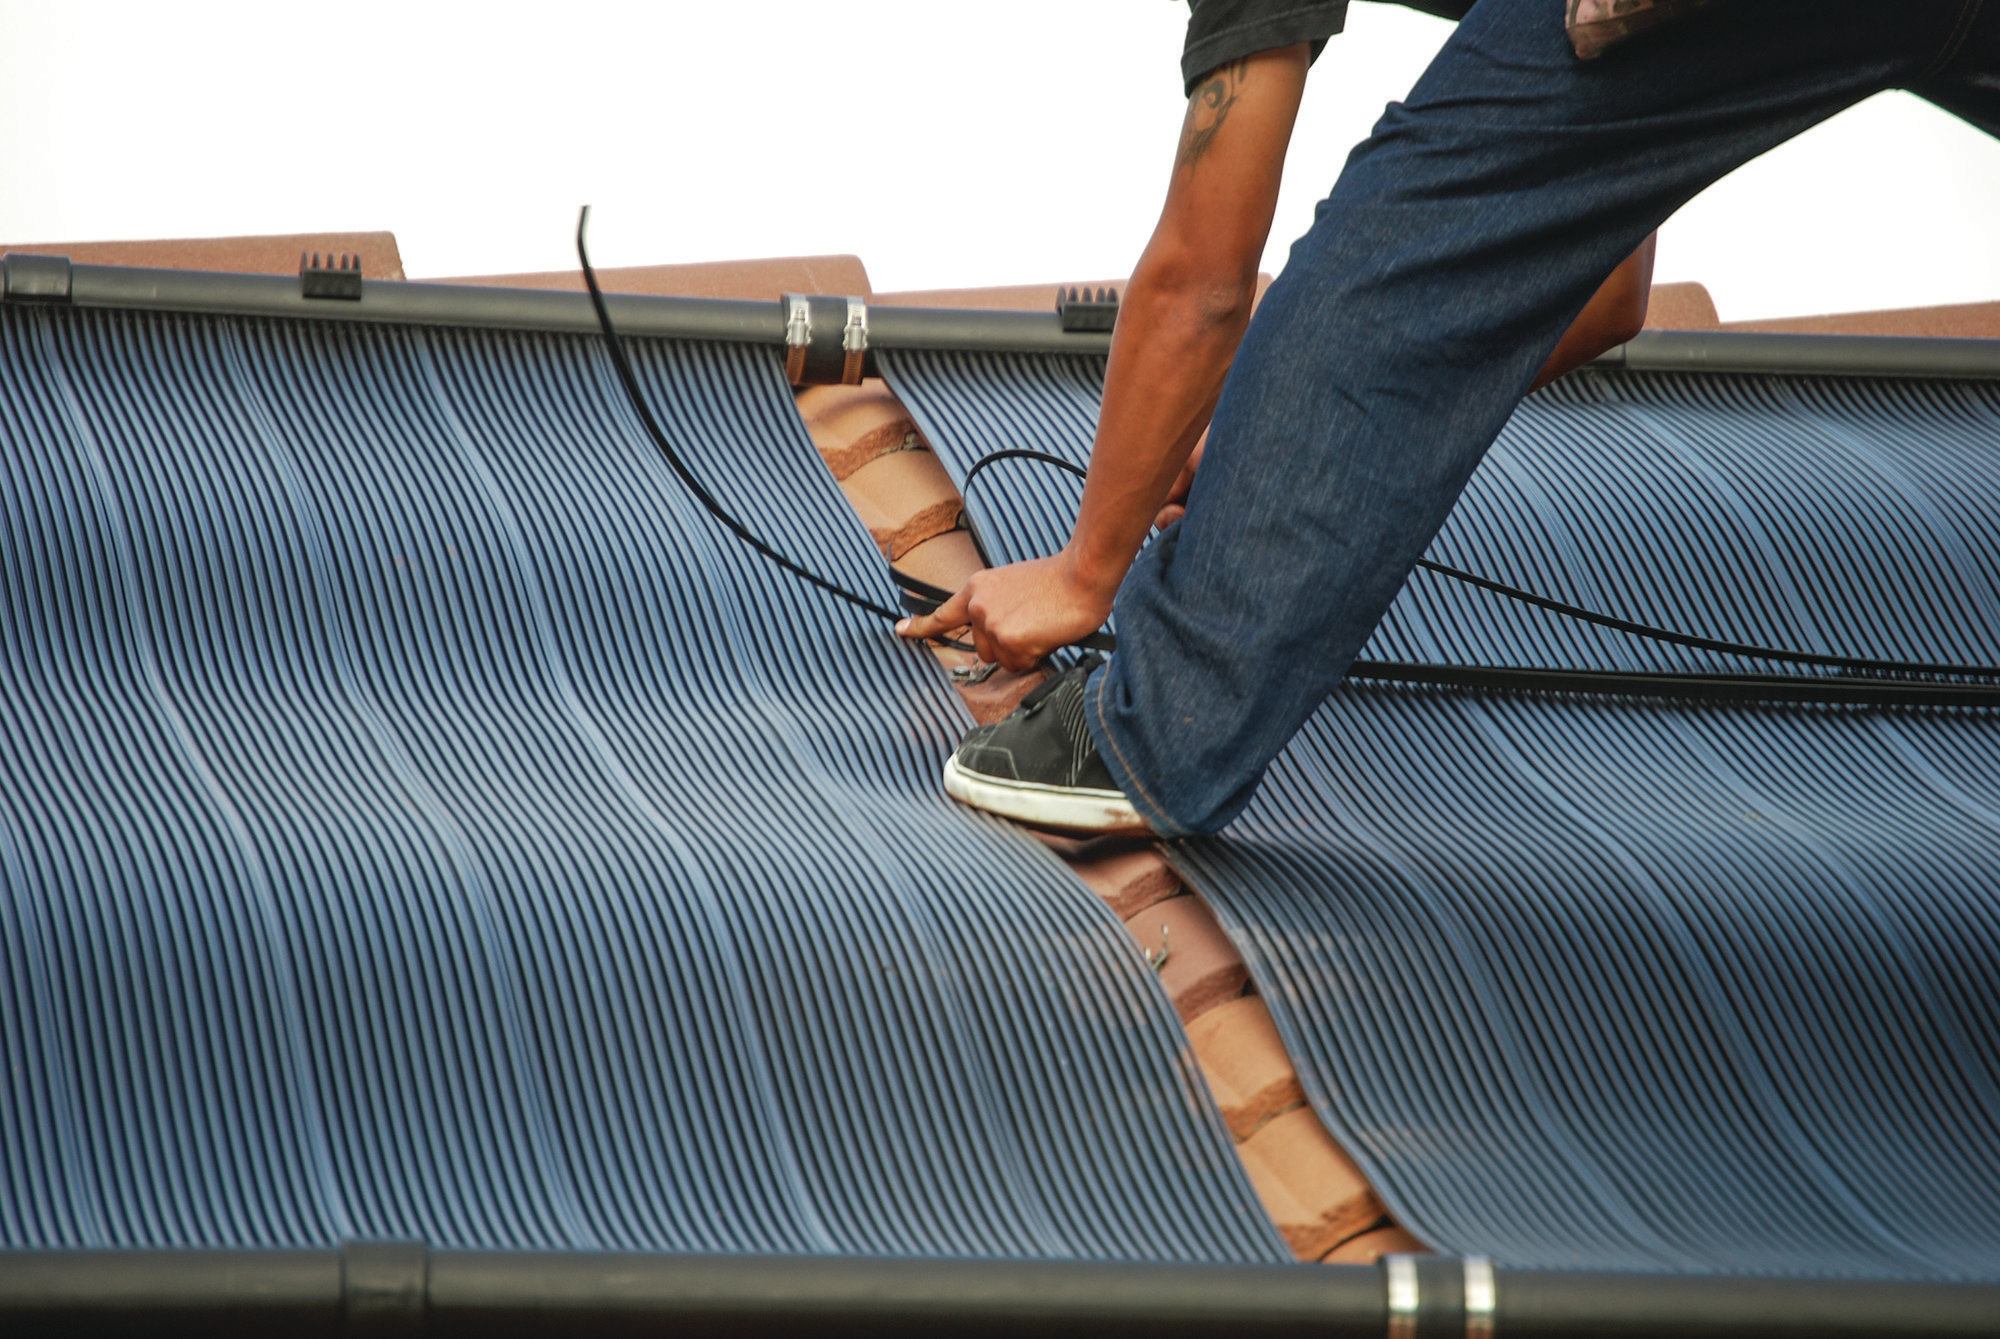
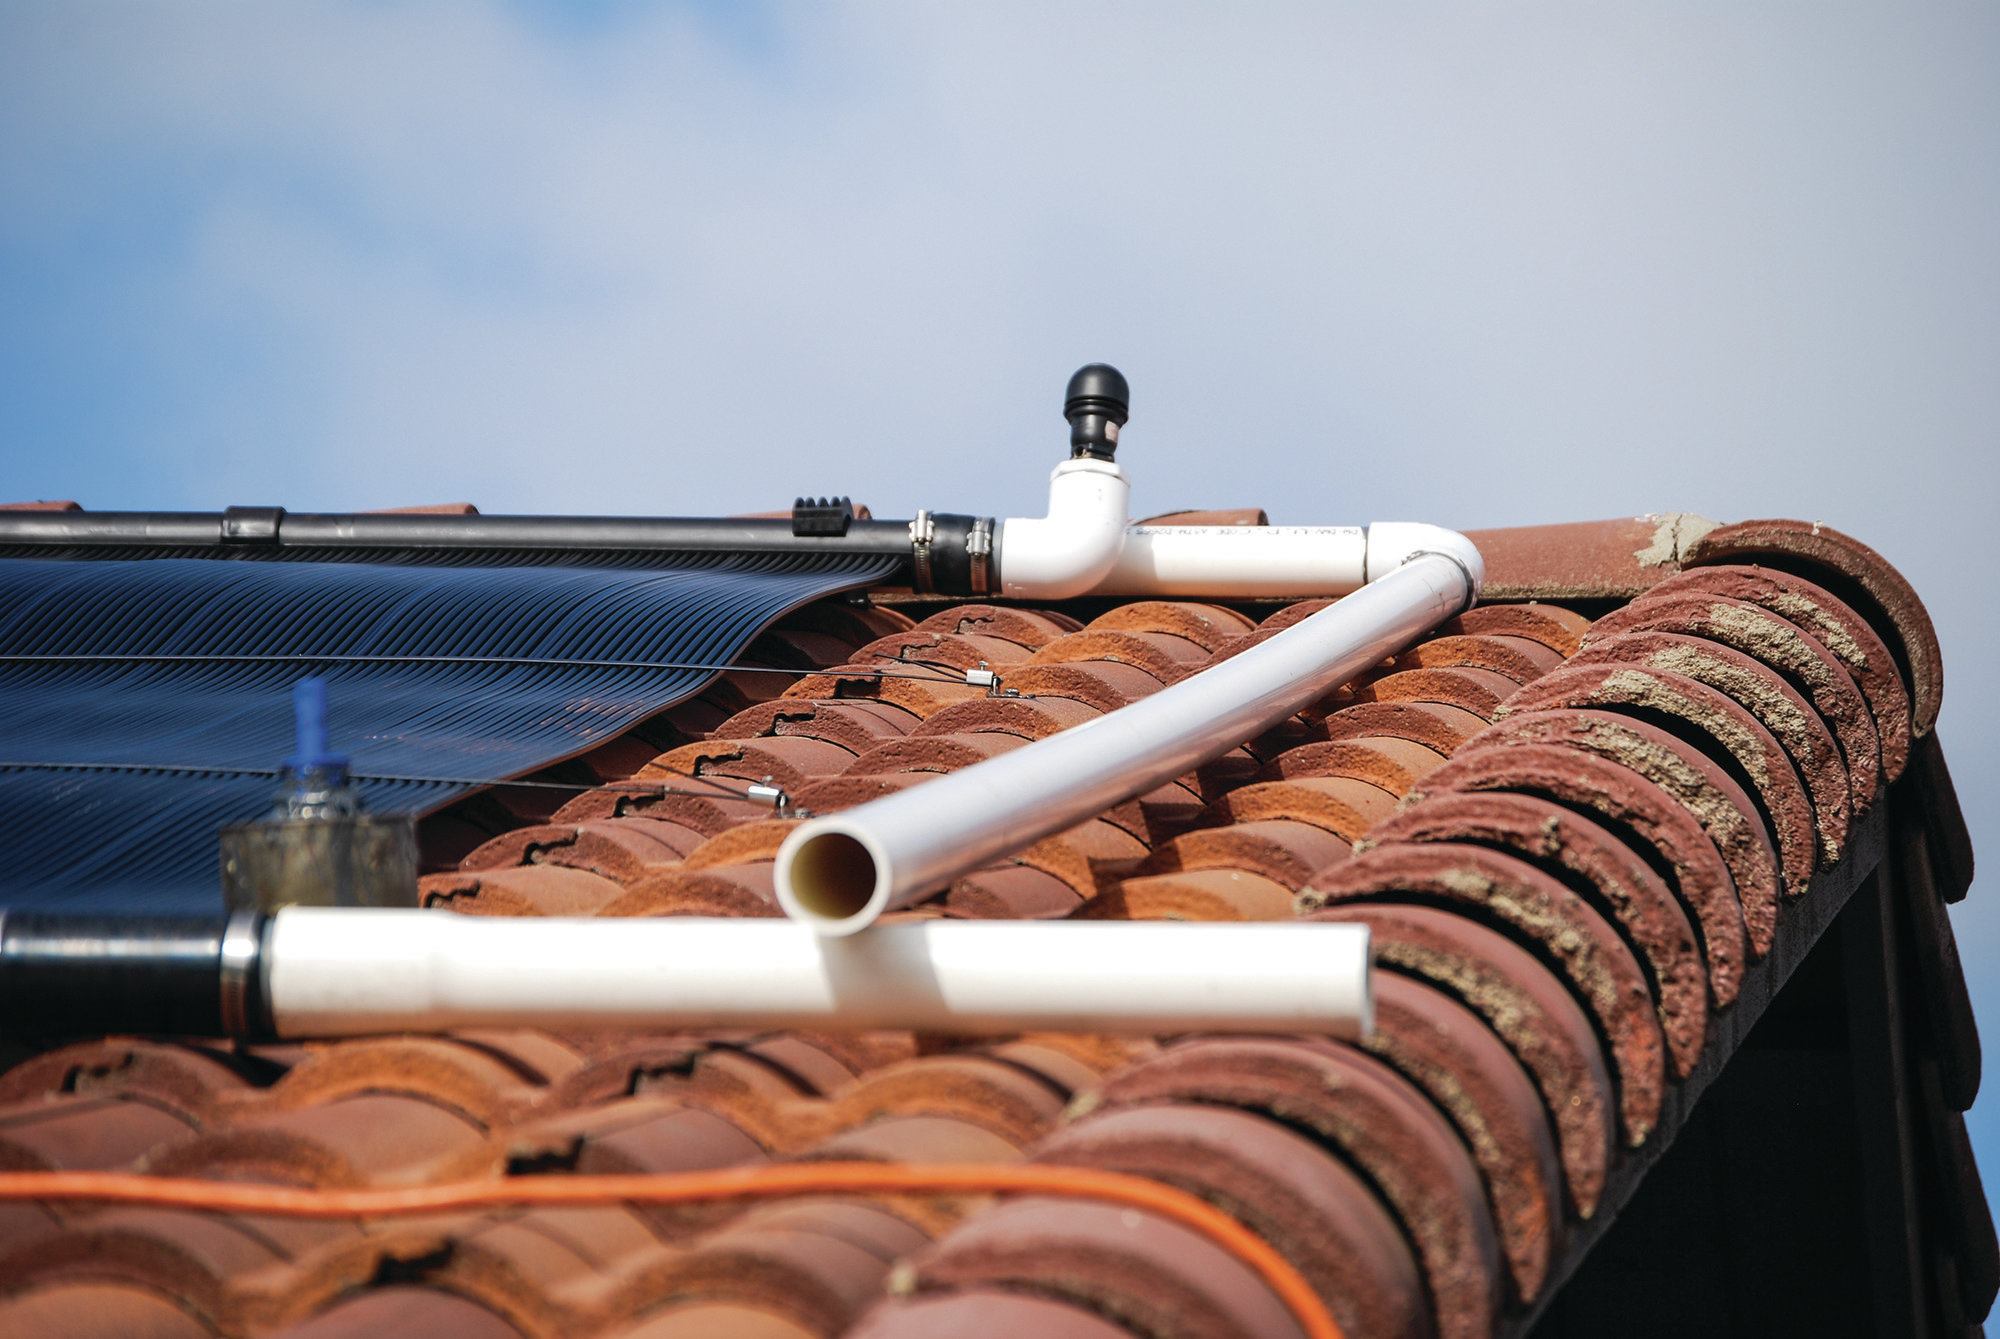
7) Meanwhile, the return line is fitted to the top of the collectors. When the collectors are operating, water from the pool will come into the collectors from the bottom and be heated as it rises through. It will then be returned to the pool.
8) The return line comes down from the top of the collectors to where the intake pipe brings filtered water from the equipment pad.
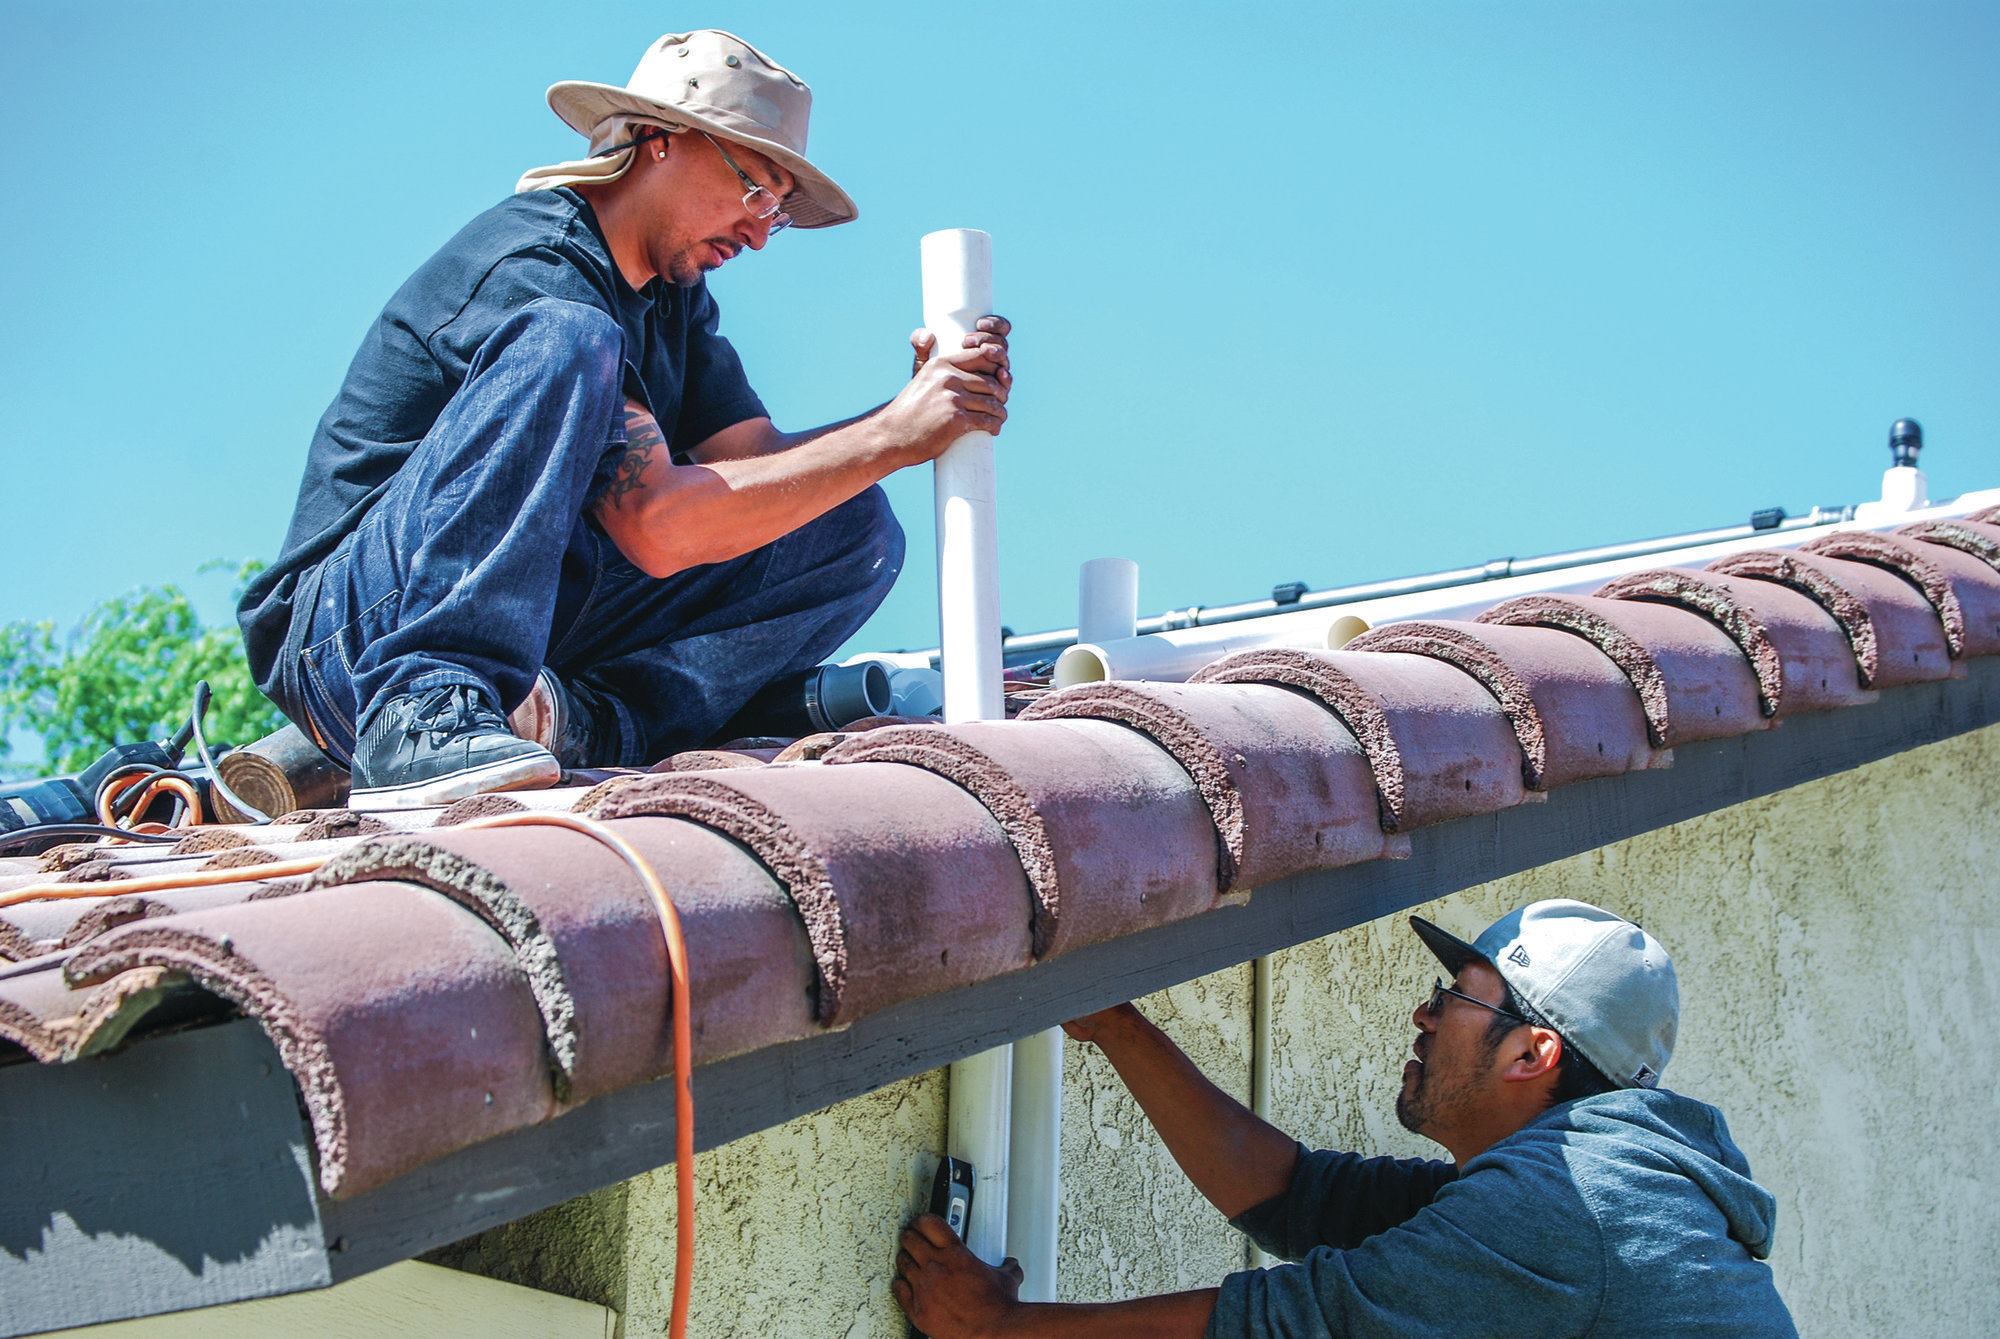
9) The lines are attached to the side of the house, while holes are cut in the roof to accept the pipes.
10) Water lines are directed through the roof down to the equipment pad.
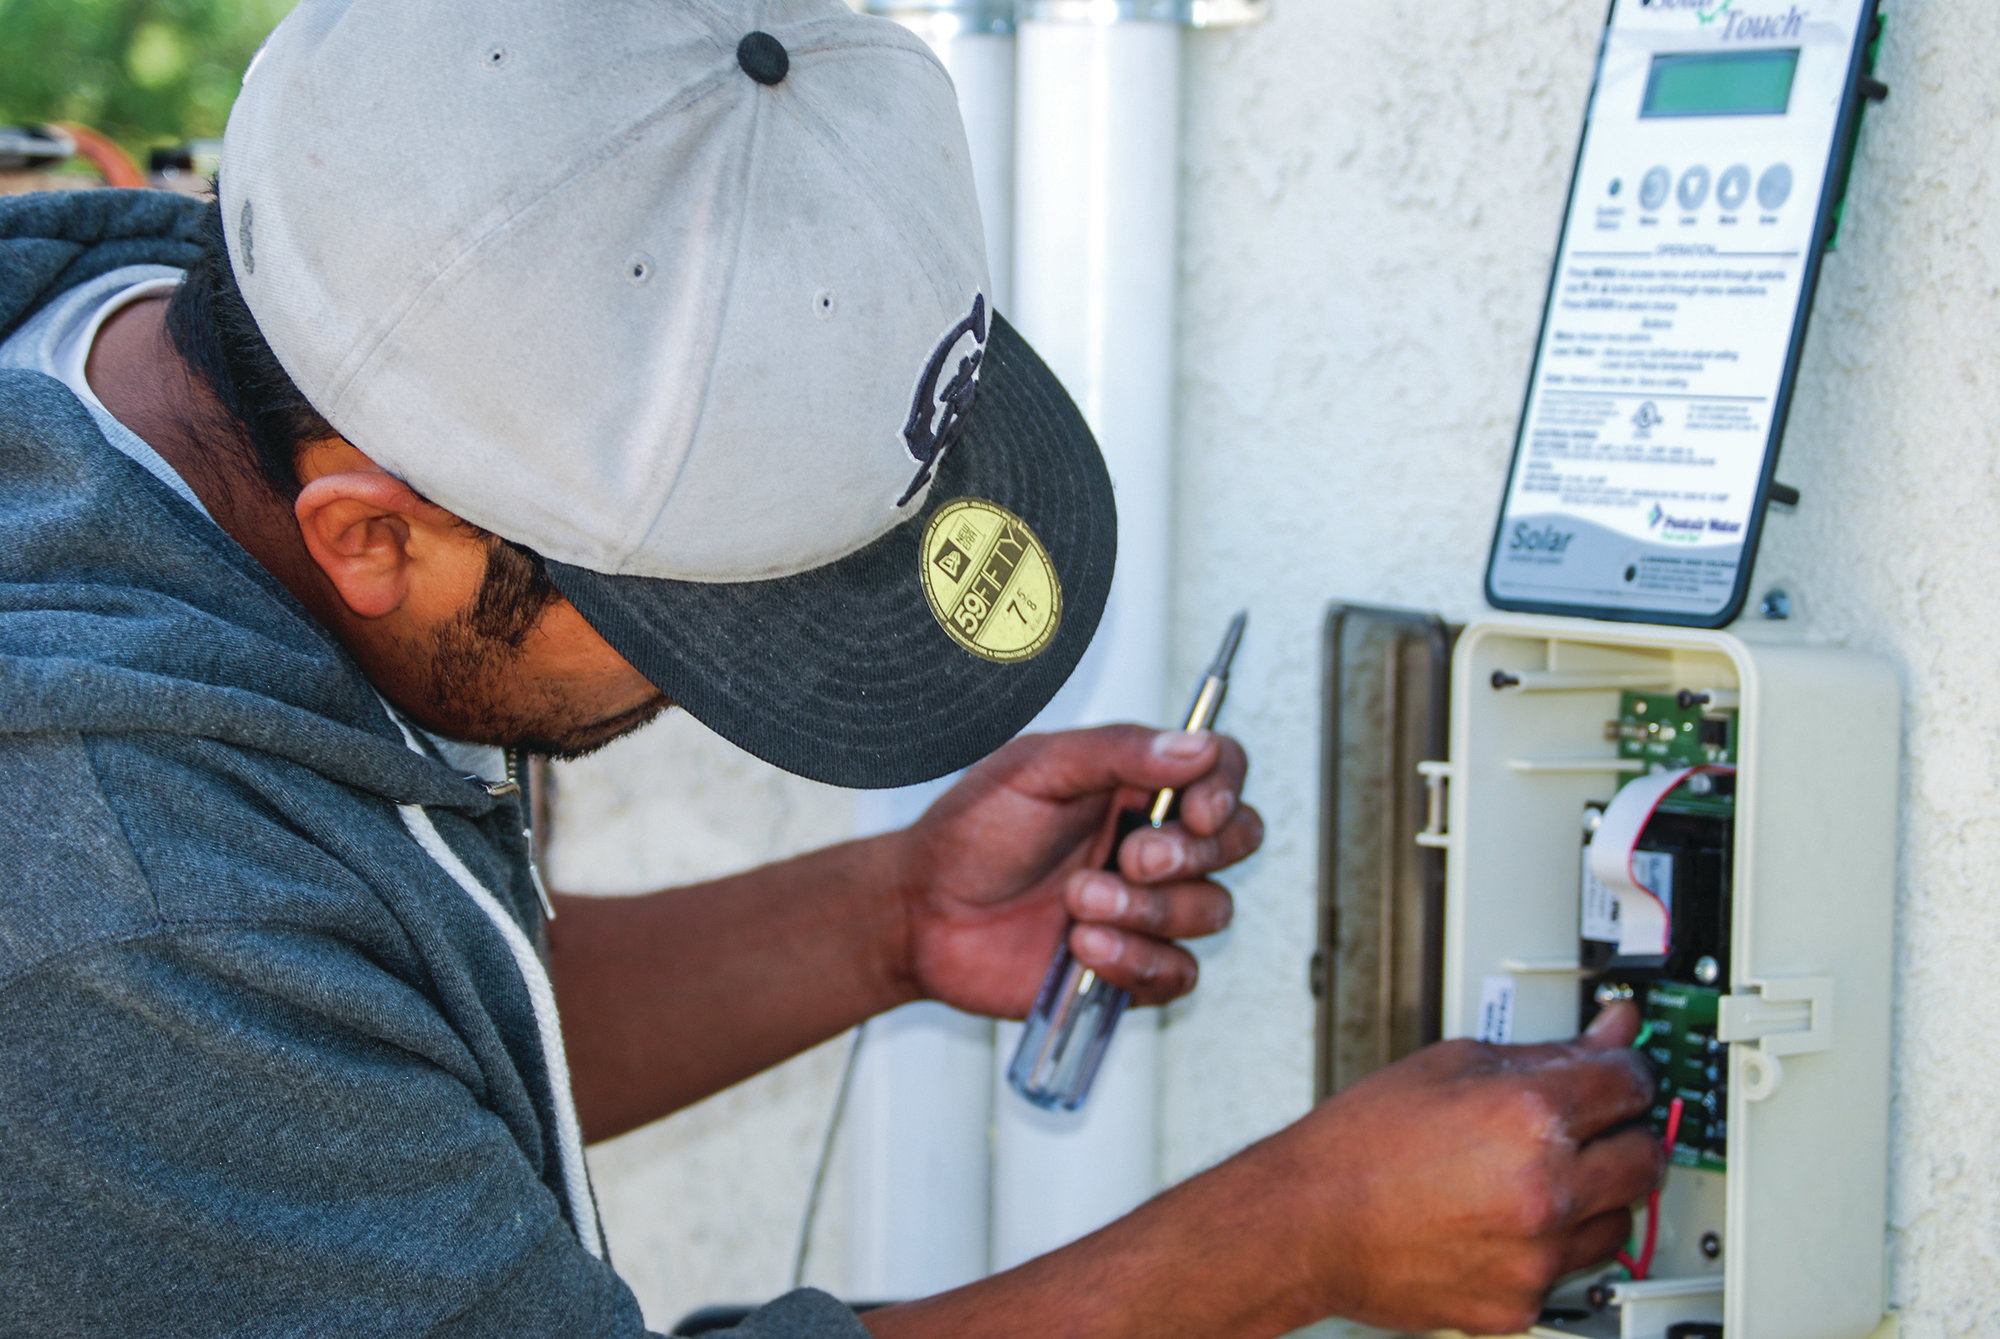
11) Electrical lines are run into the new control box on the side of the house.
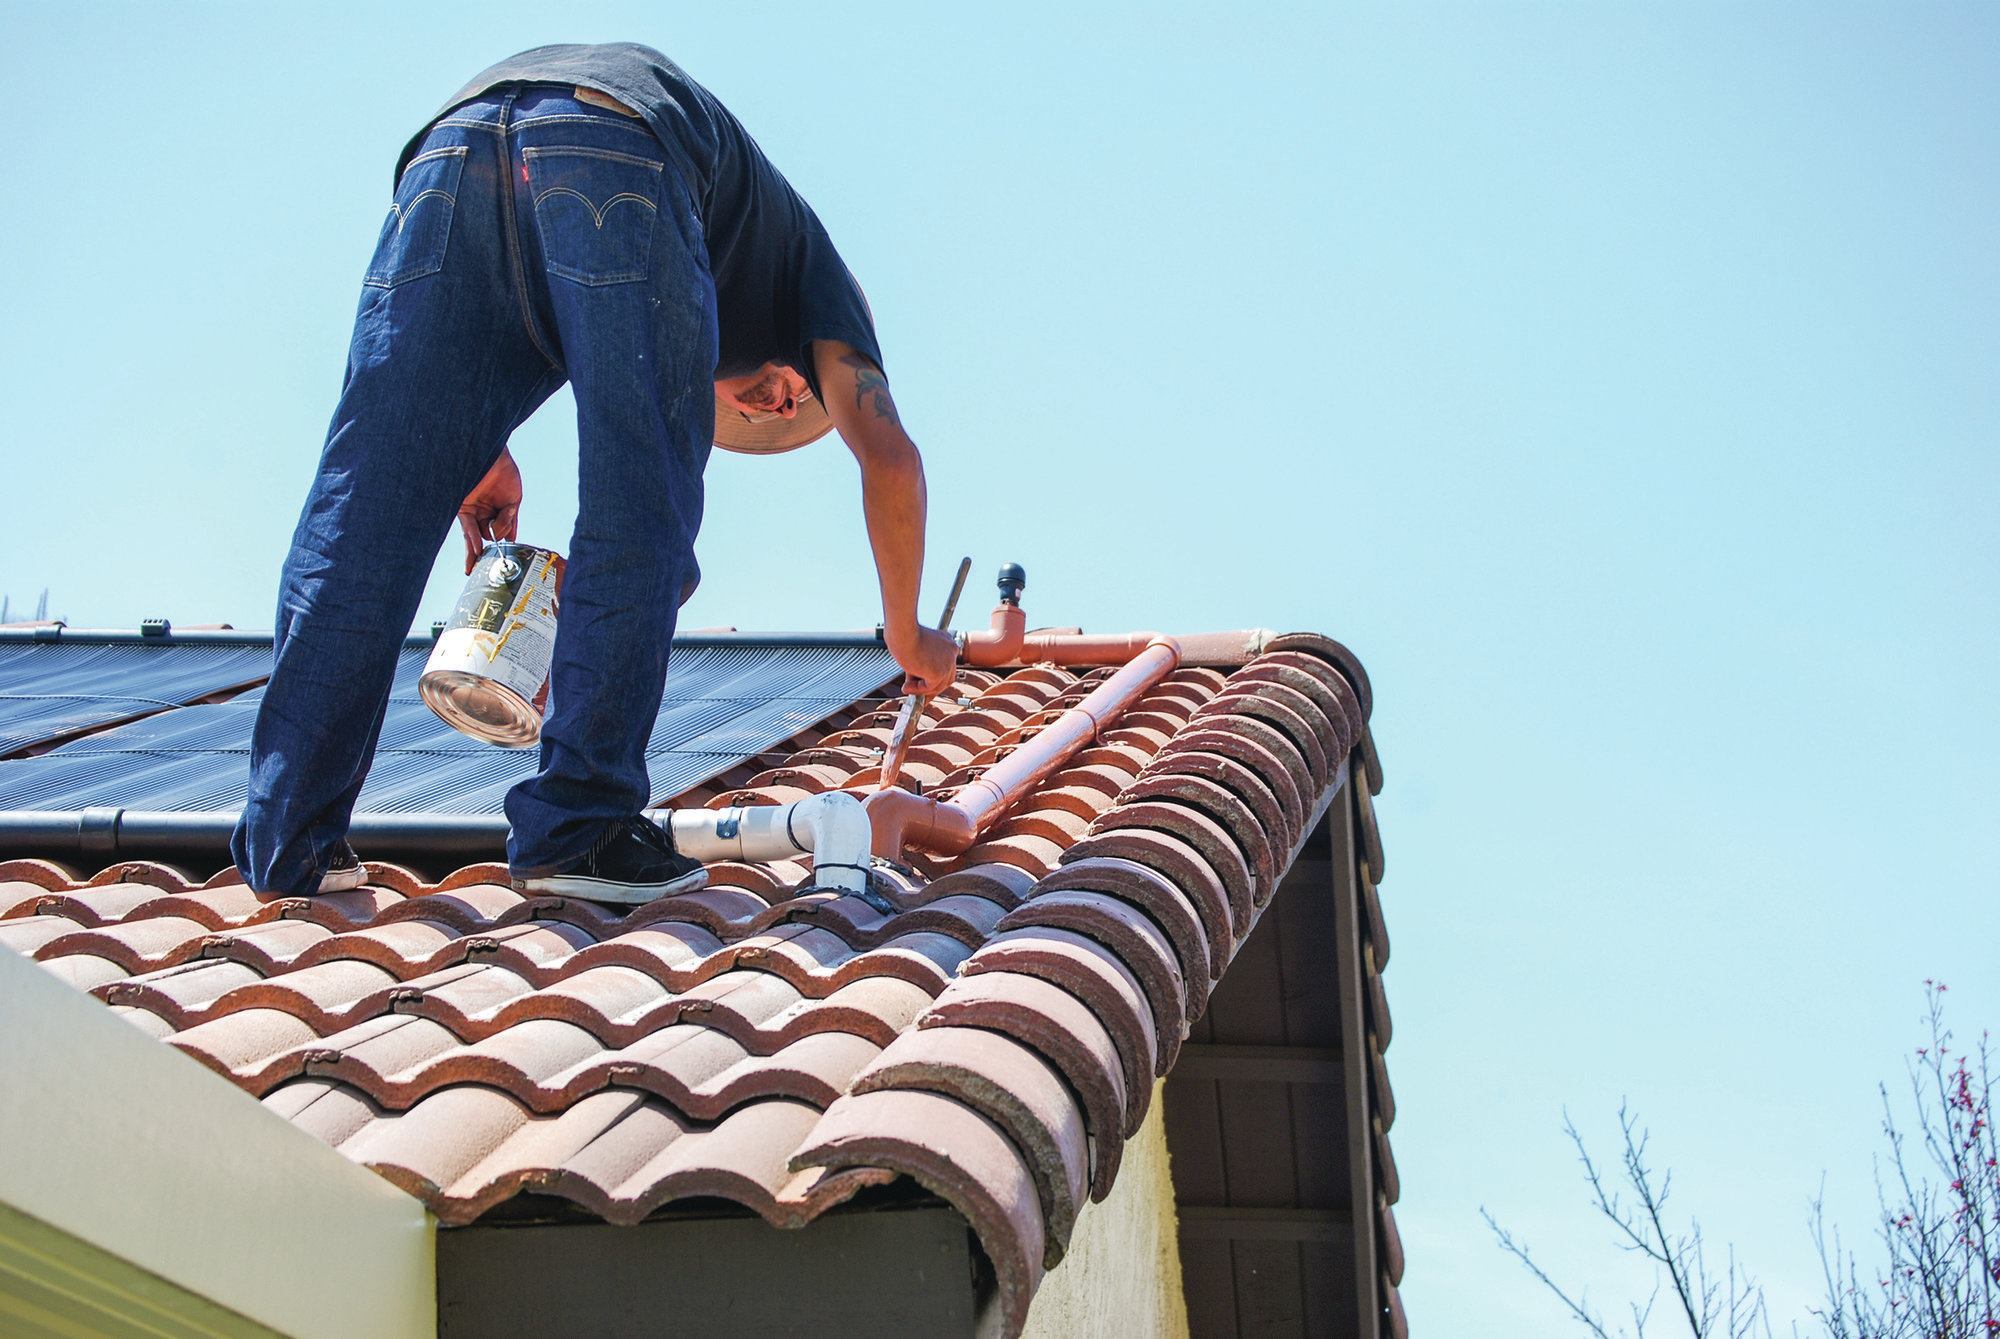
12) The PVC pipes are painted to match the color of the roof. The pipes on the side of the house were similarly painted the color of the stucco. The crew had an uncanny ability to mix paint shades from a few basic colors they carried in their truck.
13) The actuator is installed, and the electrical hookups are made to the pump.
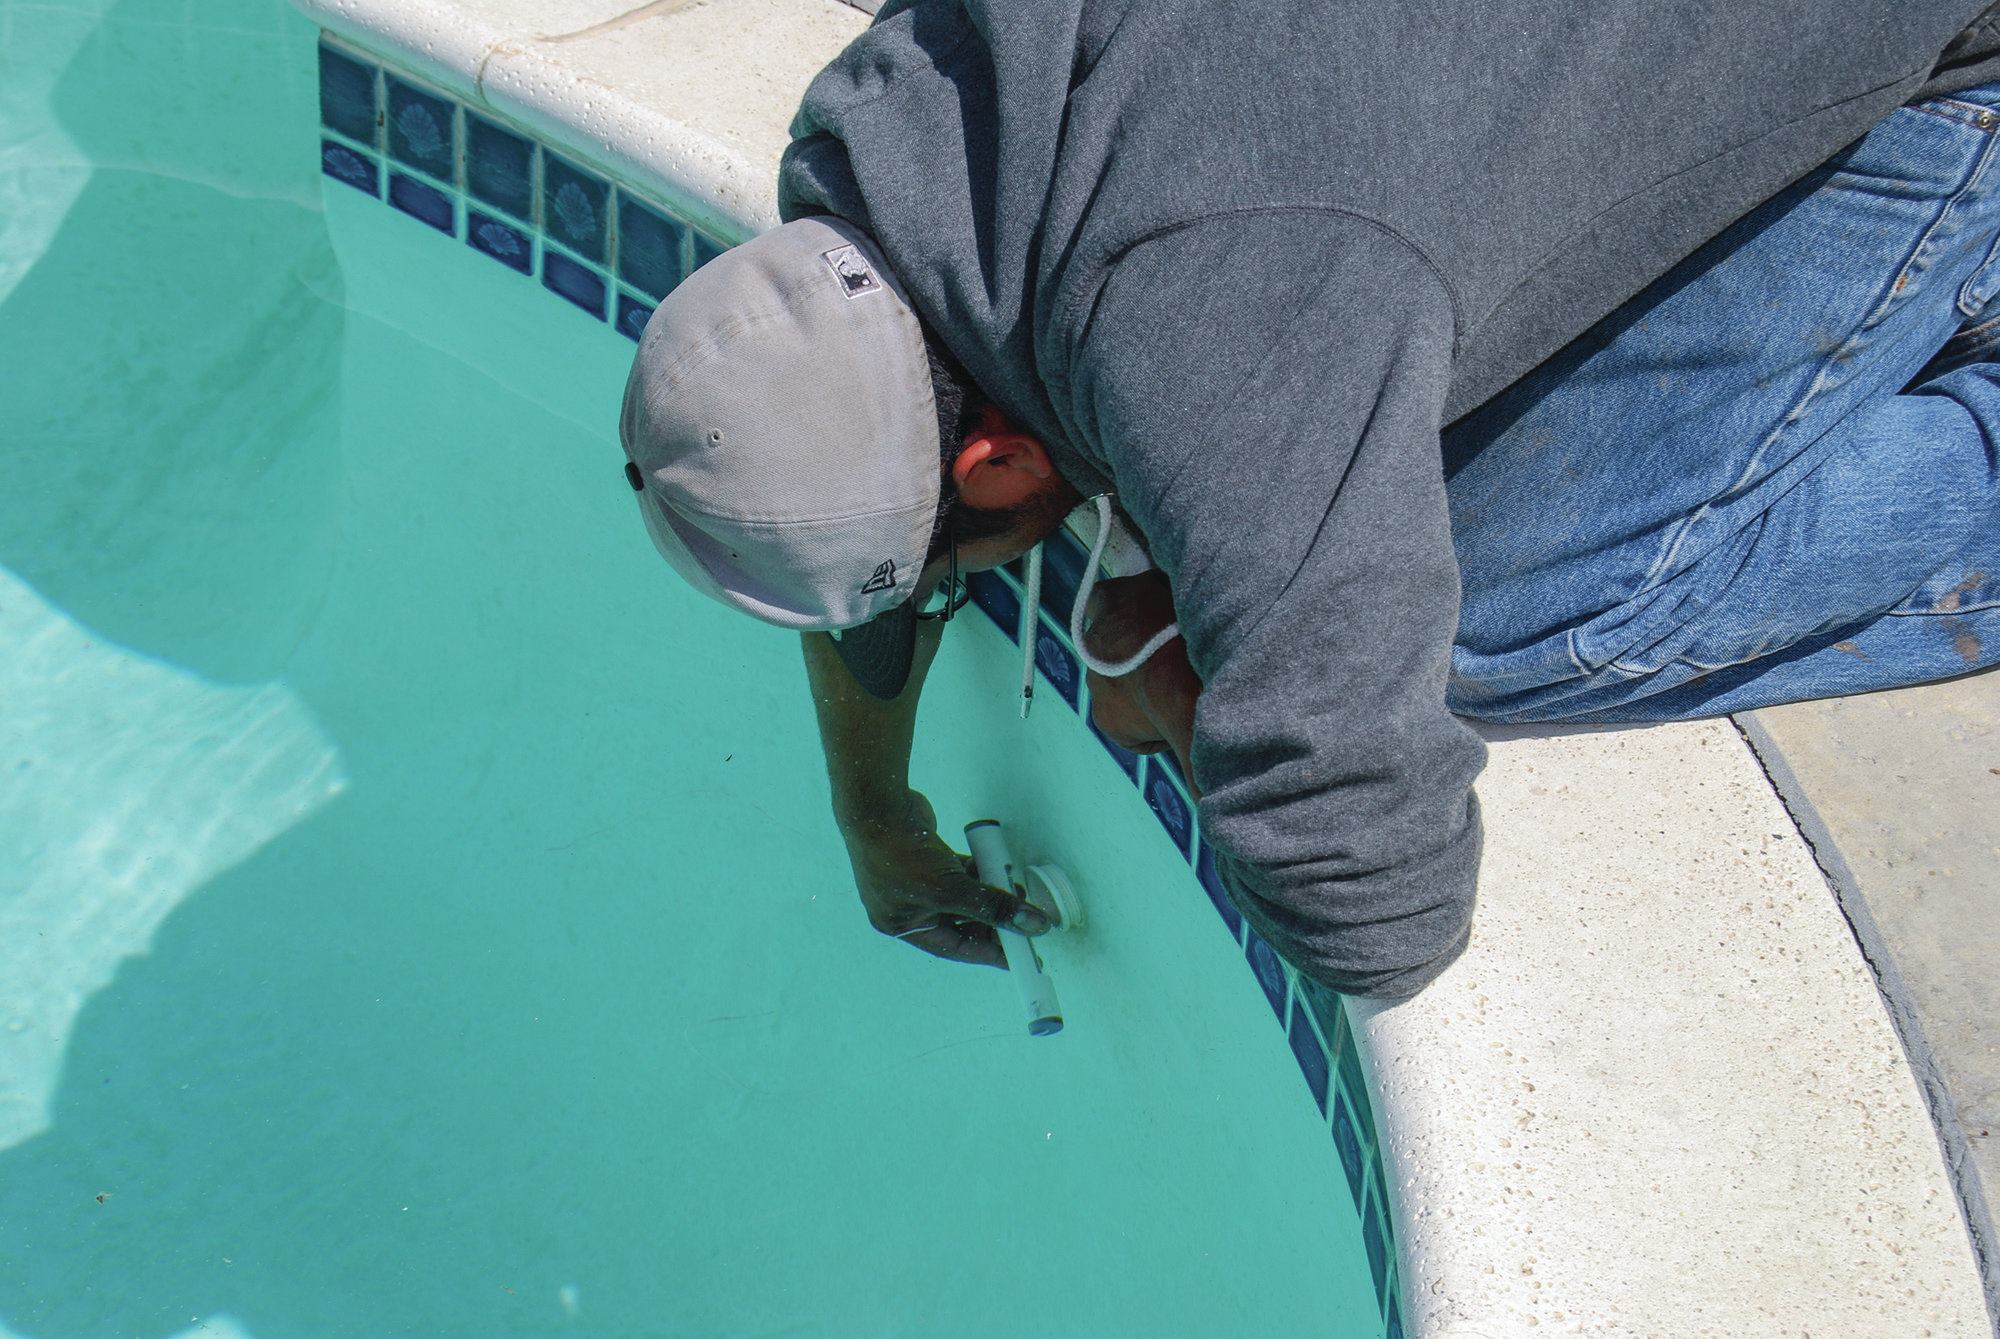
14) Success! There is warm water coming out of the jets in the pool.