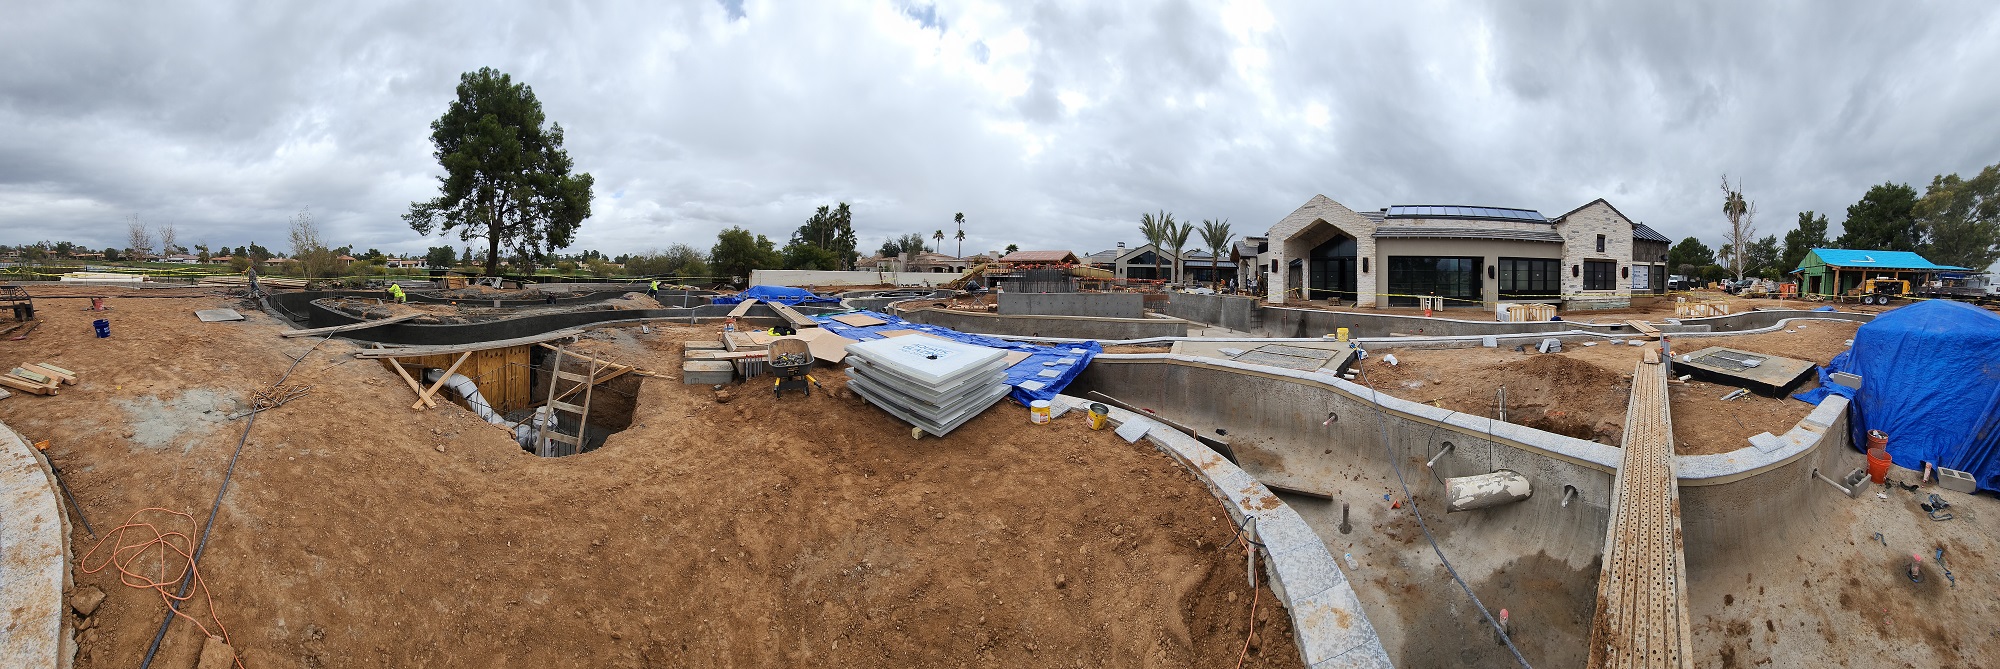
We broke ground on this backyard 2-1/2 years ago. We began designing it nearly three years ago. It continues to surprise us.
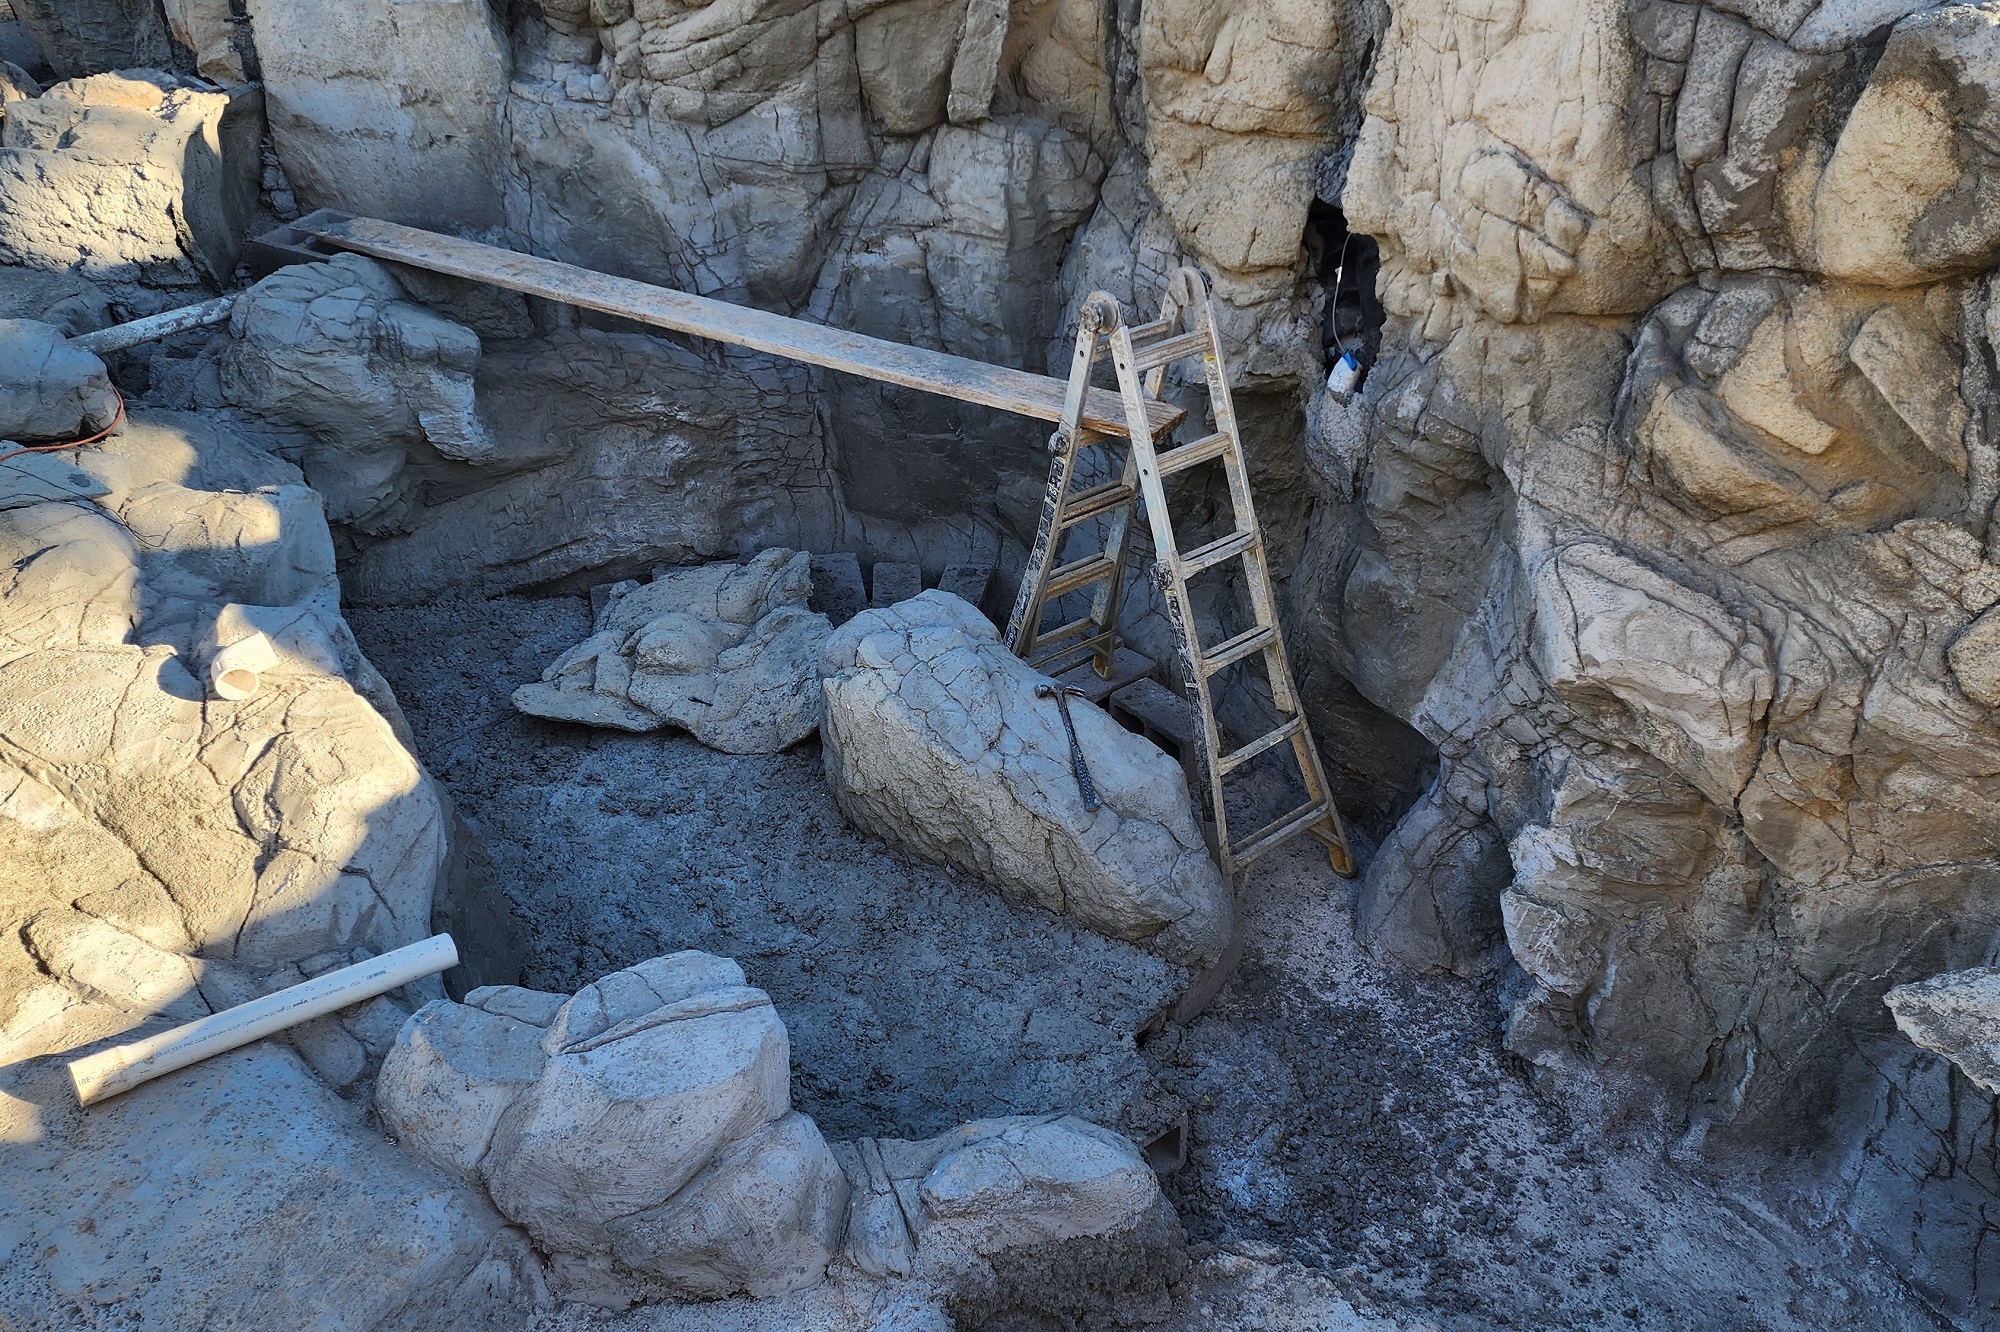
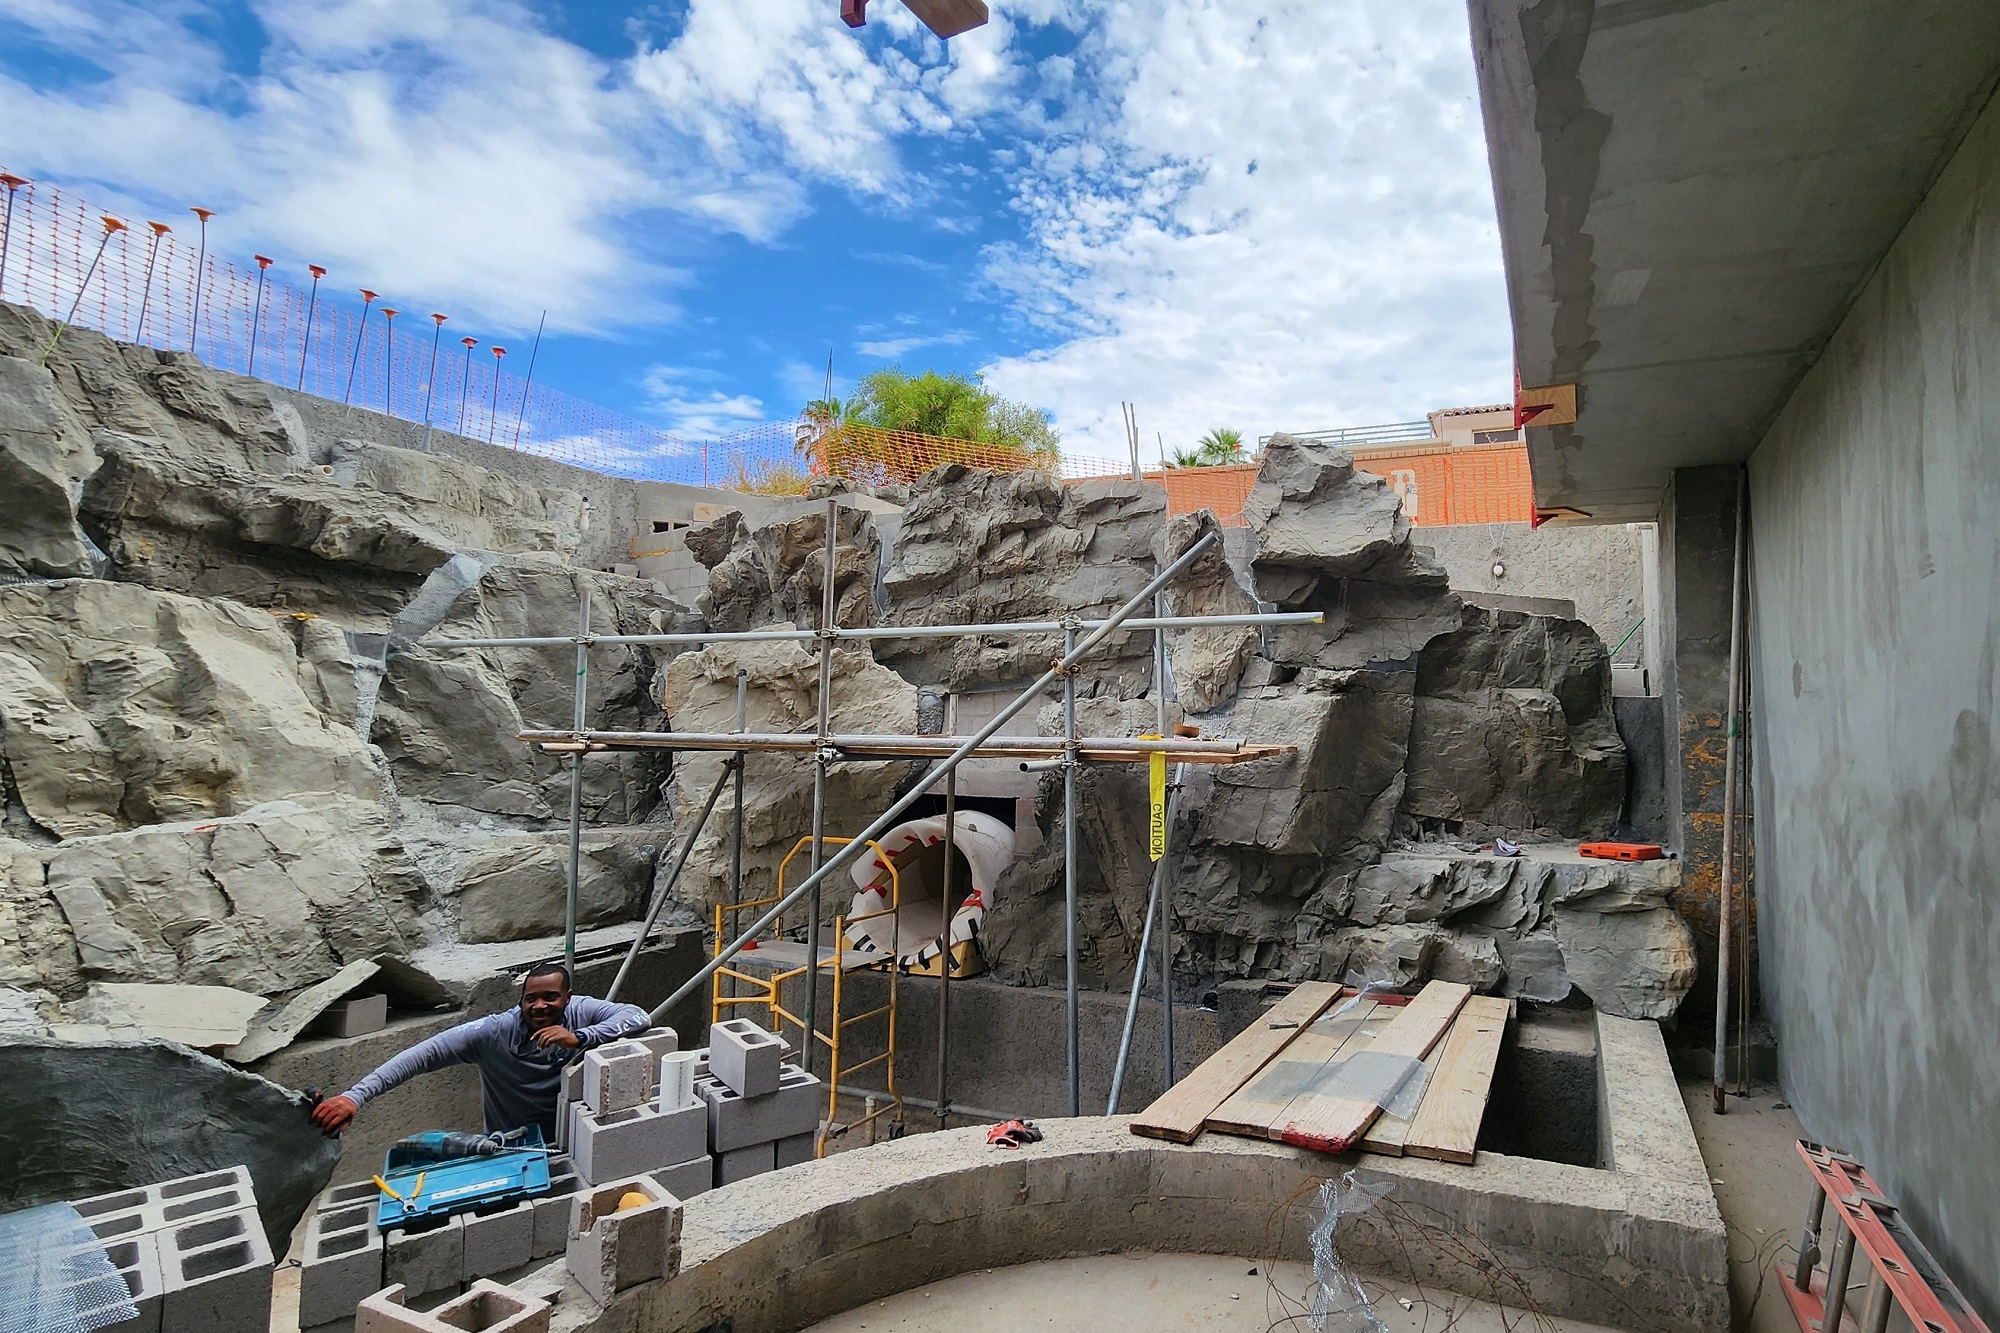
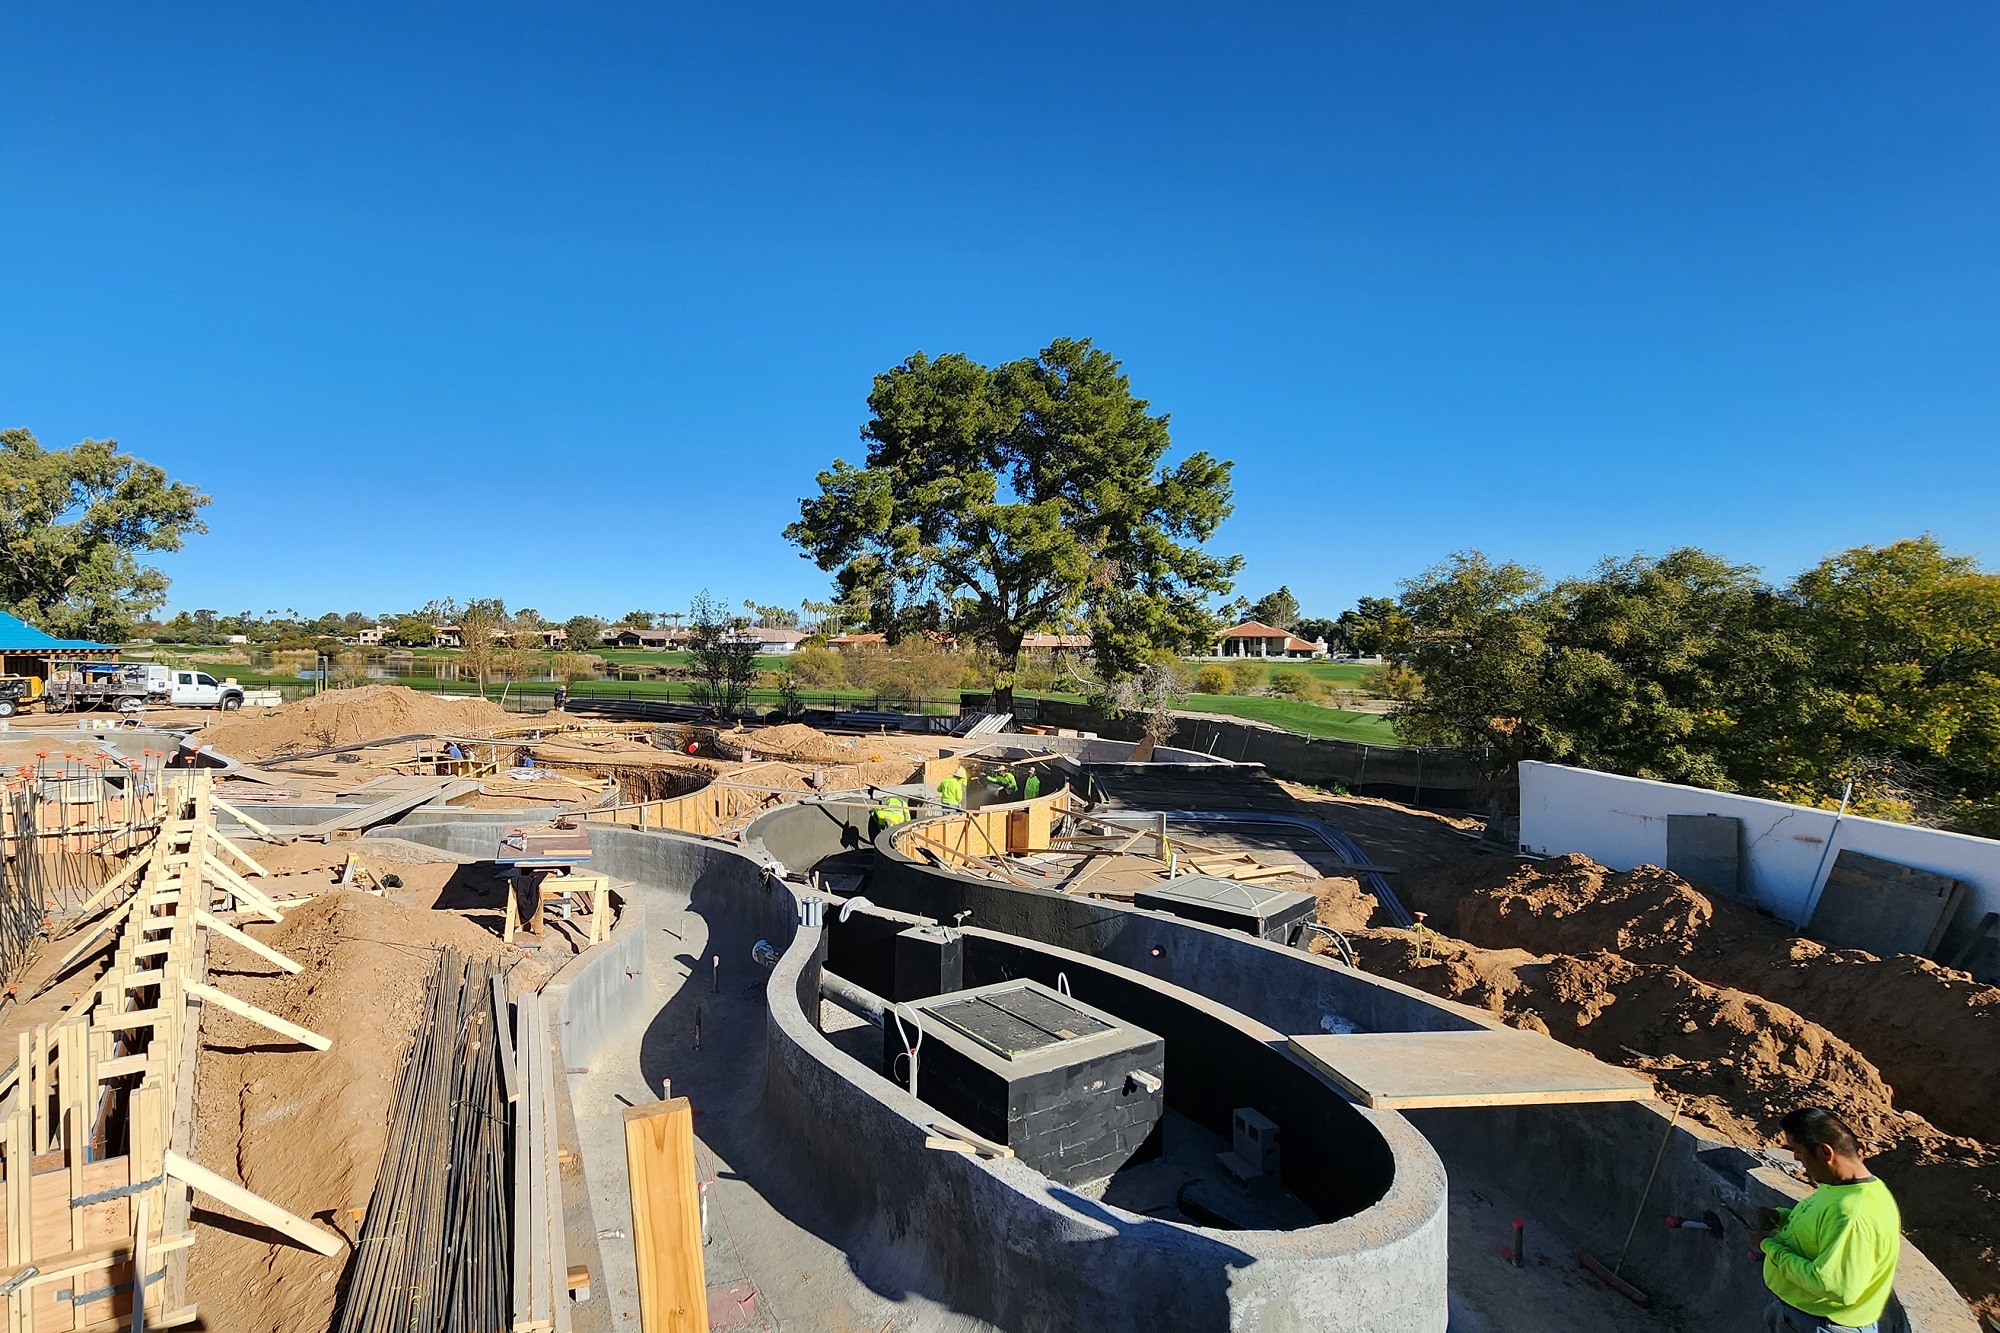
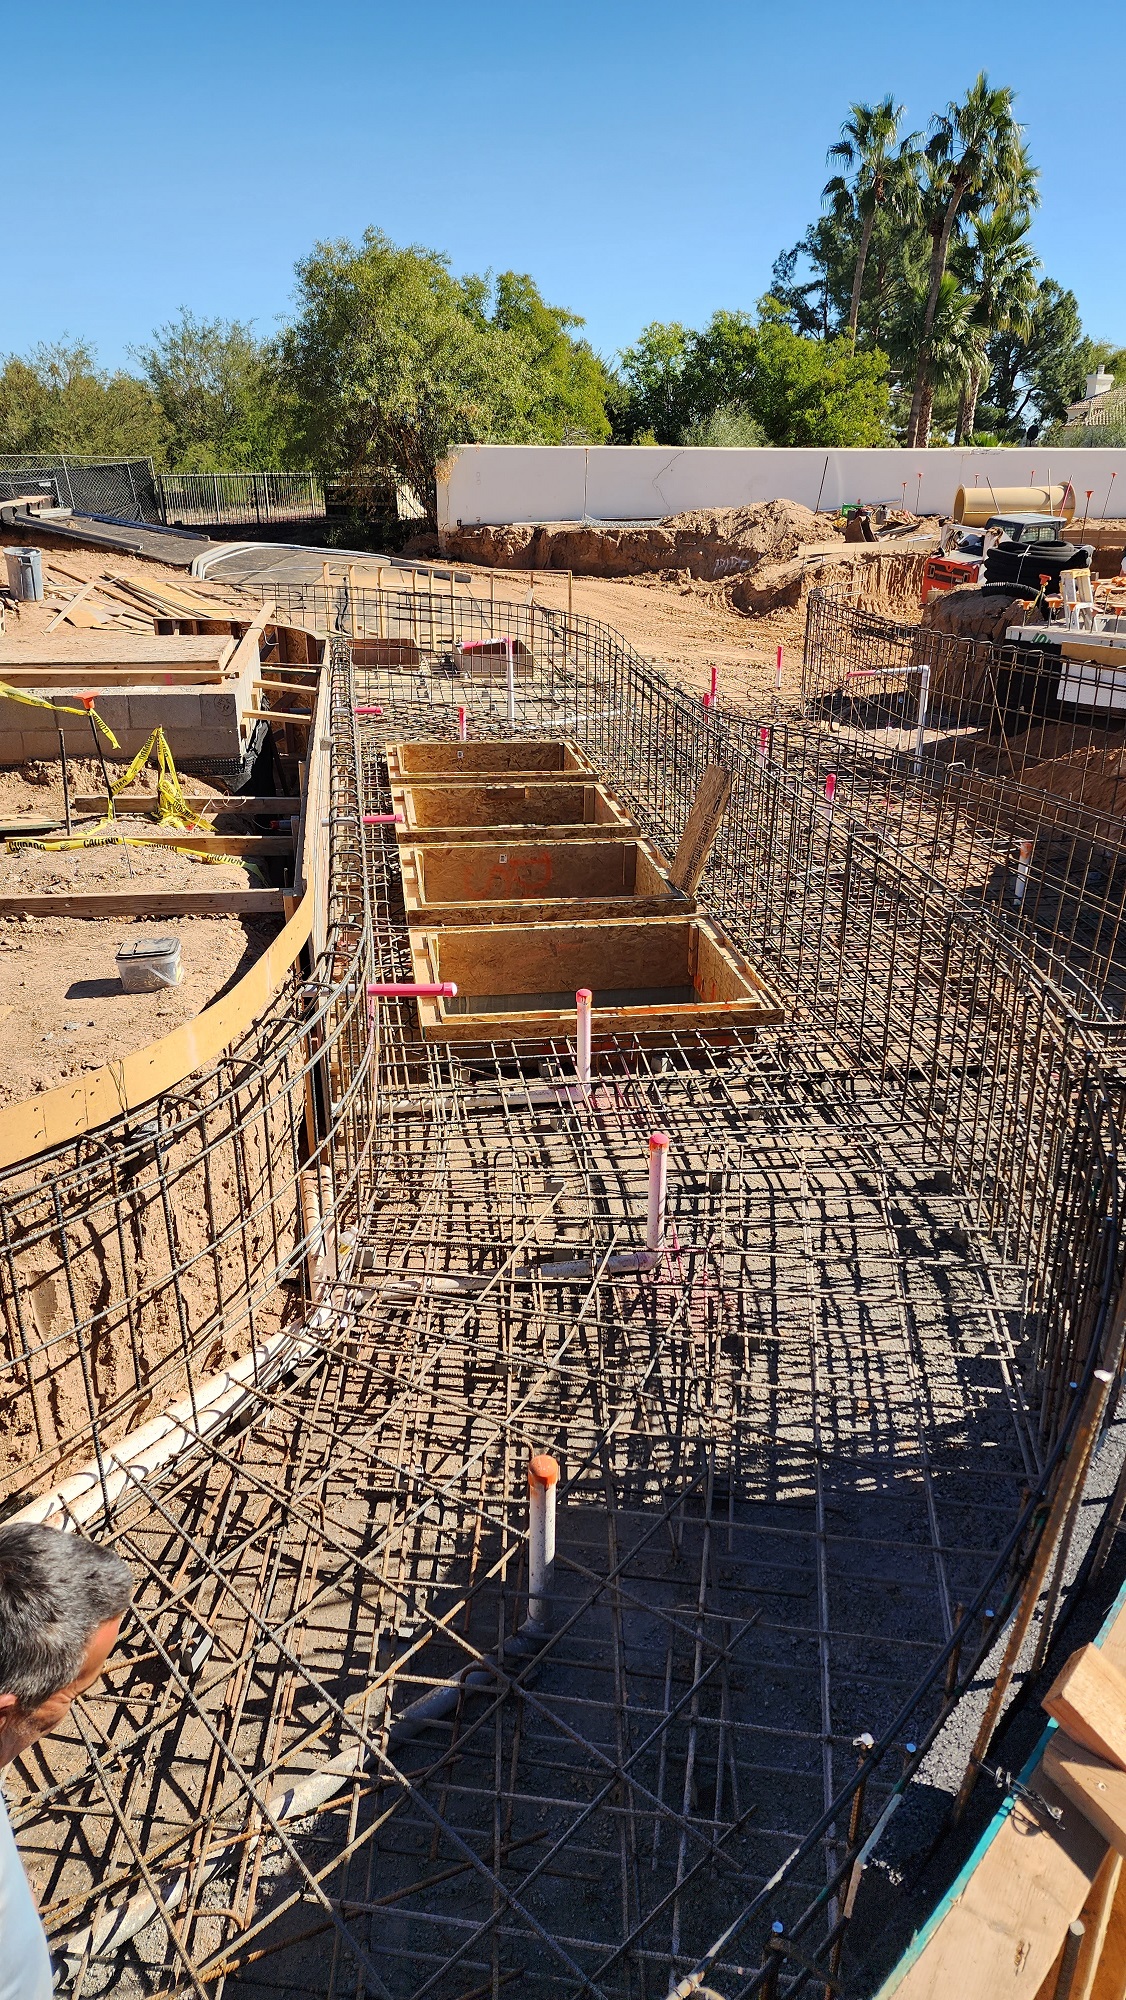
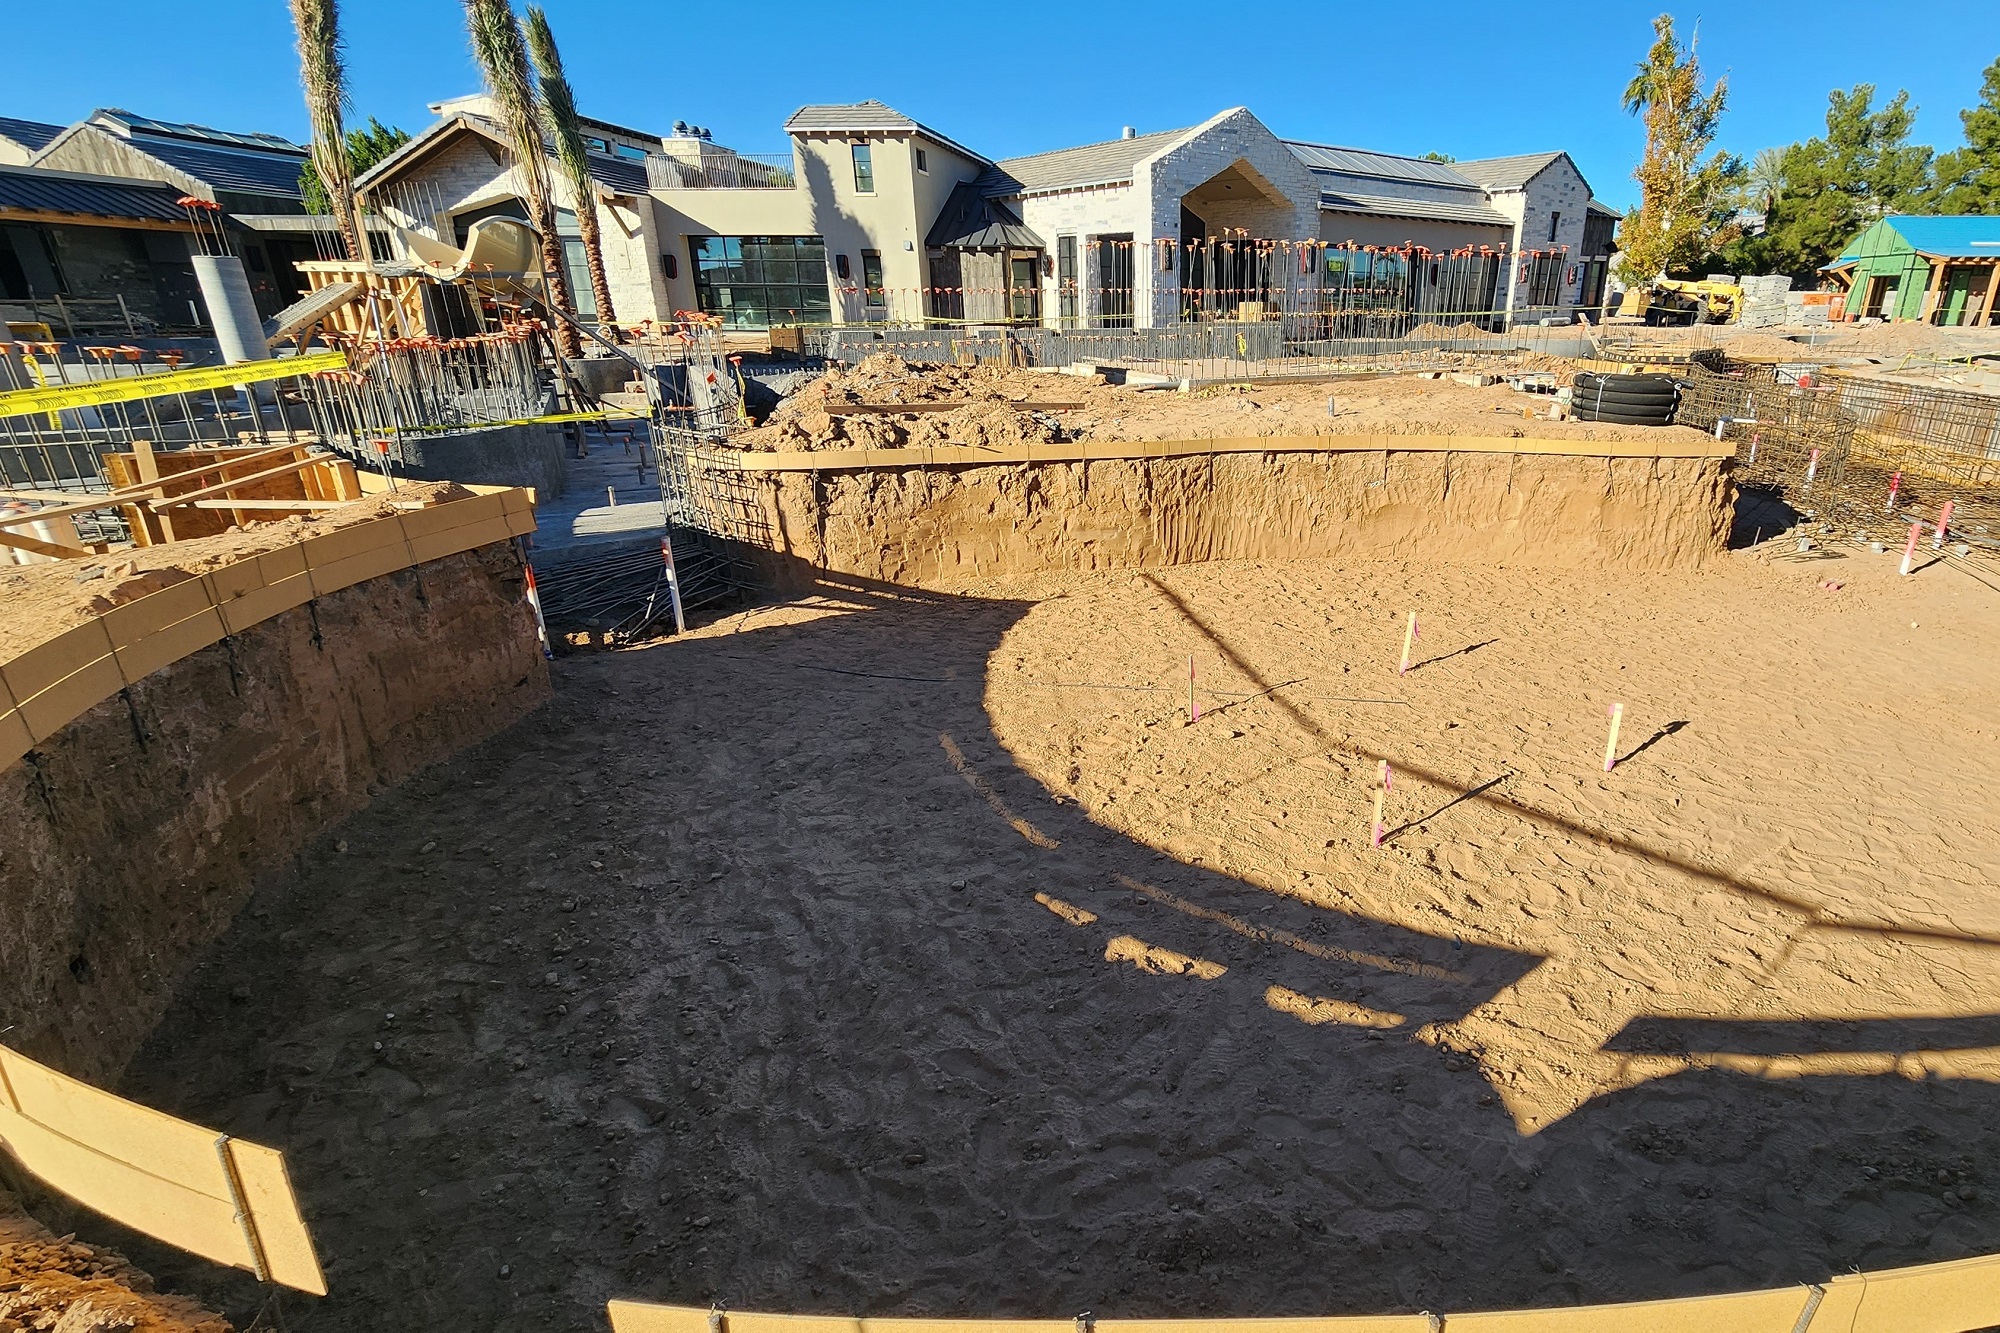
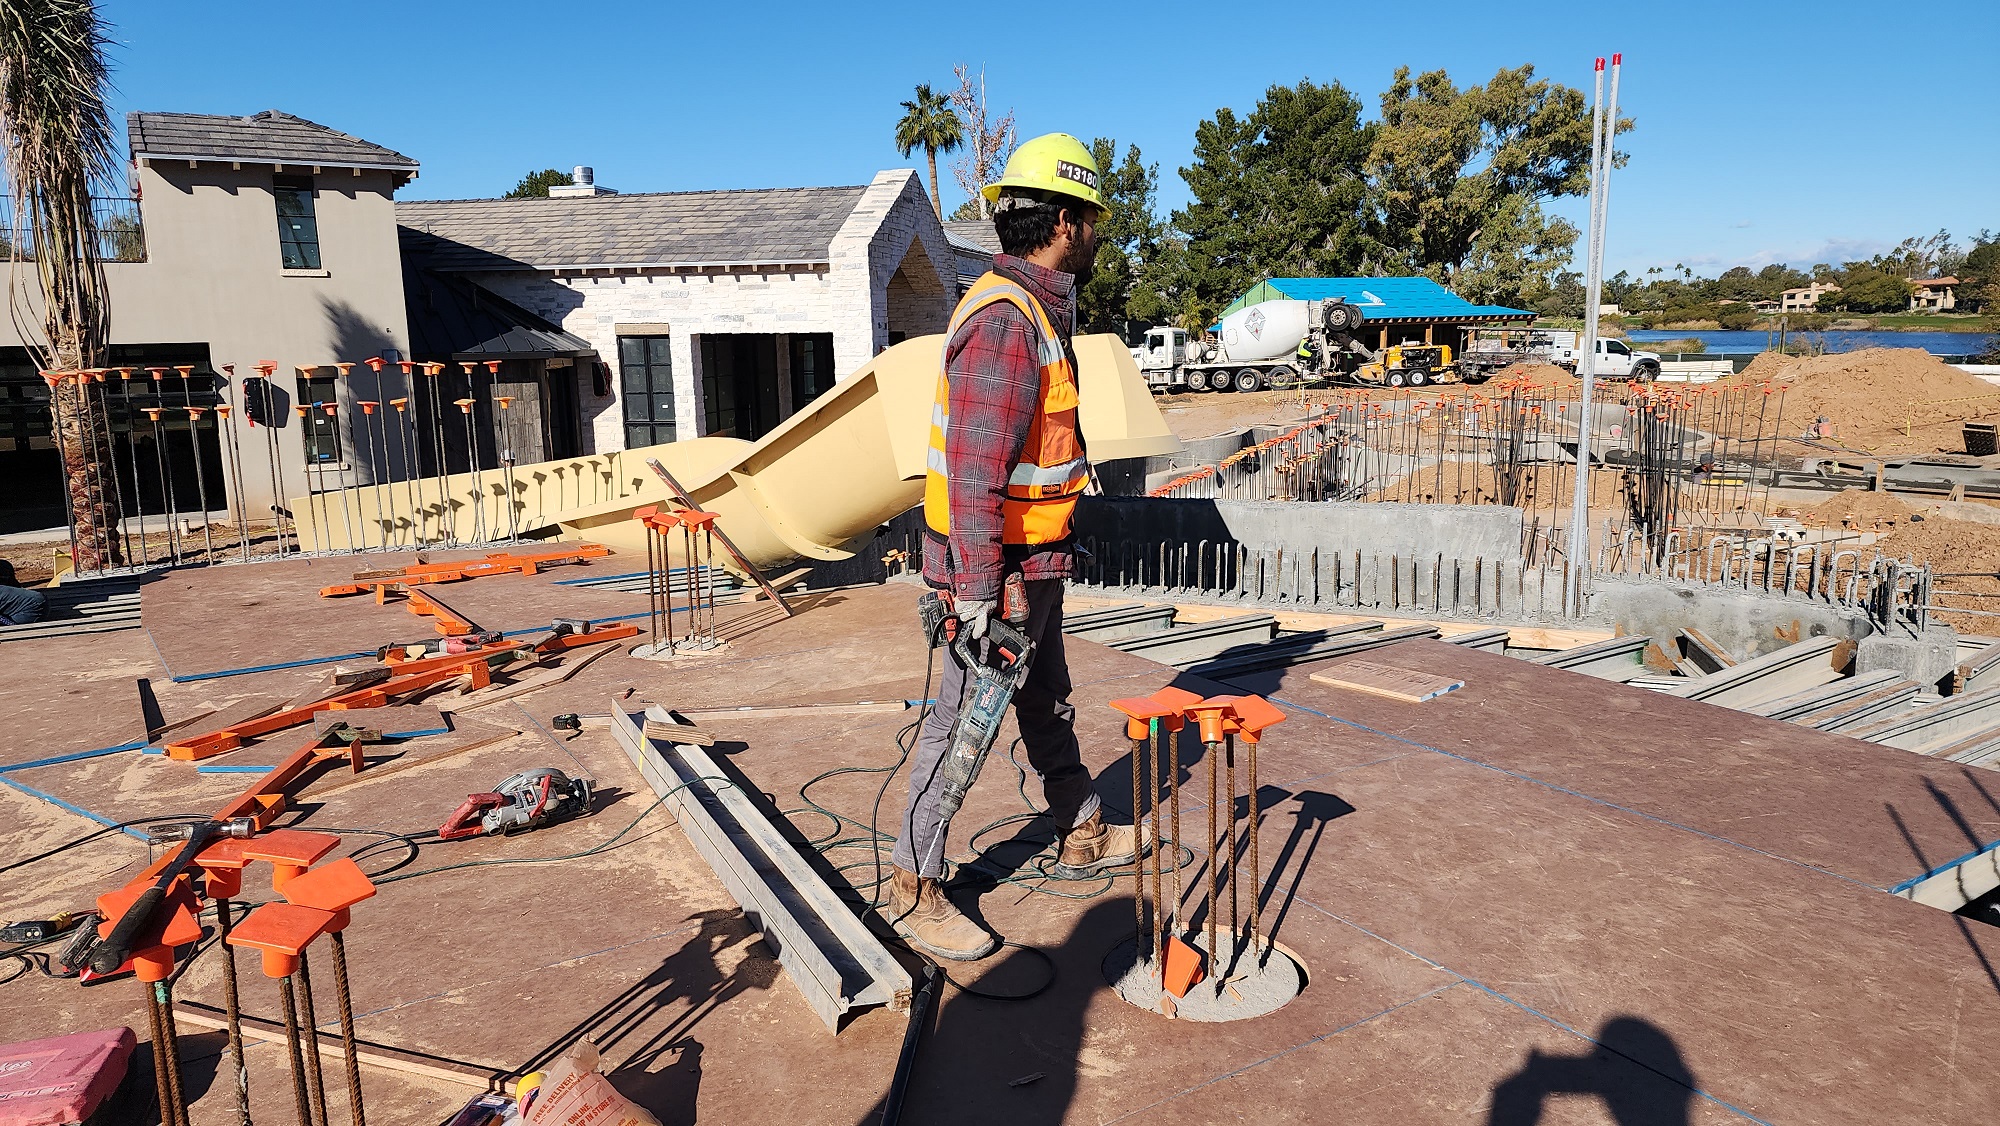
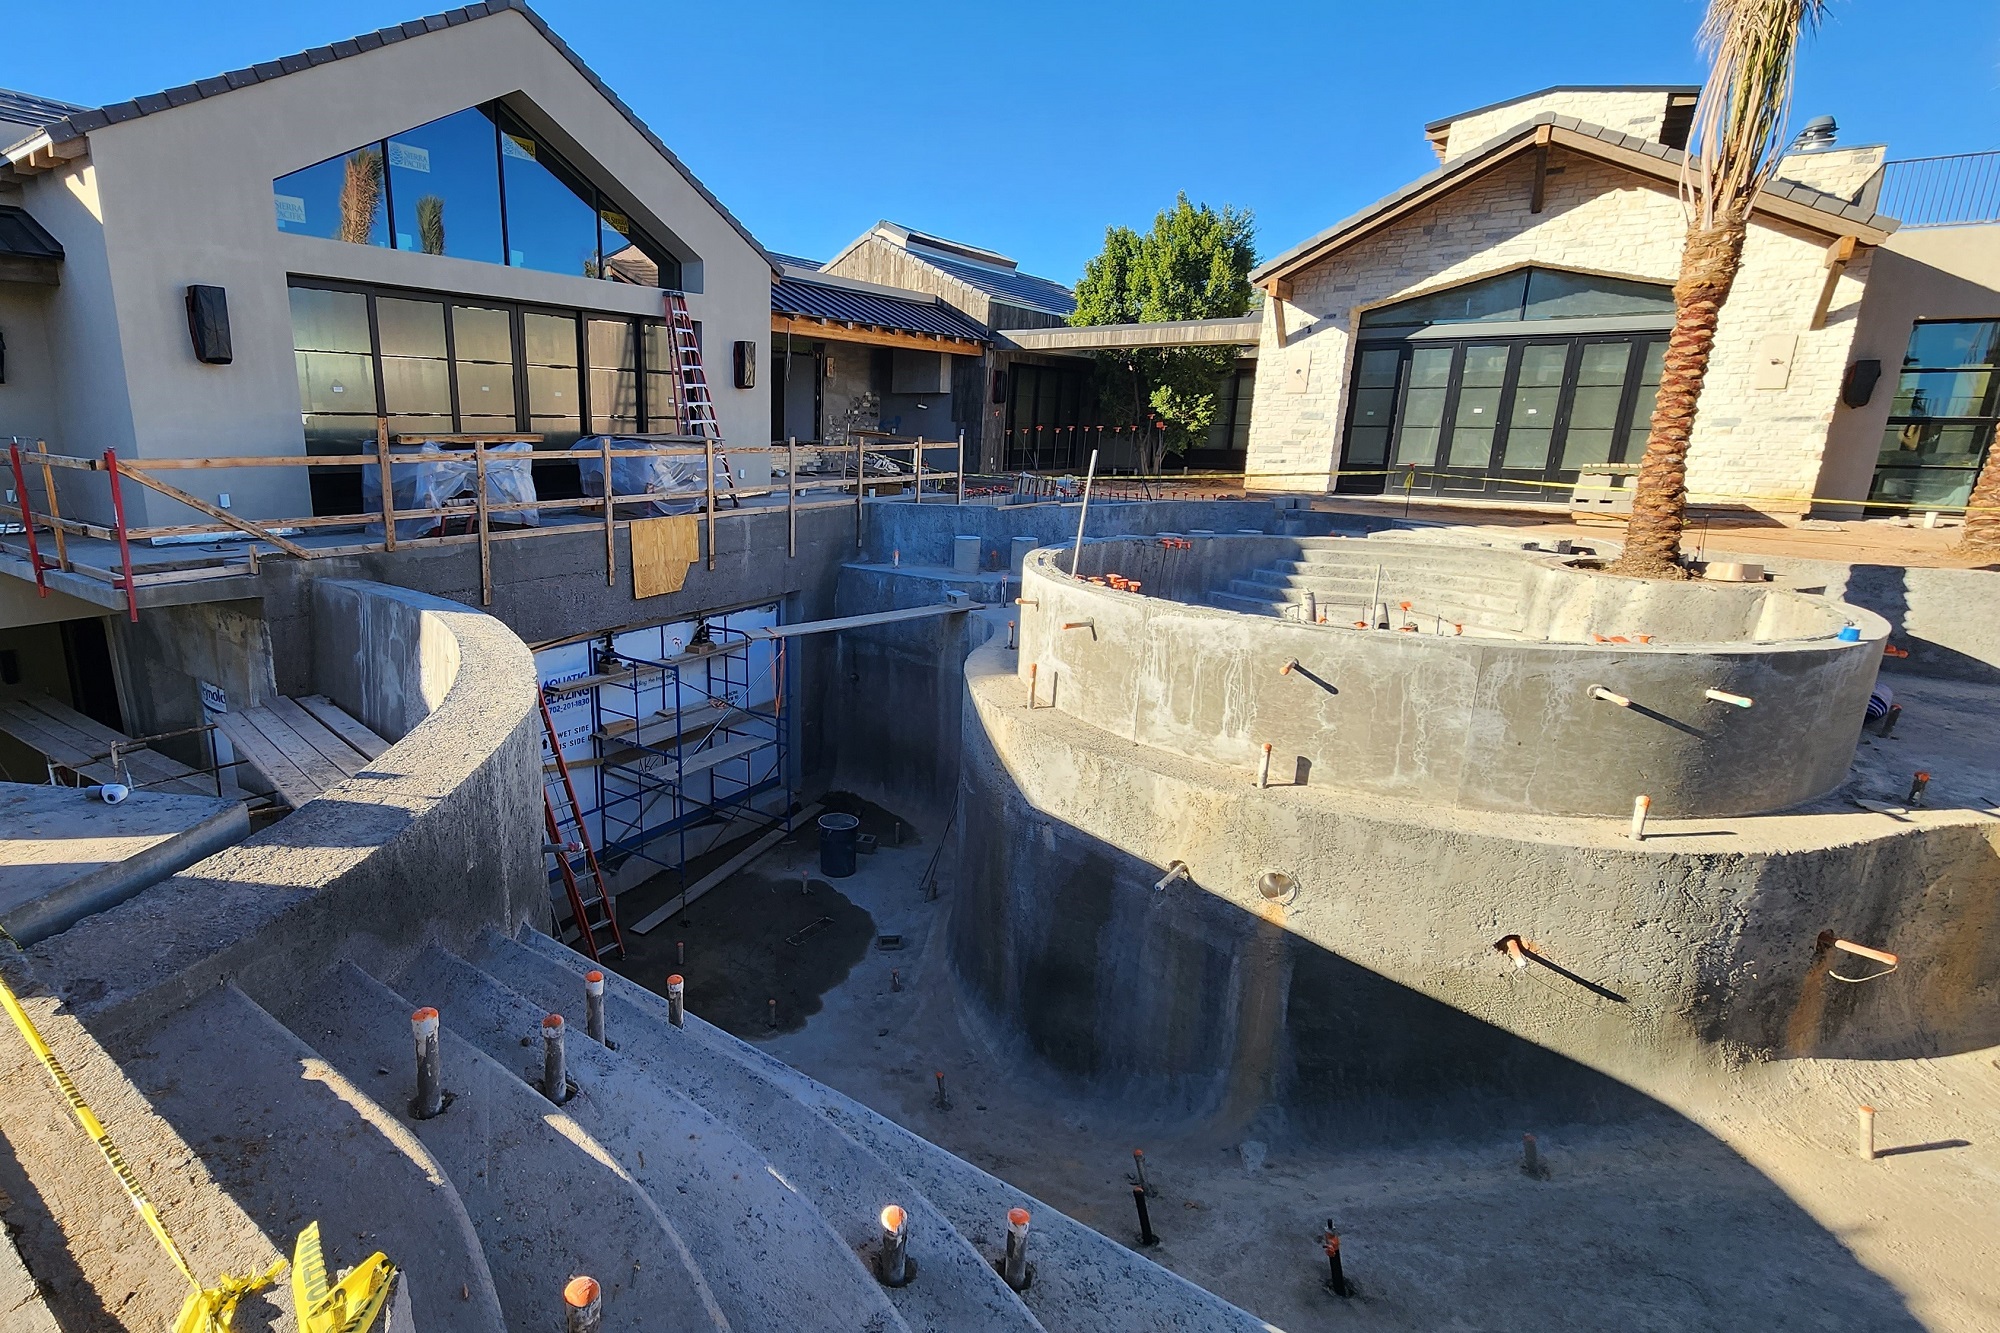
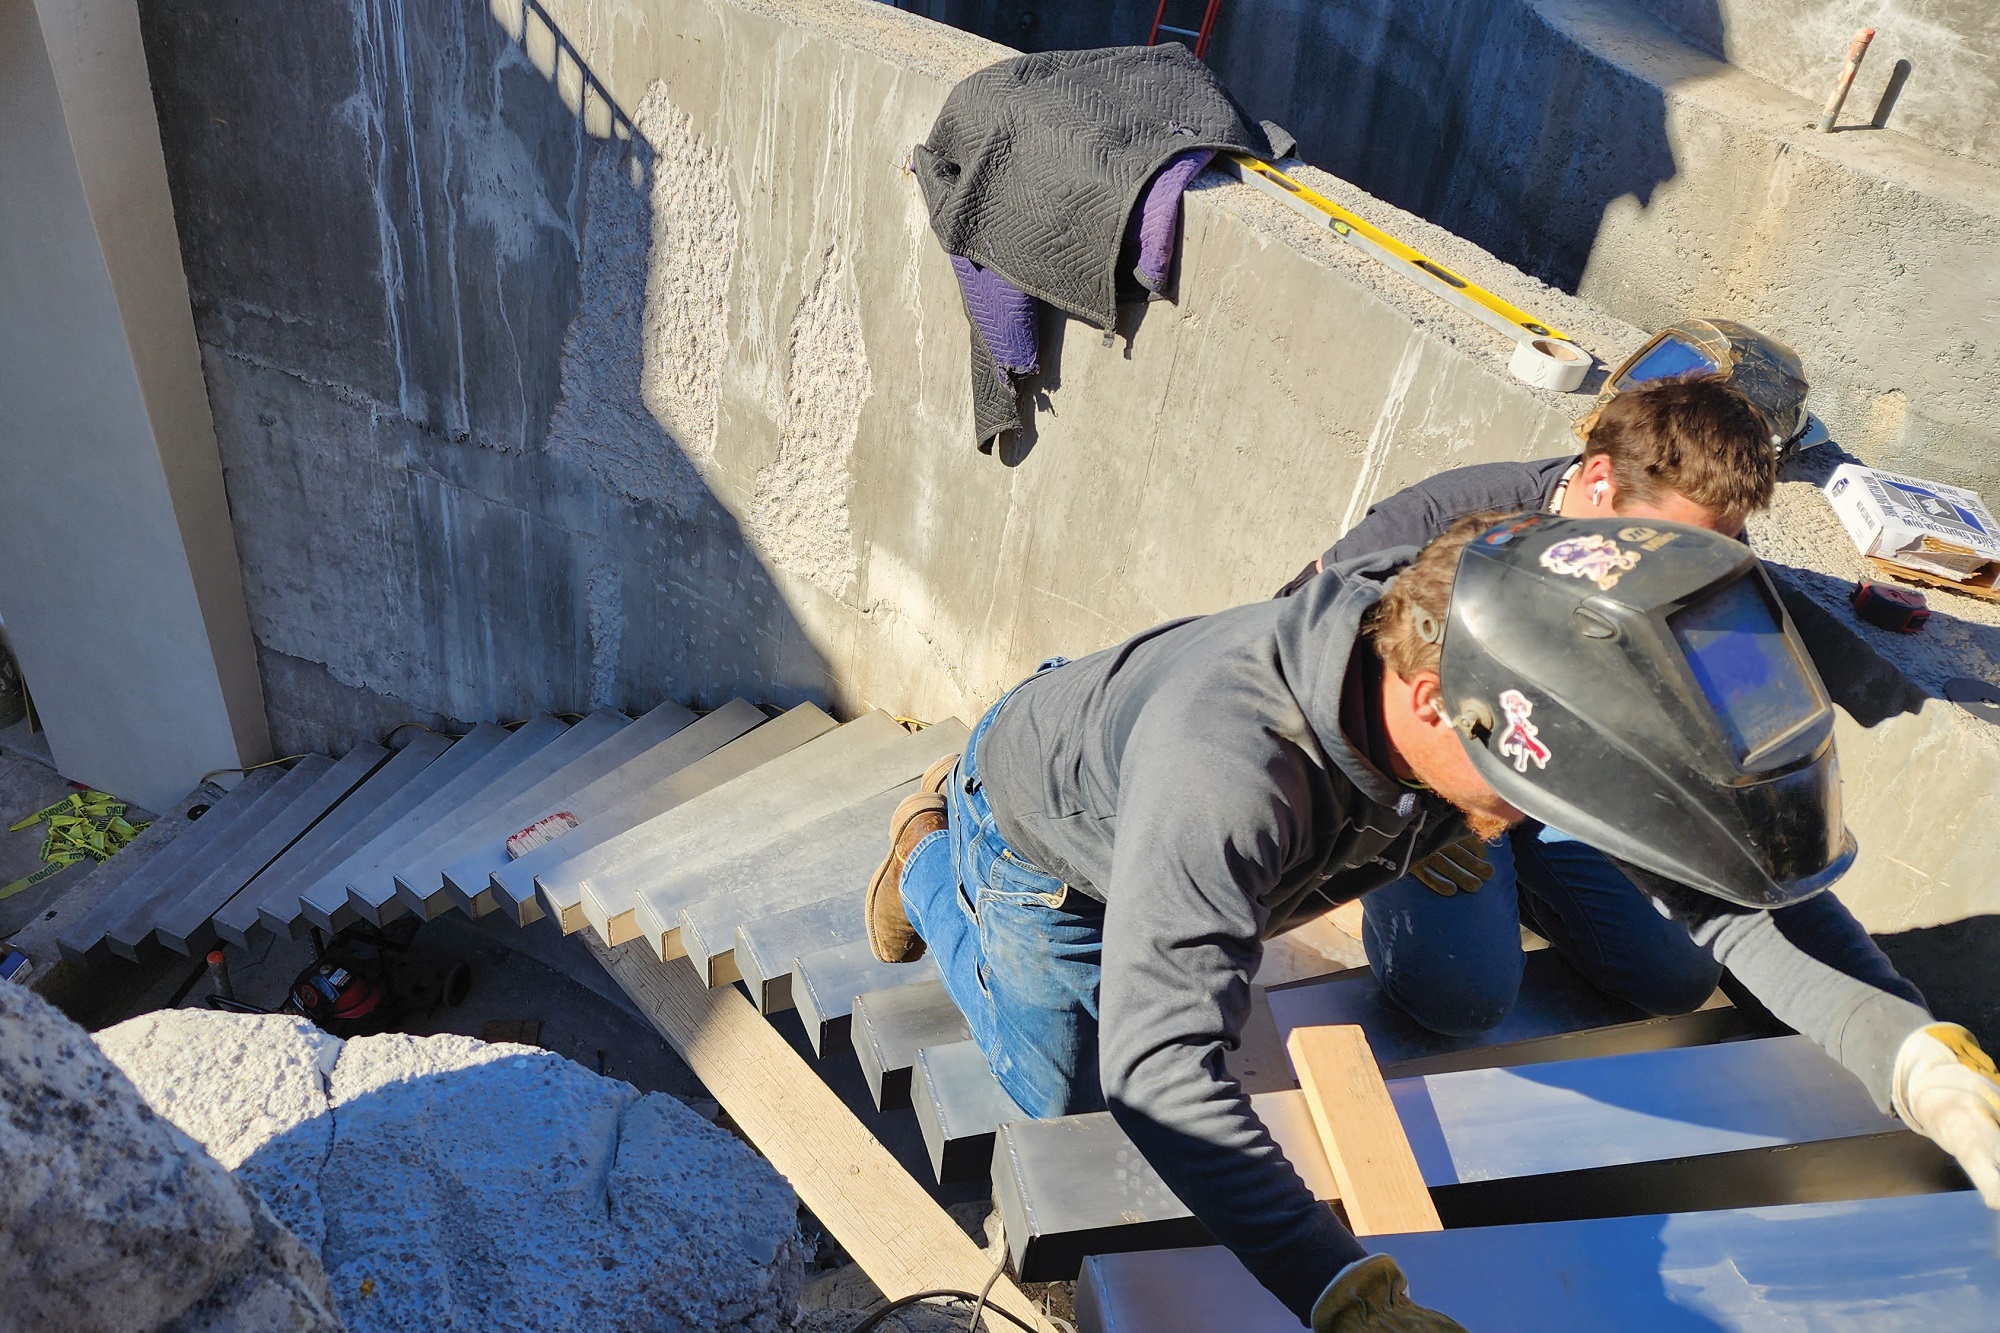
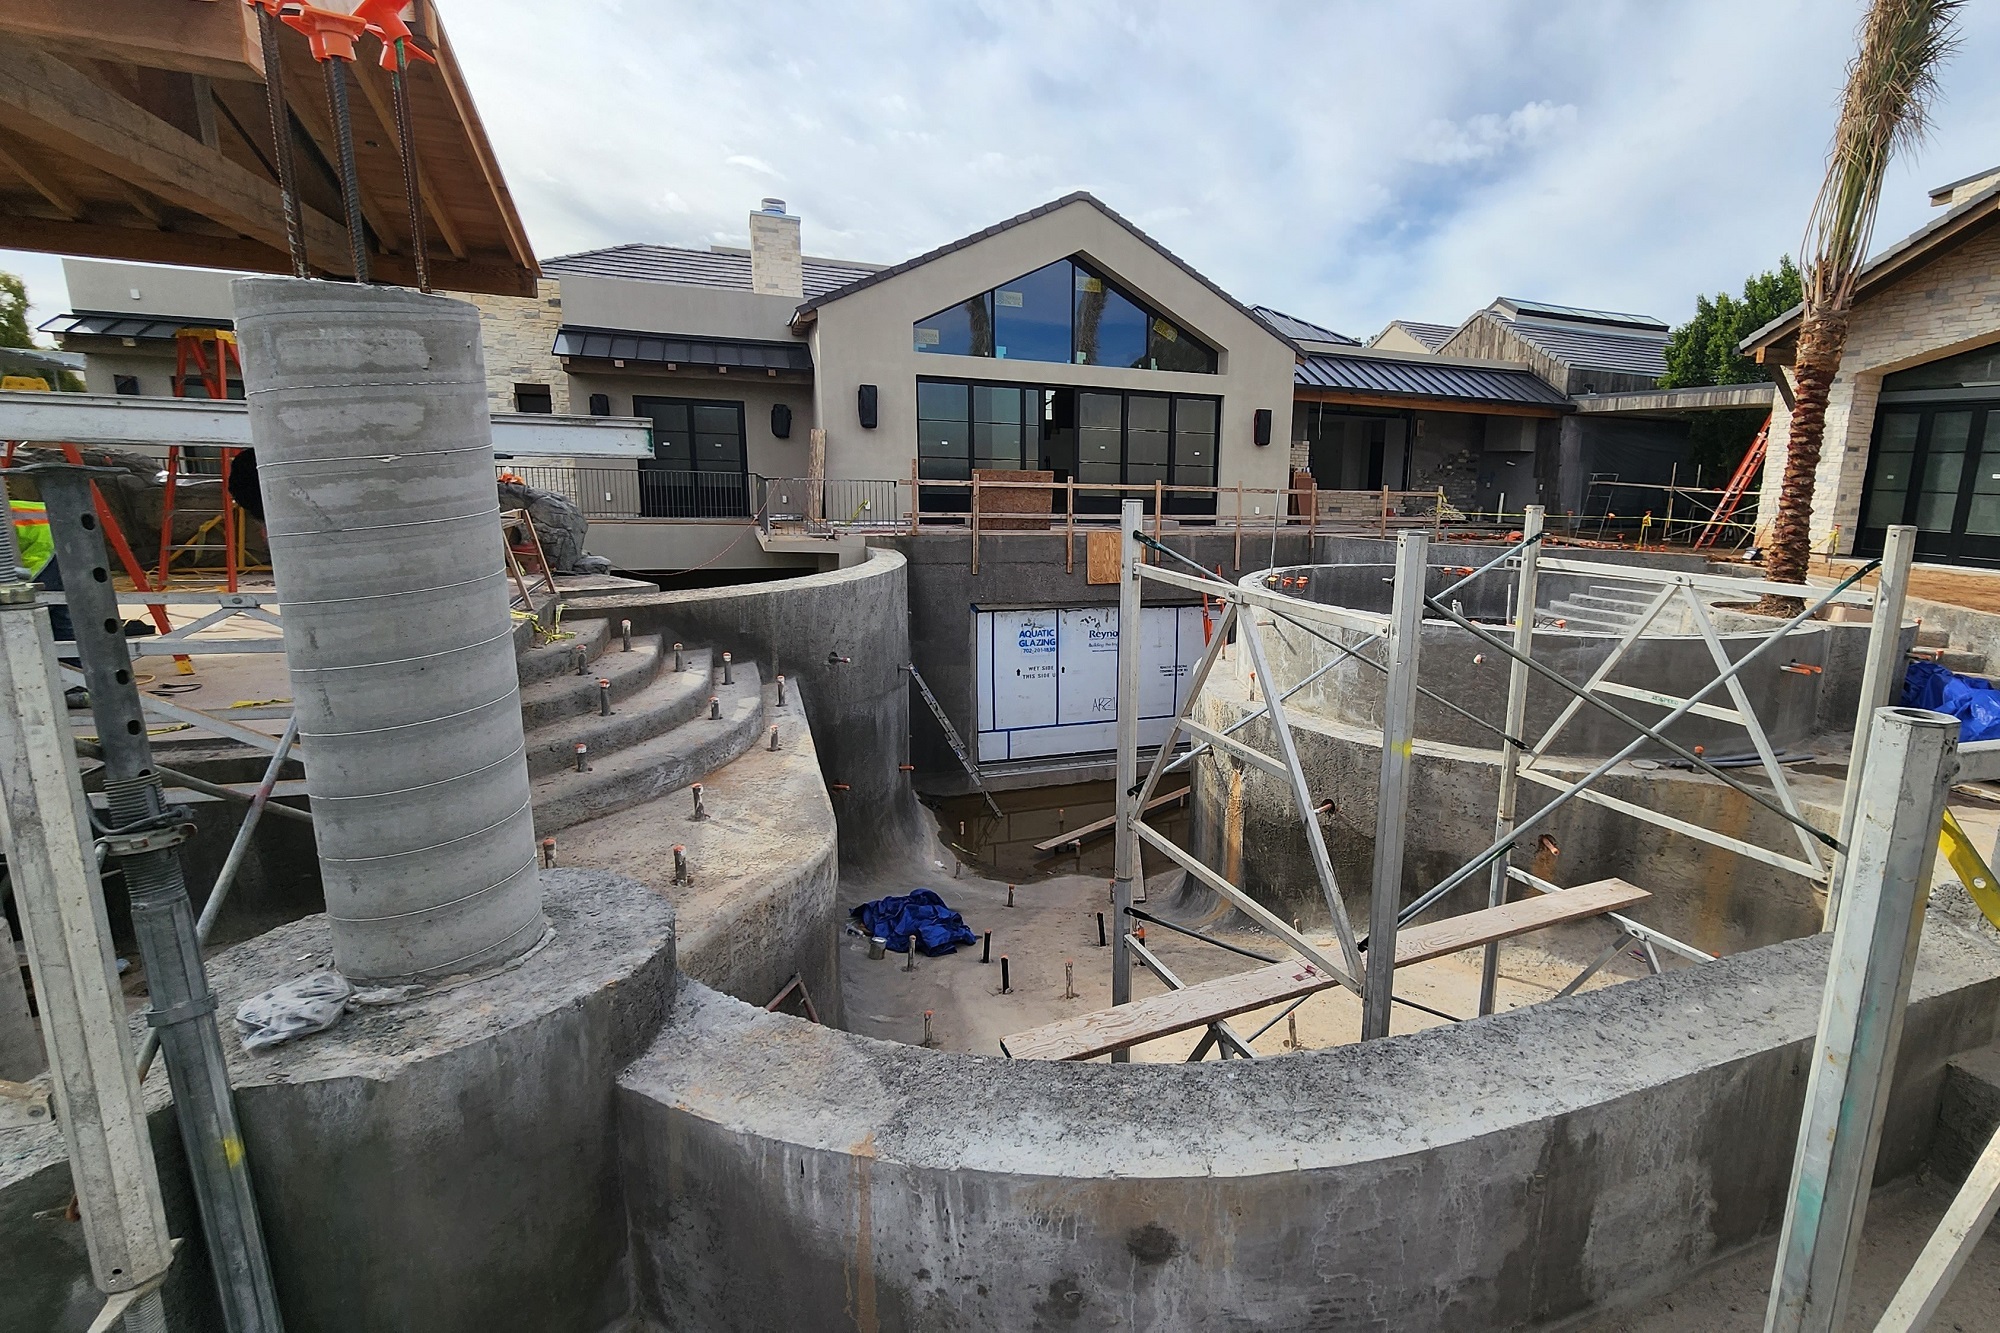
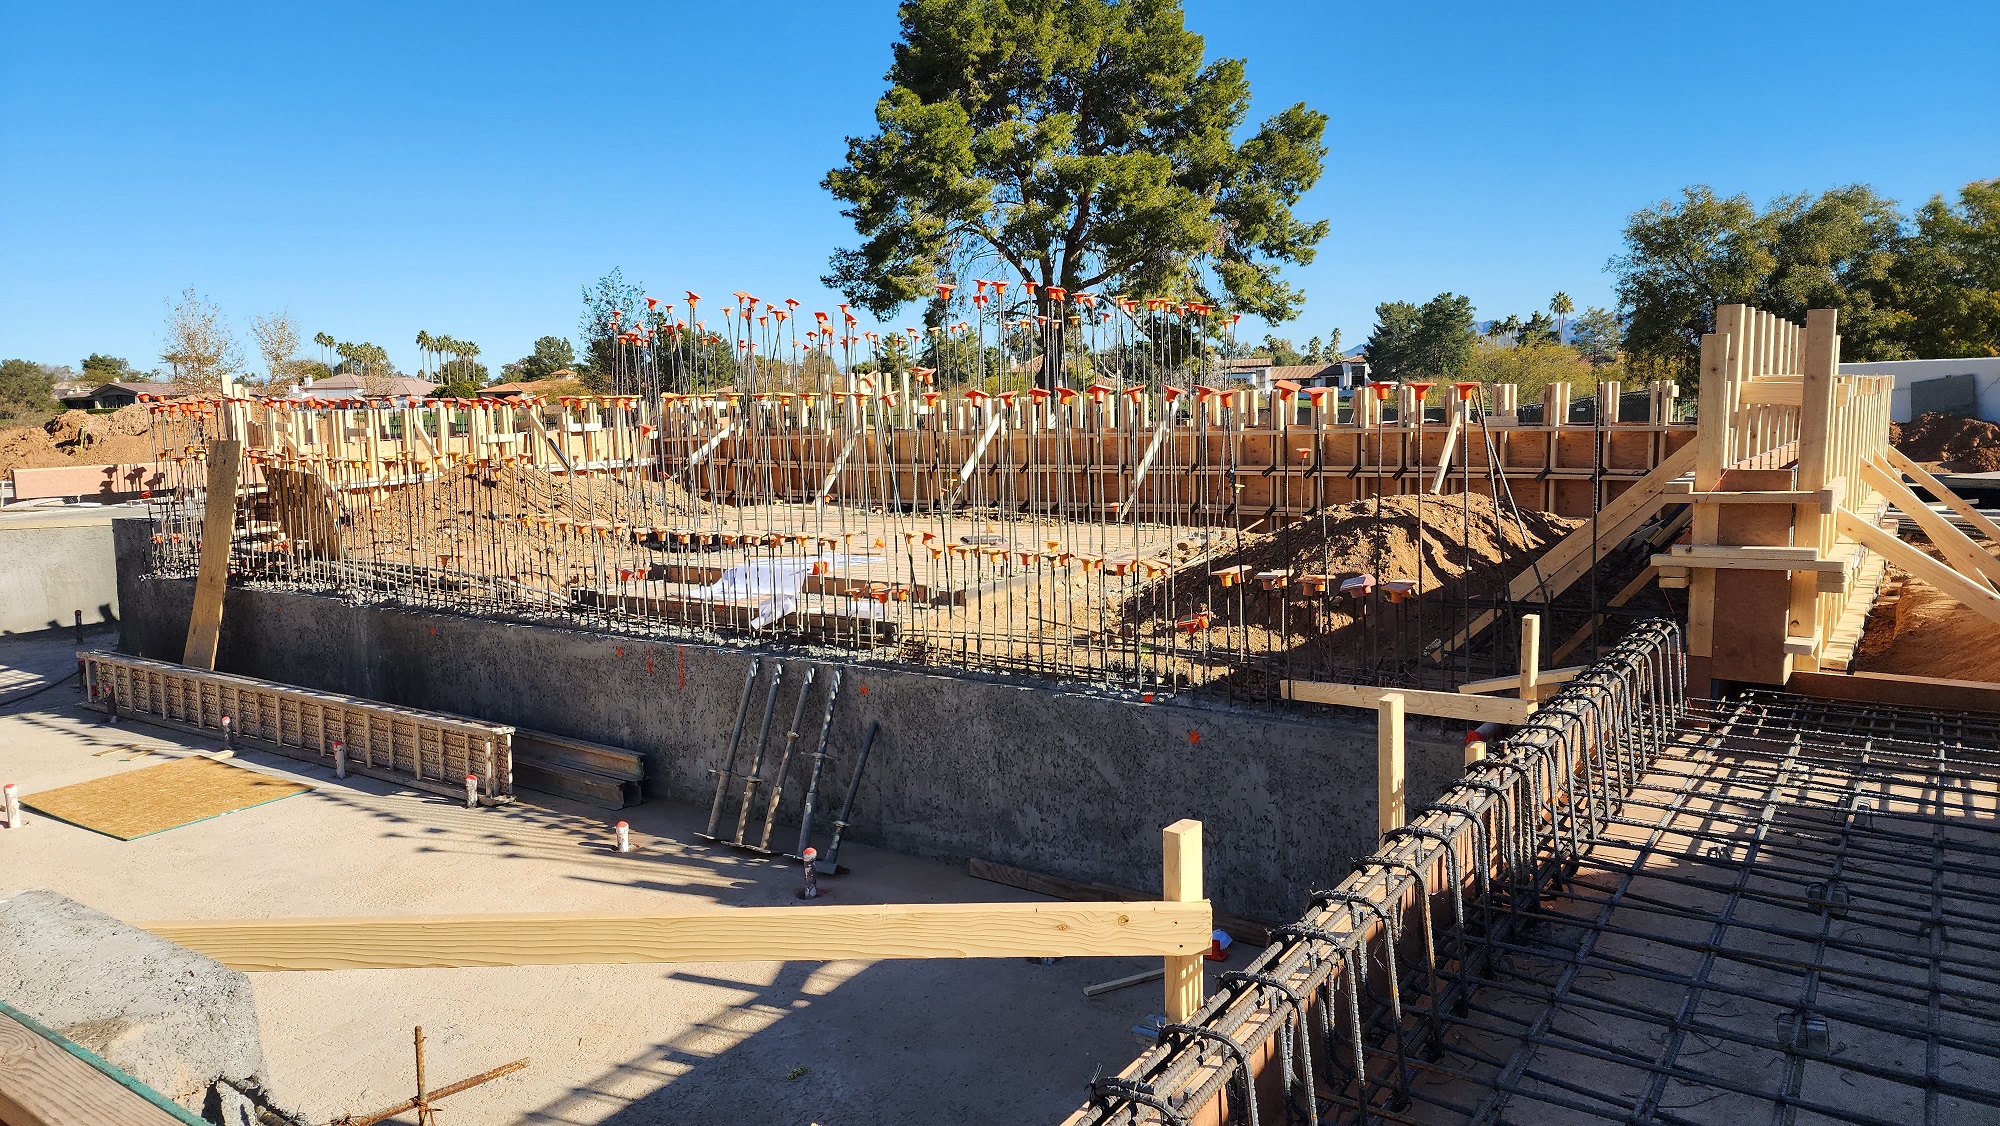
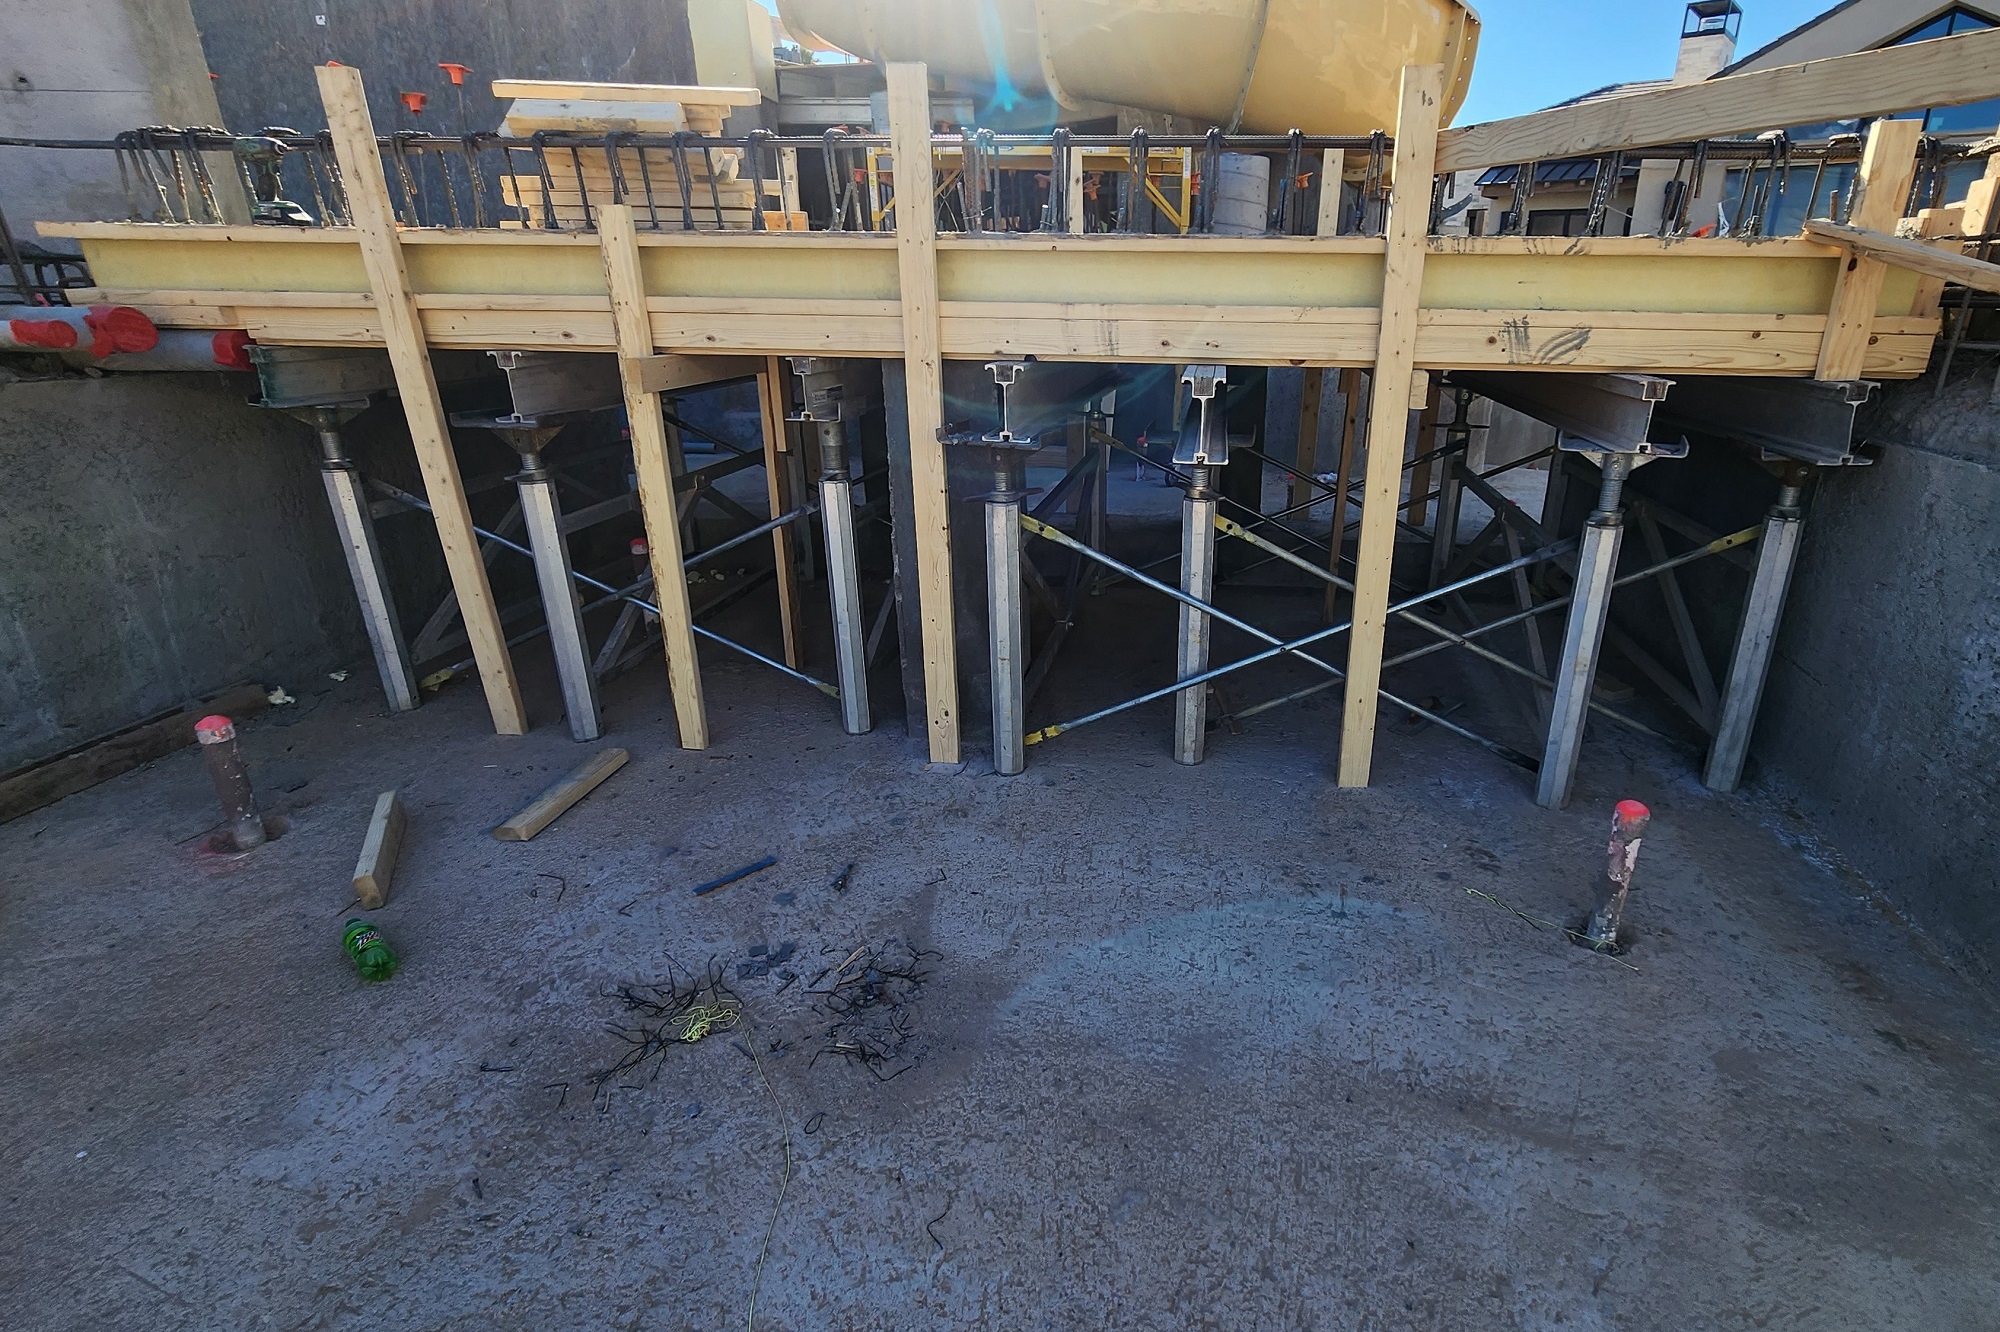
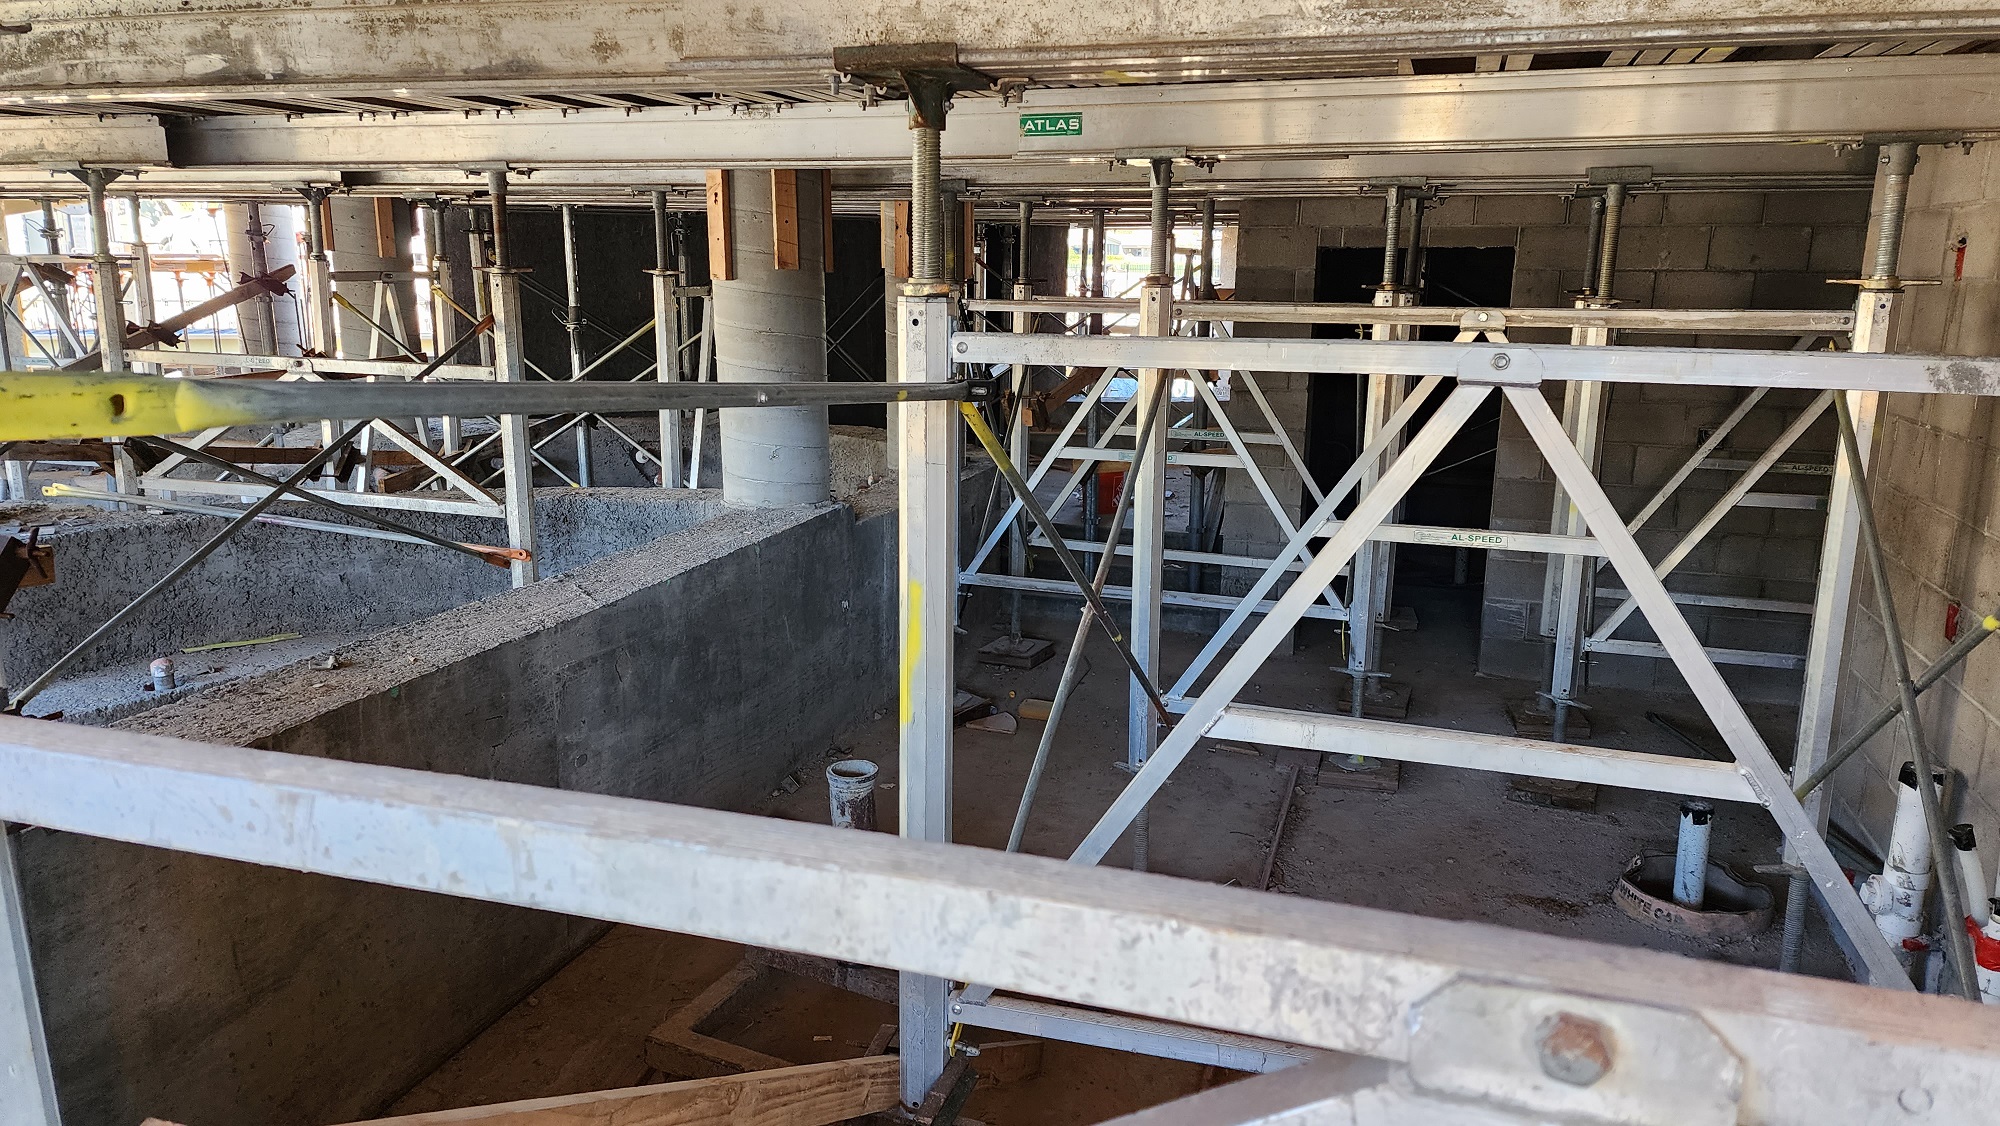
Photo: Red Rock Pools & Spas
The artificial rock will be used throughout the grotto and slide…
There are so many moving parts — main pool, lazy river, surf simulator, cabana, lower pool, underground go-kart tunnel, shark tank and an indoor pool near the master bedroom. It’s nearly impossible to foresee exactly how construction will unfold, especially when you’re building so many “firsts.”
It’s a stressful situation but it’s a great learning environment, too. And it’s different from any job we’ve done, so that every day’s a different challenge.
We’re getting close to the finish line, with all the features taking shape. Here’s the latest update.
LAZY RIVER
On the lazy river, we’ve done about five shoots so far. We have one more happening now, and another in a couple weeks to finish. We are about 80% to 85% finished.
With a project of this scope and complexity, unanticipated things come up. Fortunately, a cost-plus contract and built-in budget contingencies help in navigating those problems without having to bear the cost yourself.
For instance, there’s a detail about the lazy river construction that I hadn’t foreseen. We had built a underground go-kart tunnel that sits underneath the river. Getting to the bottom of the tunnel, we were 18 feet in the ground. We had to bench our excavation for worker safety, with 5-foot benches all the way down to the bottom to prevent cave-ins. This meant that, even though we were only digging a 12-foot-wide track, the excavation was 45 or 50 feet wide at the top.
After creating the tunnel, we could do some backfilling, but we had to form the perimeter of the river since, on a good 75% to 80% of the river, we didn’t have any ground left to shoot against. It was easier to backfill the tunnel to the bottom of the river, run form boards, set the steel, plumb and shoot it.
The river also had an interesting engineering detail. In a few spots, the river loops back on itself, forming tight hairpin turns with, say, a 10-by-20-foot gap between the two sections of river before they reconnect. Normally, we would just steel and shoot the river itself. Here, we shot the floors all the way through that keyhole or loop, so that we had a much more continuous structure rather than a skinny, wiggly structure. Now, that gap in the middle has a concrete floor all the way through. There might be a planter in the loop, but that whole planter is concrete all the way through on the floor, and then the walls are inside that. It created a huge structural floor for the river to sit on, and it added about 50 yards of concrete more than we expected.
When designing the river, we changed the depth of floor in a few places, making it shallower to speed up the water and fit over the tunnel below. Then there’s a section with a number of truncated speed humps in the floor. We ran those through the vector analysis software to create a more turbulent river in those areas. In locations where we raised the floor a foot but kept the same width, we got about a 25% boost in speed, because the same volume has to get through that tighter spot. Then we dropped the depth again to slow it back down. We ran a number of shapes through the vector analysis to figure out which ones gave us the most turbulent-looking river. Then we placed those in a couple spots to create much more turbulence on the surface. This way it’s not so lazy of a river.
Main Pool
In my last update, the main body of the pool had been shotcreted. Since then, we have already placed the palm trees that go in the middle of the pool, and set them in their planters. We did this early while easy access was still available. If we had waited until now, we’d have to set a crane hundreds of feet away on the other side of the house.
In applying the surface of the main pool, because it’s so deep and expansive, we’ll have to install a number of tile breaks throughout. We’ll run rows of tile bisecting the pool into multiple sections and vertical planes. This will allow the crews to stop and restart the plaster work. At its deepest, the pool is 17-1/2 feet, so it’s impossible to get all the plastering done on one set of scaffold. With our plan, they can work up to a tile break, set new scaffold, and work down into the pool to finish the material properly. We’ll need to erect three layers of scaffold to plaster the pool. We’ll do our best to color-match the tile with the pebble finish so we minimize visibility.
We also plan to set a 4-foot tile band around the entire perimeter of the main pool instead of the regular 6-inch tile line. All the shallow steps and benches, and the 4-foot area will be tile. This will help scale the pool down, and we’ll use a more vibrantly colored material than we will on the tile break so it stands out and distracts away from the joints.
It will take several crews, as many as six, to plaster the pool in two to three days, so we can fill it quickly and cure the plaster under water.
GROTTO
Over the past several months, we’ve focused on the grotto, cabana and slides that are connected to the main pool.
The grotto, with a bar, bathroom and other amenities, has made plenty of progress. All structural floors, walls and columns are in place. We’re starting to build the roof, which is a cast-in-place 16-inch-thick floor that sits across the top. To do that, we are setting up what we call a dance floor scaffold, where we will work as we pour the roof. Eventually, we’ll wrap it in faux boulders, along with trees and plants to make it look like a natural environment.
As we do this, we’re finalizing the construction details and measurements for the cabinets, lights and other details at the bar. The grotto is constructed out of concrete, so you can’t frame it then come back later to specify the placement of light outlets and other components. We have to prepare all that in advance and cast them into the walls in all the right places, and run all the conduit. This means that a lot more detail goes into that process to make sure all those parts are going to fit and all the elevations are correct. Light fixtures have to be chosen and cabinets ordered, and we have to make sure they all come together where we need them. We also have drainage and decks inside to manage. There’s a full bar, with sink, refrigerators, wall sconces and a TV. All those little details must be prepared and pre-wired. To do that, we had everything modeled in our Revit design program. That helps us detect potential problems, such as the back splash hitting outlets or the overhead cabinets being too tall to fit in their space.
The slides are assembled mostly up to the top of the grotto now. One of the slides is closed-flume. On that one, we have the bottom half of the flume in place. Next, we’ll put the top on and seal everything together. We have completed the concrete and encased the portion that’s below-grade, and next will build the upper grotto rock features to reach the slide entrances. The rockwork down into the basement water feature is done, with the rock abovegrade yet to be finished.
We don’t install a lot of slides. This is one of the longer and more complicated ones. When doing these, you need to assemble them exactly how they are detailed. Every component must be placed correctly from top to bottom, so that it starts and ends where it’s supposed to.
The manufacturer provides assembly instructions, with the location and elevation of every joint. Any deviation from that causes immense issues down the path. You can never make changes without remapping the whole system, and a 5-degree deviation projected over 80 feet could throw things off 5 feet or more.
The swim-up bars are underway, and the general contractor has finished the pavilion that sits next to the grotto.
SURF SIMULATOR/MOVABLE FLOOR
We are one shoot away from completing the vault for the FlowRider and the Twinscape moving floor, which goes above the surf simulator when it is deflated.
There’s a big pool that the FlowRider rests inside, which measures about 6 feet deep by 50 feet long by 25 feet wide. An adjacent, underground equipment bunker will hold controllers and electrical supplies for the simulator. There will be a large compressor to fill the ride, along with a decompressor.
We have all components on-site, except the inflatable portion. Staff from FlowRider will come on-site to assemble and mount the structure and components underneath, made up of stainless steel and including proprietary fittings, grills, intakes and pumps. Once they’ve done that, they’ll place the inflatable portion on top.
The deck adjacent to the FlowRider is 24 inches above the other decks on the property. This allows enough room for the deflated rider to rest. Then the motorized deck can drive over the top and hide the simulator and protect it from the sun.
Both the FlowRider and the Twinscape deck are built off-site by the manufacturers then flown here in pieces, for us to assemble on site. We’ll have to match each dimension in every direction, so we won’t have a lot of tolerance to play with.
You never stop fine-tuning the design on projects like this. As we were preparing to build the movable deck, we realized we needed to raise it another 2 inches to make sure we cleared the surf simulator below. We found this out when FlowRider actually assembled the ride at its own facilities for testing, before taking it apart and shipping it to us. It has inflatable handrails, which stick up in the air. When we deflate them, they’re layered on top of each other, so we didn’t know how short the ride would get when it was laid down. The manufacturer building it ahead of time at their own premises allowed us to make sure the basin holding the ride and the deck sliding over it would be to the correct dimensions.